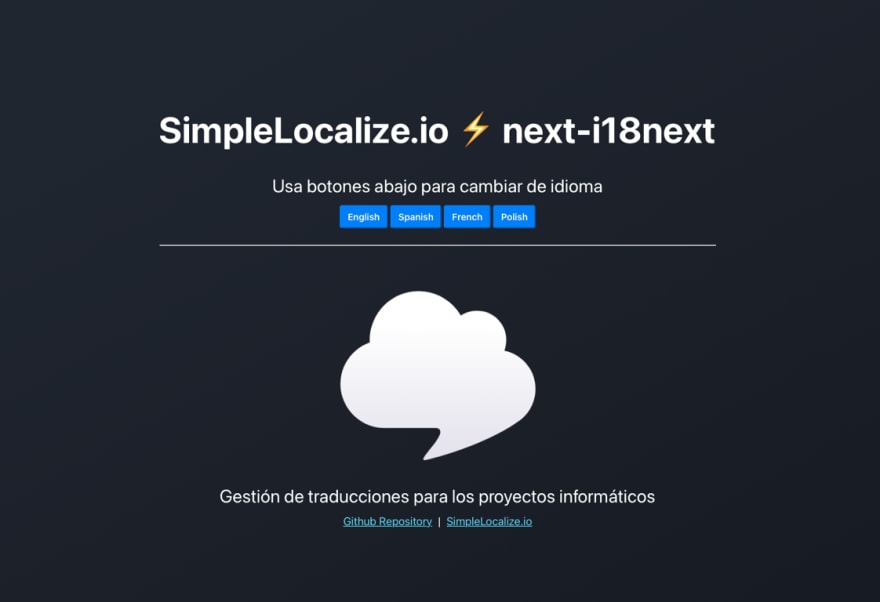
NextJS, a well-known framework among React developers, provides multiple libraries that create a very developer-friendly environment. The most popular ones are i18Next, next-translate and, our main focus in this blog post, next-18next, a translation library that does a fantastic job helping in translation management. The following blog post will show you how to set up next-i18n in your NextJS app and manage translations with SimpleLocalize. Take a look at our demo app for the reference.
About next-i18next
Next-i18next is a NextJS framework that completes and expands the possibilities of NextJS basic i18n setup, which focuses mainly on automation of i18n routing using locales. Next-i18next uses i18next and react-i18next at its core, but it is simple to install, and the configuration takes only a few steps.
Next-i18next offers additional benefits for NextJS app localization, like:
- easy integration with translation content management like SimpleLocalize
- components/hooks for React components translation
- production ready with SSG/SSR support (Static Site Generation and Server-Side Rendering)
- allows namespaces
- customizable interpolation
- supports code-splitting
- easy setup and configuration
The standard file structure for next-i18next with namespaces will look like this:
.
├── en
│   ├── common.json
│   └── home.json
├── es
│   ├── common.json
│   └── home.json
├── it
│   ├── common.json
│   └── home.json
└── pt_PT
    ├── common.json
    └── home.json
There are four languages in our app (en, es, it and pt_PT) and two namespaces, common and home. A namespace is usually one page of your website or app. In such a multiple-file setup, next-i18next loads only the translations that it needs to display from a selected locale.
Next-i18next configuration
The basic next-i18next configuration takes only few steps and will allow you to improve translation management in your app. See the below step-by-step guide to get started.
Install next-i18next
Use the simple command below to start with next-i18next installation with NPM or Yarn:
npm install --save next-i18next
Create i18n configuration file
Now, create a configuration file in the project's root, ./next-i18next.config.js.
// 📦 file: ./next-i18next.config.js

module.exports = {
  i18n: {
    defaultLocale: 'en',
    locales: ['en', 'es', 'it', 'pt_PT'],
  },
};
Add next-i18next to your NextJS app
The last step in the configuration is importing next-i18next configuration into next.config.js file.
// 📦 file: ./next.config.js

const {i18n} = require("./next-i18next.config");
const nextConfig = {
  reactStrictMode: true,
  i18n
}

module.exports = nextConfig
Create your file structure
When next-i18next is installed and configured, create your file structure for translations with languages and namespaces. Check the standard structure we described at the beginning of this blog post.
The root directory for your translations is /locales/{lang}/{ns}.json where lang is your locale (en, es, it, pt) and ns is your namespace (common, home).
How to manage next-i18next translation files?
Next-i18next is a great framework which makes translation management way easier. Use it together with SimpleLocalize translation editor to manage localization process of your app like a pro. 😎
With SimpleLocalize, you can easily add new languages, manage existing translations and even auto-translate all translations! See how to get started and connect your NextJS app with next-i18next and SimpleLocalize.
Install SimpleLocalize CLI
Use SimpleLocalize CLI to easily extract translation keys from your project and upload them to SimpleLocalize translation editor.
Issue the command below to start the installation.
curl -s https://get.simplelocalize.io/2.0/install | bash
Next, create a configuration file that will integrate your project with your SimpleLocalize account in no time.
# 📦 file: ./simplelocalize.yml
apiKey: YOUR_PROJECT_API_KEY
downloadFormat: single-language-json
downloadPath: ./locales/{lang}/{ns}.json

uploadFormat: single-language-json
uploadPath: ./locales/{lang}/{ns}.json
Upload your translation files to SimpleLocalize
To upload your translations to SimpleLocalize project, use the installed CLI by running the command below:
simplelocalize upload
Or check more import options available for multiple file formats.
Translate your app in SimpleLocalize online editor
Now, the best part of translation management begins. Log in to your SimpleLocalize account, open your project and start managing your translations. Use SimpleLocalize online translation editor to edit translations, add more languages, or translate them automatically with DeepL or Google Translate. Share the project with your team members and send access to translators using intuitive access sharing options.
Sign up for free Community plan and start managing your localization process in your way in our feedback-driven app.
Download translations to your app
When you are done with editing your translation, download localized files using CLI, or with one of multiple supported file format.
simplelocalize download
Next-i18next demo app
To try out how next-i18next goes with NextJS and SimpleLocalize and check an example of NextJS localization, run our demo app locally on your computer. Download the files from Github repository and test how it works.
Localize your NextJS app with SimpleLocalize
App or website localization can be a challenging task, but you can make it a pleasant experience with great tools and localization frameworks. NextJS has a variety of external libraries that create a comfortable base for your work. Not only next-i18next, but also next-translate or next-intl and much more. Integrating your app with SimpleLocalize will improve your satisfaction during your app localization process.


Top comments (2)
This was really cool and something good to know about thanks for the article.
There are no longer any issues with translating texts because both free and paid resources are available. Only the translation's quality makes a difference. But I was genuinely startled by the video's translation and dubbing. Even that is now within reach in a matter of minutes. You can upload a video to the Service vidby, pay, choose any translation language, and within a short time, you'll have a video with the voice of your choosing (children, male, female). Yes, the resource costs money, but you can save money on doubles, rent for a recording studio, and time spent seeking for someone who speaks the correct language.