
Recently I created my blog using a feature provided by dev.to.
Here are several tweaks you can do to adjust the blog to your needs.
Set up the domain name.
After Stackbit finishes creating your site, Netlify will assign a random domain name. In my case, it was:
https://wonderful-saturn-e6a47.netlify.com/
The link above is no longer available.
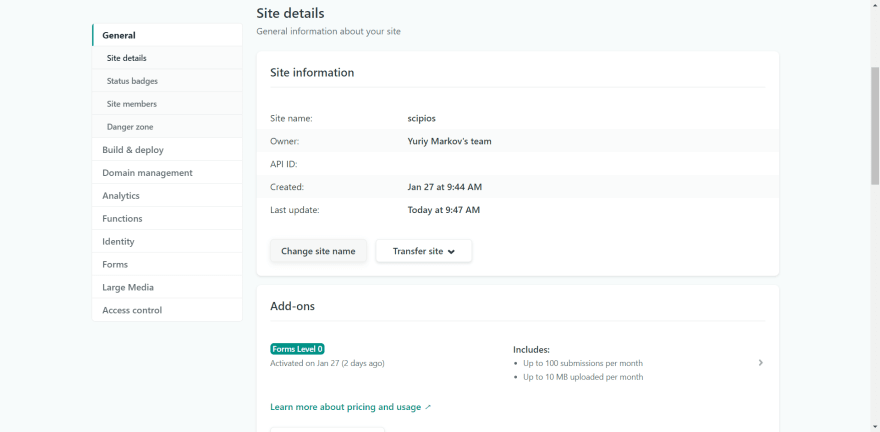
To set the desired subdomain name open the Site information section:
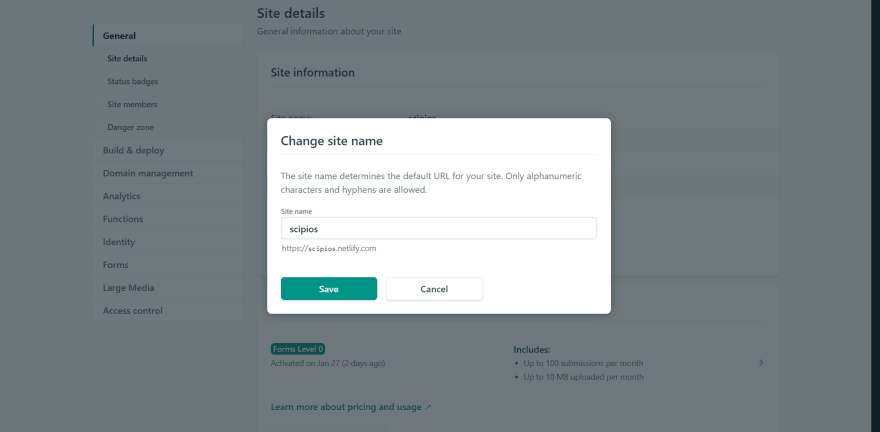
And tap the Change site name button.
Now type your desired subdomain name in the field Site name.
Alternatively, if you have a personal domain name, you can set a custom domain:

Tap Add custom domain and follow the instructions.
Add Google Analytics
This tweak requires a bit of technical work.
First of all, clone your repository. To do so, go to your Github page and navigate to the repository created by Netlify. In my case, it looks like this:
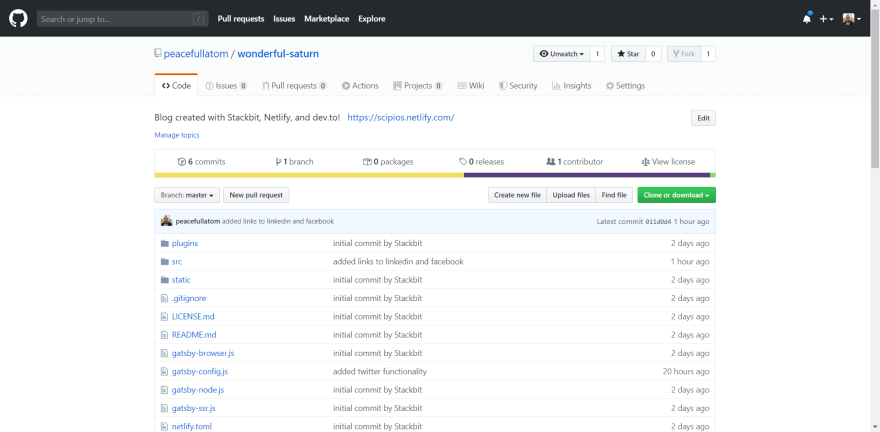
Next, click Clone or download button and tap the copy-to-clipboard icon.

After, open a terminal, type in "git clone" and paste the copied link. It will look like this:
git clone https://github.com/user/repository-name.git
If you are new to the IT world, you can read my article Prerequisites. You need to install git, NodeJs, and an IDE.
Great! Now open a cloned repository in IDE of your choice.
In the examples below, I'm using the Visual Studio Code.
After cloning a repository, you need to install dependencies. To add them to your local repo go to built-in terminal and key in this command:
npm install
You can refer to the list of shortcuts for the Visual Studio Code in this post Productivity boost with the keyboard in Visual Studio Code.
Next, to add the Google Analytics functionality, you need to install a respective plugin. So, open built-in terminal and type:
npm install --save gatsby-plugin-google-analytics
After NPM finishes its work, you need to modify the gatsby-config.js file. Press Ctrl + P and start typing gatsby-config.

The configuration file will look like this (an excerpt):
module.exports = {
  pathPrefix: '/',
  siteMetadata: require('./site-metadata.json'),
  plugins: [`gatsby-plugin-react-helmet`]
};
Now, let's update the plugins section:
module.exports = {
  pathPrefix: '/',
  siteMetadata: require('./site-metadata.json'),
  plugins: [
    `gatsby-plugin-react-helmet`,
    {
      resolve: `gatsby-plugin-google-analytics`,
      options: {
        trackingId: 'UA-XXXXXXXXX-X'
      }
    }
  ]
};
Insert your Google Analytics id instead of UA-XXXXXXXXX-X and save the file.
Lastly, return to the built-in terminal and instruct git to push your updates to the remote:
git add --all
git commit -m "added google analytics"
git push
Overview of commands:
- marks all of the altered files as ready to commit.
- commit your changes to the local repository and add a commit message.
- push your changes to the Github repository.
The Netlify will track any changes to the repository on Github and will compile and deploy your project right away!
The original steps are available at the GatsbyJs site.
That's it! Now you can go to Google Analytics panel and track down your visitors.
Happy blogging!


Top comments (0)