
While making a personal website, I wanted to add a Down Arrow that moves up and down infinitely, to indicate to the user to scroll down.
This can be easily done in Flutter by using the AnimatedPositioned widget. In this post, I’ll go over how to achieve this effect using Parabeac.
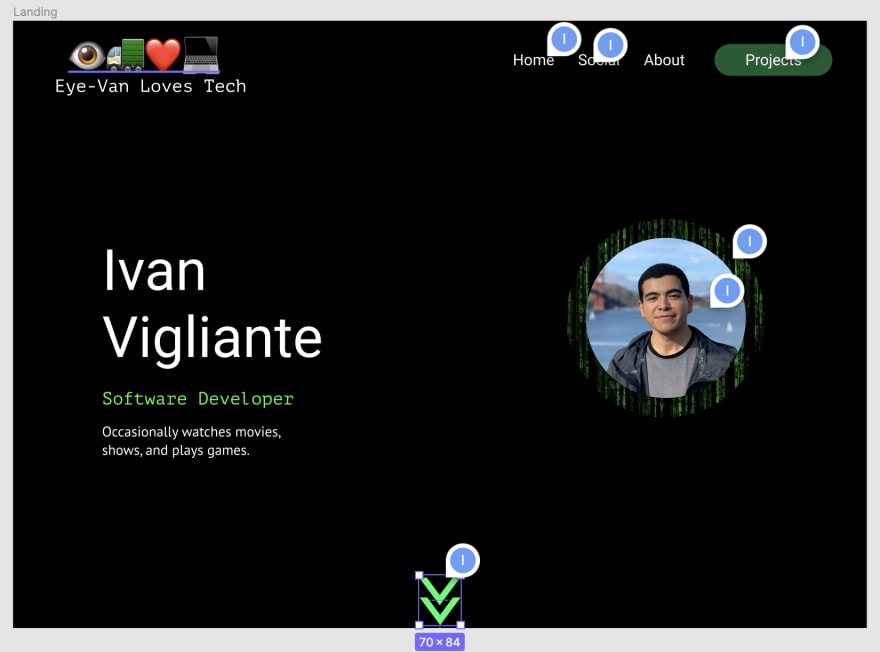
The UI mockup of my site, created in Figma:
Preparing your Figma file
Custom Tags
The first step to creating the animation was to name the element I wanted to convert with a <custom> tag as seen in the image below:
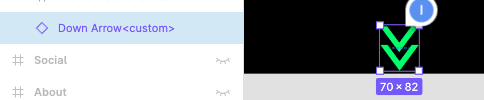
Doing this allowed me to customize the logic attached to the UI element without having to modify the UI itself once I generated the Flutter code.
Editing the Dimensions of the Figma Element
Secondly, because Parabeac takes the dimensions given in Figma and translates them to Flutter, I needed to resize the Figma element boundary to take up roughly as much space as I wanted the animation to take up. See below:
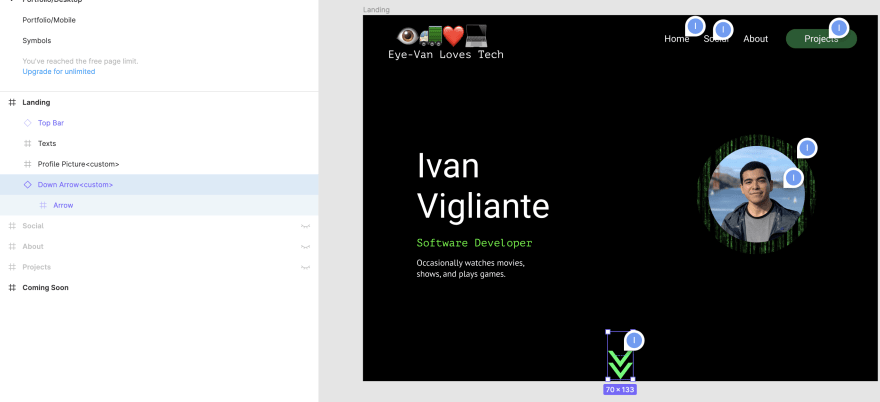
As seen in the image, I increased the height of the element in order for it to be able to freely move up and down in the code itself.
Editing Position Constraints
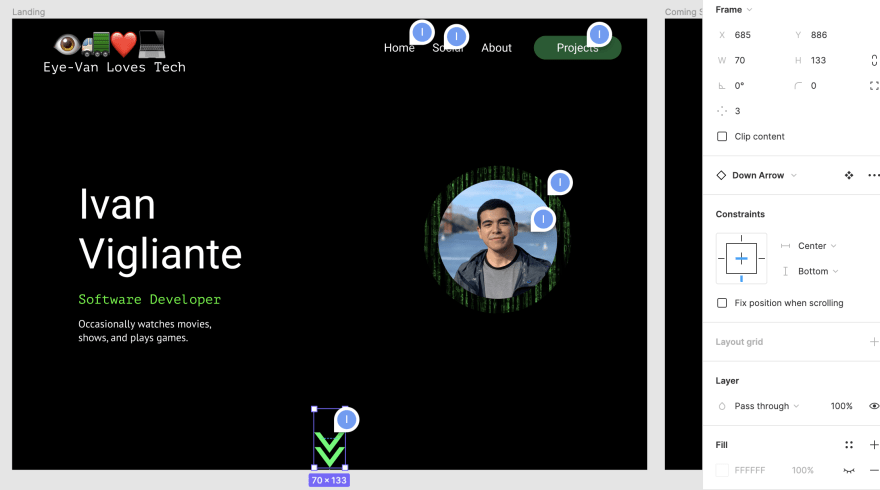
In my case, I wanted the arrow to stick to the bottom-center of the screen as it resizes. To translate this into Flutter, I specified these constraints as seen on the right-bar of the image below.
Generating the code
Once my Figma file was ready to go, I went to app.parabeac.com to generate my code. Next, I created a Pull Request (PR) into my GitHub repo. If you want more details on how to do this, check out:
https://www.youtube.com/shorts/PCUN3OcPAKs
Once the PR was successful, I pulled the parabeac-generated branch in VSCode and was ready to add my logic.
Adding logic
Since I tagged the Down Arrow in Figma with <custom>, Parabeac created a file inside the controllers directory of my Flutter project named down_arrow_custom.dart. This file wraps the arrow’s UI and allows for logic to be injected. The generated file looked as follows:
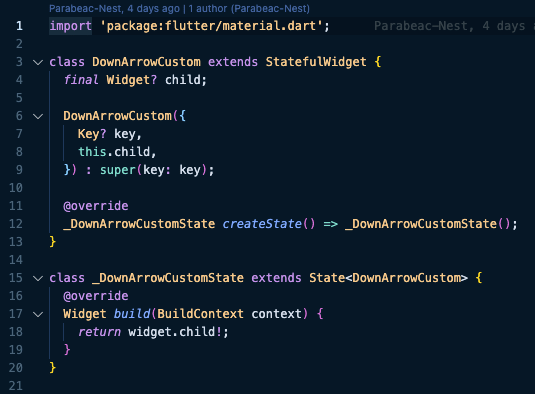
The widget.child item is the UI of the arrow. Initially, by default, the custom tags will return the UI with no logic.
The DownArrowCustom class is what allows me to add logic to the UI, or to completely override it. In my case, all I wanted to do was to wrap widget.child with an AnimatedPositioned widget that infinitely moves up and down.
Initializing animation variables
In order to pull off this animation, I need a couple of things:
- Timer that triggers a change every X milliseconds
- AnimatedPositioned widget that wraps
widget.child - A boolean variable to tell the
AnimatedPositionedwidget when to change positions
Timer and Duration
For my down-arrow, I needed the timer to start as soon as the state was initialized in order to trigger the animation right when the page loads. Therefore, I defined the duration as a constant variable, and defined a late Timer that would be initialized on initState. In addition, I had to cancel() the timer inside the dispose method to avoid errors and unwanted behavior when the screen is no longer being rendered.
See below how I set up my timer:
class _DownArrowCustomState extends State<DownArrowCustom> {
  late Timer _timer;

  /// Duration of the animation and how often it should
  ///change positions.
  final _duration = const Duration(milliseconds: 700);

  @override
  void initState() {
    /// Timer that triggers the callback
    /// function every 700 seconds.
    _timer = Timer.periodic(
      _duration,
      (timer) {
        /// Temporary print call for illustration purposes
        print('callback!');
      },
    );
    super.initState();
  }

  @override
  void dispose() {
    /// Make sure to properly dispose of _timer!
    _timer.cancel();
    super.dispose();
  }

  @override
  Widget build(BuildContext context) {
    return widget.child!;
  }
}
AnimatedPositioned
Next, I set up an AnimatedPositioned widget that wraps widget.child as follows:
class _DownArrowCustomState extends State<DownArrowCustom> {
  late Timer _timer;

  /// Duration of the animation and how often it should
  ///change positions.
  final _duration = const Duration(milliseconds: 700);

  @override
  void initState() {
    ...
  }

  @override
  void dispose() {
    ...
  }

  @override
  Widget build(BuildContext context) {
    return Stack(
      children: [
        AnimatedPositioned(
          width: 60,
          height: 80,
          bottom: 0, /// Need to update this value every time Timer triggers callback
          left: 0,
          child: widget.child!,
          duration: _duration,
        ),
      ],
    );
  }
}
As seen above, I created a Stack that will be constrained automatically by the parent .g.dart file based on the Figma constraints I provided. I then wrapped widget.child (the UI of the arrow) with an AnimatedPositioned widget.
Notice that the duration of the animation and how often the timer triggers the callback is the same. This is to ensure that the arrow changes positions at the same time the animation is finished (i.e. there is continuous movement, no pauses).
However, the position won’t change yet because there is no trigger that will change the bottom value of the AnimatedPositioned. To achieve this, I need to add a boolean variable that tells the AnimatedPositioned widget when to update.
Boolean Update Variable
I then added a boolean, class variable named _update that changes value every time the _timer calls the callback method. See below for the final result:
class _DownArrowCustomState extends State<DownArrowCustom> {
  bool _update = true;
  late Timer _timer;

  /// Duration of the animation and how often it should
  ///change positions.
  final _duration = const Duration(milliseconds: 700);

  @override
  void initState() {
    _timer = Timer.periodic(
      _duration,
      (timer) {
        /// Set state and change the boolean so the
        ///position changes.
        setState(() => _update = !_update);
      },
    );
    super.initState();
  }

  @override
  void dispose() {
    _timer.cancel();
    super.dispose();
  }

  @override
  Widget build(BuildContext context) {
    return Stack(
      children: [
        AnimatedPositioned(
          width: 60,
          height: 80,
          bottom: _update ? 0 : 25, /// Push arrow 25 pixels up/down depending on state.
          left: 0,
          child: widget.child!,
          duration: _duration,
        ),
      ],
    );
  }
}
Final result
After updating the custom file, this was the final result when running my Flutter project:
Github repo: https://github.com/ivan-015/flutter-portfolio-site
Deployed website (needs a sec. to load, currently in development👷🏾♂️😅): https://y.at/👁️🚚❤️💻

Latest comments (0)