
What are Over The Air (OTA) updates? Why might I need them?
Over The Air (OTA) updates are one of the advantages of React Native apps over native ones. In React Native apps, code is split into two parts:
- Native binaries – the part with native code that is compiled
- Javascript bundle – the bundle with Javascript code and assets that is not compiled
Normally when you want to update your app, you need first to build it and then send it to App Store or Google Play. A major drawback of this solution is the time needed for these stores to approve your update. Imagine a situation where an app with a critical error was published to users by mistake. In these cases, every second count. And this is where Over The Air (OTA) may help us.
In short, OTA allows us to send updated Javascript bundles directly to users without the need of accepting them by Apple or Google. We can fix errors or push small updates (more on those later) almost immediately. This gives you more confidence about the stability of the app – there is always something that we can do instead of just waiting for an update to be accepted while users can't use the app
This sounds great! Are there any limitations?
As good as it may sound, there are few things that we need to keep in mind.
The first thing is that OTA updates only work with Javascript bundles. You may think that this isn't really a big limitation because, in React Native, we write almost all code in JS. While this may be true, there still are modules that we install to our app. If a module changes your android or ios directories, you can't use OTA to update your app. That's because these directories' contents are used to compile Native binaries, which OTA can't update.
The second thing is what we can do with OTA. Technically we can change everything in our app, but App Store and Google Play limit us. Google Play is less restrictive – they say that apps installed from Google Play shouldn't update in other ways than by Google services, but Javascript bundles aren't restricted to do so.
Apple is more restrictive in these manners. Take a look at paragraph 3.3.2, which says that OTA updates can't make significant changes in the app. To keep it simple, we should use such updates only to fix bugs or make performance improvements without making significant changes to the app's UI or usability.
How to start using OTA?
We need a server that will receive our updates and send them to users of our app to use OTA. While we can make our own server, we can also use dedicated solutions. In this article, we will use CodePush from Microsoft App Center.
Setting up CodePush on App Center
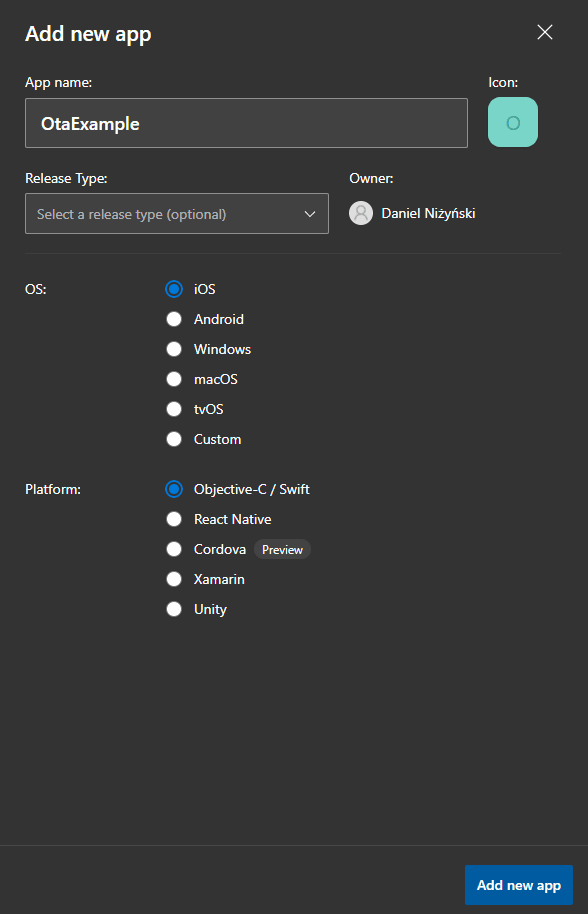
First, we have to create an app on the App Center. We choose Android as an OS (if you are also making an app for iOS, you need to create a second app) and React Native as a platform.
After creating our app, we go to Distribute -> CodePush in the left menu. There we can create a new deployment for our app.

After this, we should have our deployment visible in CodePush. The last step is to go to settings (the wrench icon in the upper right corner) and check our deployment keys. We should have two because CodePush makes two branches by default. We will need these codes later when we are sending our updates.

Installing CodePush plugin
Let's assume you already have React Native app. To add the CodePush plugin first, we have to install it using yarn or npm.
#using yarn
yarn add react-native-code-push

#using npm
npm install react-native-code-push

#only for ios app
cd ios && pod install
After installing the plugin, we need to set it up. Here we will only go with the Android setup. You can find the iOS setup here.
First we need to add these lines at the end of android/settings.gradle.
include ':app', ':react-native-code-push'
project(':react-native-code-push').projectDir = new File(rootProject.projectDir, '../node_modules/react-native-code-push/android/app')
Next we add codepush.gradle in android/app/build.gradle.
apply from: "../../node_modules/react-native/react.gradle"
// add this line
apply from: "../../node_modules/react-native-code-push/android/codepush.gradle"
Now we update MainApplication.java.
...
// 1. Import the plugin class.
import com.microsoft.codepush.react.CodePush;

public class MainApplication extends Application implements ReactApplication {

    private final ReactNativeHost mReactNativeHost = new ReactNativeHost(this) {
        ...

        // 2. Override the getJSBundleFile method in order to let
        // the CodePush runtime determine where to get the JS
        // bundle location from on each app start
        @Override
        protected String getJSBundleFile() {
            return CodePush.getJSBundleFile();
        }
    };
}
Next, we need to set is the deployment key. We have to tell the app which branch on App Center it should check for updates. To do so, we have to update android\app\src\main\res\values\strings.xml.
<resources>
    <string name="app_name">OtaExample</string>
    <string moduleConfig="true" name="CodePushDeploymentKey">YOUR_KEY</string>
</resources>
This is the key we obtain from CodePush on App Center. To update our app later, we have to push updates to the same branch that we connect here with the deployment key. You can find more info about using multiple deployments here.
Finally, we wrap our app root component with CodePush HOC.
import codePush from 'react-native-code-push';

const App = () => {
  return (
    <>
      <StatusBar barStyle="dark-content" />
      <SafeAreaView>
        <ScrollView
          contentInsetAdjustmentBehavior="automatic"
          style={styles.scrollView}>
          <View style={styles.body}>
            <Text>Test</Text>
          </View>
        </ScrollView>
      </SafeAreaView>
    </>
  );
};

export default codePush(App);
By default, CodePush will check for updates on every app launch and install them in the background, which means that the user will get the changes on the next launch after the update. This behaviour focuses on the best TTI (time to interactive), so the user doesn't have to wait for the update to download and install before using the app. How to install updates, and how often they can be changed – more about you can find here.
Lets send our first update OTA!
After all these configurations, we are finally able to send OTA updates. To do so, we first have to install and login into CodePush globally. We need to log in only once.
#using yarn
yarn global add appcenter-cli

#using npm
npm install -g appcenter-cli

#will open a dialog to login into appcenter
appcenter login

#to send update OTA
appcenter codepush release-cordova -a <ownerName>/<appName>
So let's do it! First, let's make a release build of our react native app and install it on the device. More about building release APK for Android you can find here.

Above you can see our app launched on an emulator. Let's make some changes and send them Over The Air!
const App = () => {
  return (
    <>
      <StatusBar barStyle="dark-content" />
      <SafeAreaView>
        <ScrollView
          contentInsetAdjustmentBehavior="automatic"
          style={styles.scrollView}>
          <View style={styles.body}>
            <Text>Test</Text>
            <Text>Testing OTA updates!</Text>
          </View>
        </ScrollView>
      </SafeAreaView>
    </>
  );
};
We added <Text>Testing OTA updates!</Text> to our app. Now let's push this change using the command above! Then we can launch our app (we won't see the changes first) and wait 10-15 seconds. After relaunching our app, we should see this:

Conclusions
OTA updates are a powerful tool that you can add with ease to React Native apps. They give us another way to update which is almost immediate and invisible for users. Thanks to this, we can always fix our app even on production without waiting for App Store or Google Play to accept our update.
We have to keep in mind that we cannot update native libraries, which will be required in some situations and not making updates that change the UI or functionalities of our app because it's not allowed by Apple and Google policies.

Top comments (0)