
Introduction
In this blog, I will introduce how to develop a smart chat program using Python and ChatGPT API.
ChatGPT is a natural language processing tool based on artificial intelligence technology, which can generate natural and fluent language and conduct conversations. Using the ChatGPT API, we can easily integrate this artificial intelligence technology into our Python applications.
Original:Develop an Intelligent Chat Program Using Python and ChatGPT API
Solution
The following are the steps to implement a smart chat program:
Step 1: Install the necessary Python libraries
Before we begin, we need to install some necessary Python libraries. Run the following command in a terminal:
pip install openai
pip install python-dotenv
pip install Flask
These libraries are:
-
openai: Provides access and control to the ChatGPT API; -
python-dotenv: used to save sensitive information such as API keys in environment variables; -
Flask: Used to implement web applications.
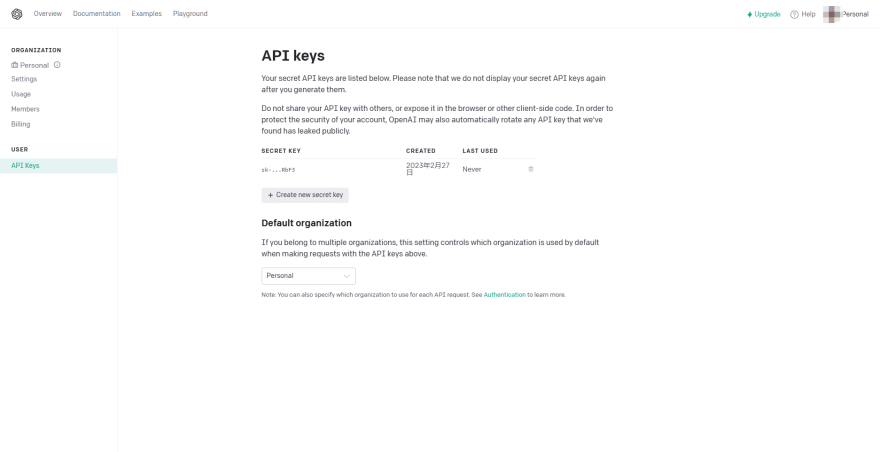
Step 2: Obtain an API key
Before using the ChatGPT API, we need to obtain an API key. You can obtain an API key by visiting https://platform.openai.com/account/api-keys. Here you need to provide some information about your application such as application name, application description and application URL etc. Once your application is approved, you will receive an API key that authorizes your application to access the ChatGPT API.
Step 3: Create the Flask Application
Now, we will create a web application using the Flask framework.
First create a blank directory, then create a .env file, and fill in the API key you just applied for
OPENAI_API_KEY = '[YOUR_API_KEY]'
Create a file called app.py in your code editor and write the following code in it:
from flask import Flask, request, jsonify
from dotenv import load_dotenv
import openai
import os

# load environment variables
load_dotenv()

# Set the OpenAI API key
openai.api_key = os.getenv("OPENAI_API_KEY")

# Initialize the Flask application
app = Flask(__name__)

# Define the POST route
@app.route('/chat', methods=['POST'])
def chat():
     # Get the message of the POST request
     message = request.json['message']

     # Use the ChatGPT API to generate a response message
     response = openai. Completion. create(
         engine="text-davinci-002",
         prompt=message,
         max_tokens=1024,
         n=1,
         stop=None,
         temperature=0.5
     )

     # Send the response message back to the client
     return jsonify(response.choices[0].text.strip())
Here, we first loaded the .env file where we saved our API key. Then, we initialized a Flask application and defined a route called chat. In this route, we use the POST request to get the message, and then use the ChatGPT API to generate the response message. Finally, we send the response message back to the client as a JSON object.
Step 4: Run the application
Now that we have finished writing our Flask application, we can start the application in the terminal with the following command:
python -m flask --app app.py run
This will start the web application at http://127.0.0.1:5000/. We can now test our application by sending a POST request to http://127.0.0.1:5000/chat using any HTTP client such as Postman or cURL.
When sending a POST request, we need to include the message as part of the JSON object in the request body. For example, if we want ChatGPT to answer "Hello", we can use the following command:
curl --header "Content-Type: application/json" \
   --request POST \
   --data '{"message":"Hello"}' \
   http://127.0.0.1:5000/chat
or use Postman
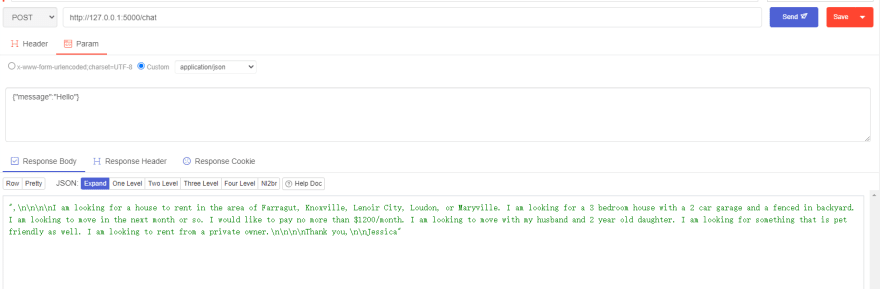
This will return a JSON object containing the response message generated by ChatGPT.
Conclusion
In this blog, we created a smart chat program using Python and the ChatGPT API. We have created a web application using Flask framework and using openai library and ChatGPT API to generate response messages. Finally, we test our application by sending a POST request. This example shows how to use the ChatGPT API to implement smart chat functionality, and how to integrate ChatGPT into a Python application.

Latest comments (0)