
Mini Project: EC2-and-S3-integration-for-zappy-e-bank
Project Description:
Zappy E-bank plans to deploy its application on AWS ECS, with S3 buckets serving as the backbone for storage solutions, including customer data, transaction logs, and analytical data. The integration of EC2 and S3, facilitated by a reversed proxy setup, aims to provide a seamless experience for managing and accessing diverse resources under a unified access point.
Project Task:
EC2: Host the core application, enabling scalable computing capacity to meet growing customer demands.
S3: Offers secure, scalable objects strong for vast amounts of data, ensuring that Zappy E-bank can serve its customers efficiently and reliably.
Tips
A reverse Proxy will be configured on the EC2 instance, directing requests to the appropriate destination.
This also explains how to launch an EC2 instance
Step 1:
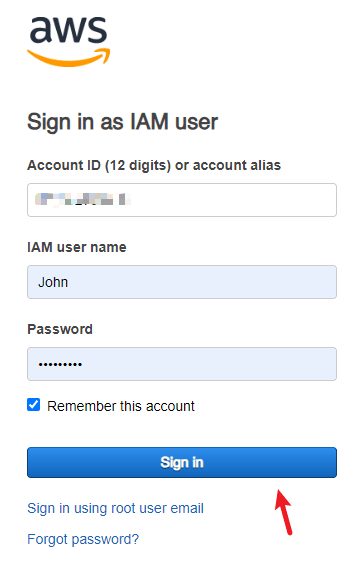
- Login into the AWS console as an IAM user

Step 2:
Launching An Instance
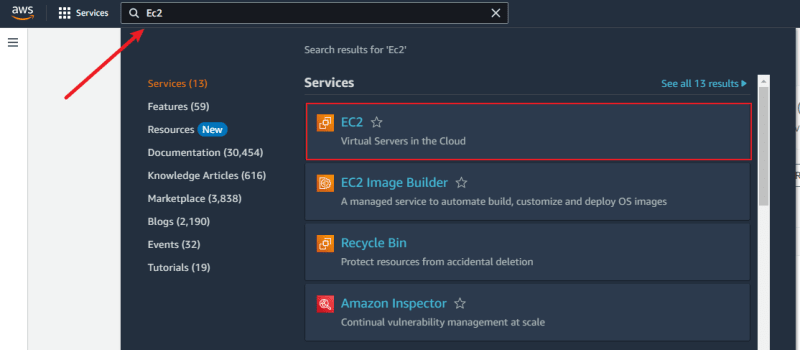
- Search for EC2
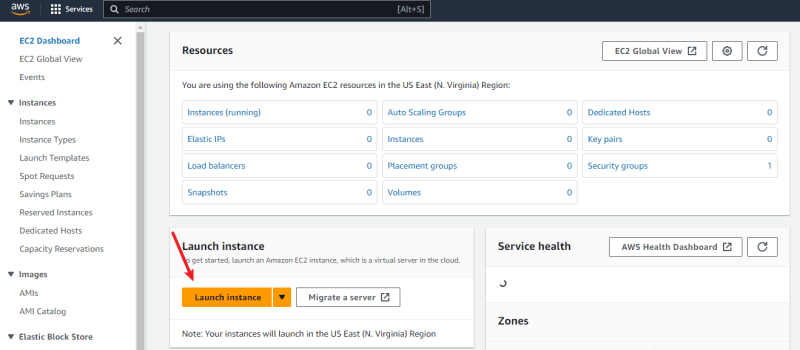
- Click on Launch Instance
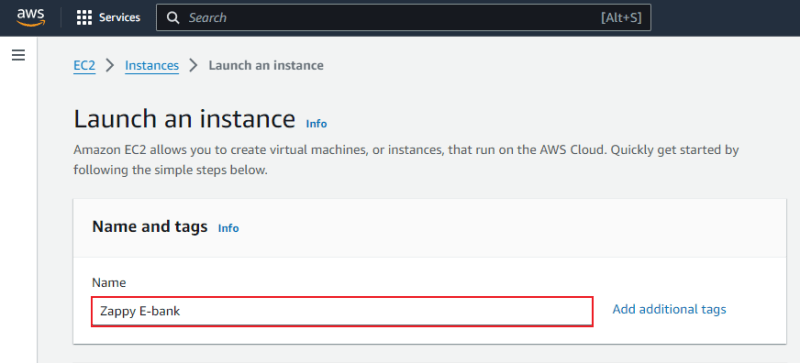
- Insert your project Name
- Select an Operating system to run (I'll be using the Ubuntu instance)
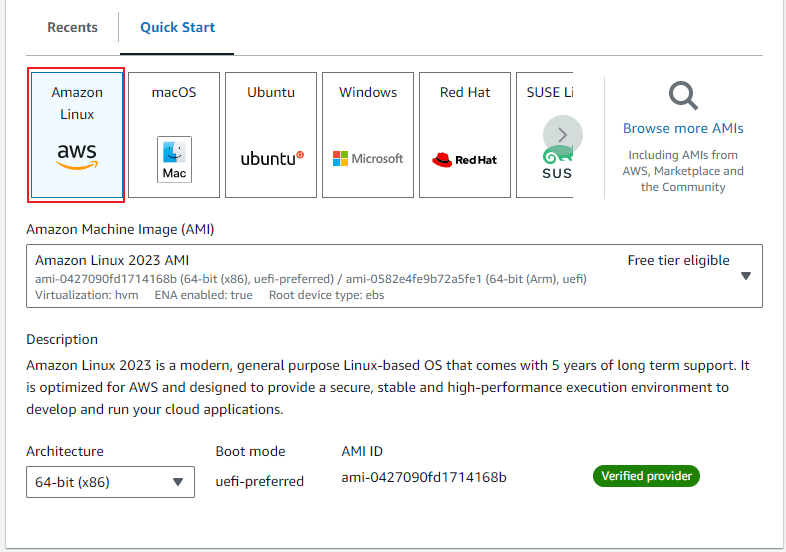
- Select Instance Type

- You can decide to generate a key pair if you want to connect to a local server, but I won't be needing it here
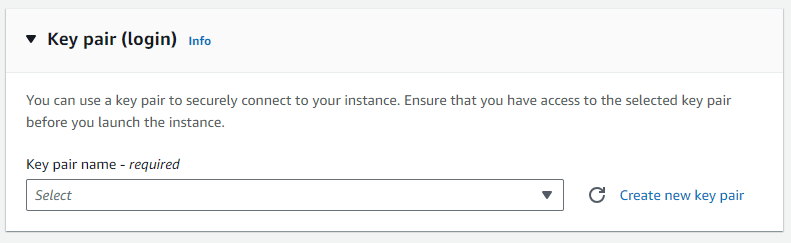
- Select Network Settings

- Proceed without key pair
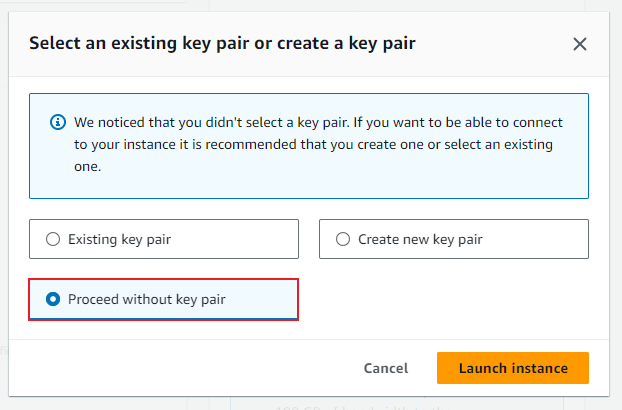
- Connect to instance
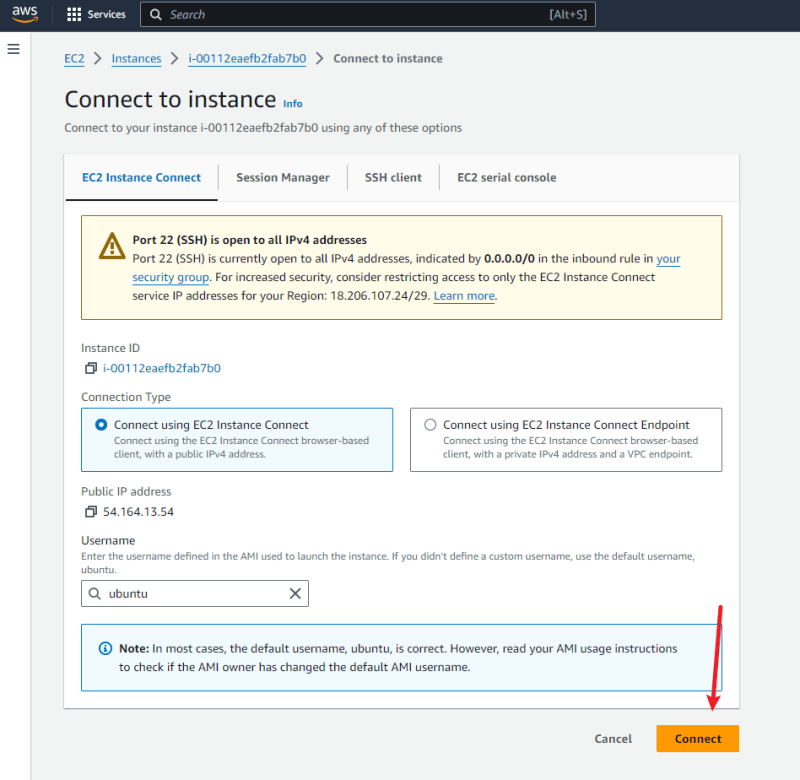
- You have successfully created an instance

Step 3:
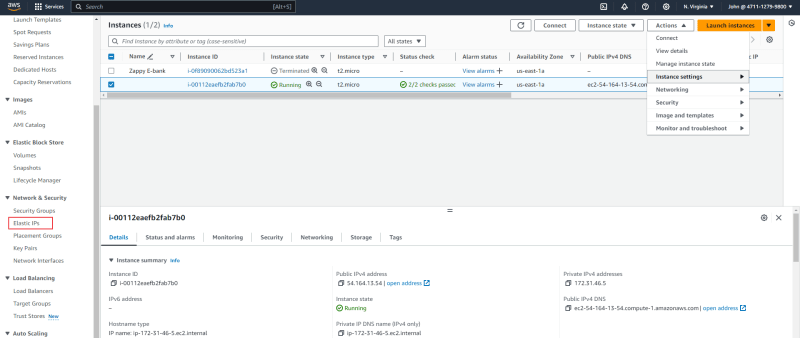
Assigning a Static IP (Elastic IP)
Associating an Elastic IP address with your EC2 instance ensures it retains the same public IP address across reboots.
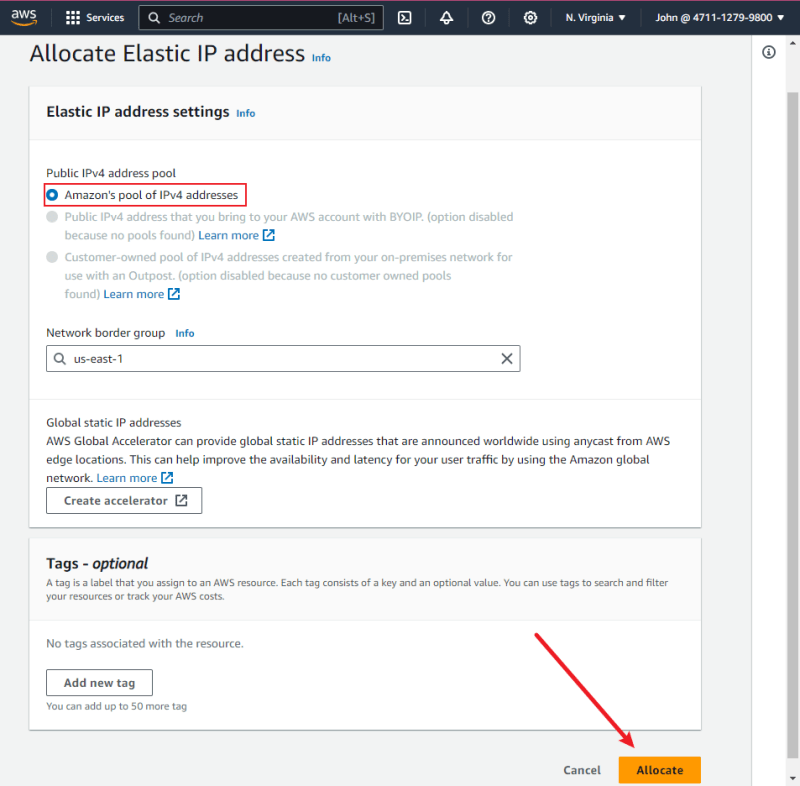
- In the EC2 console navigation, select elastic IP and click on allocate elastic
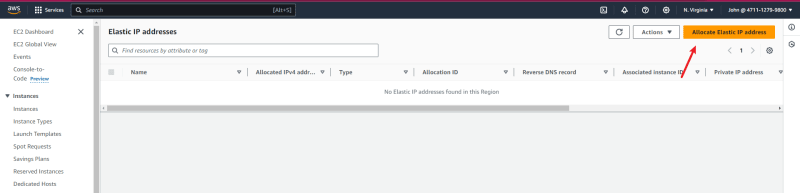
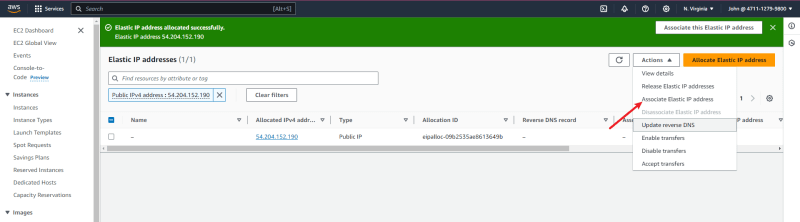
- Follow the highlighted part
- Click on Associate

Step 4:
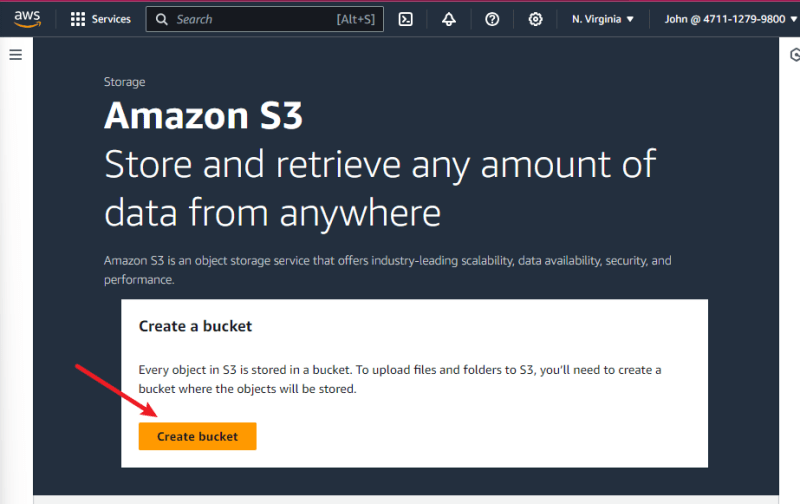
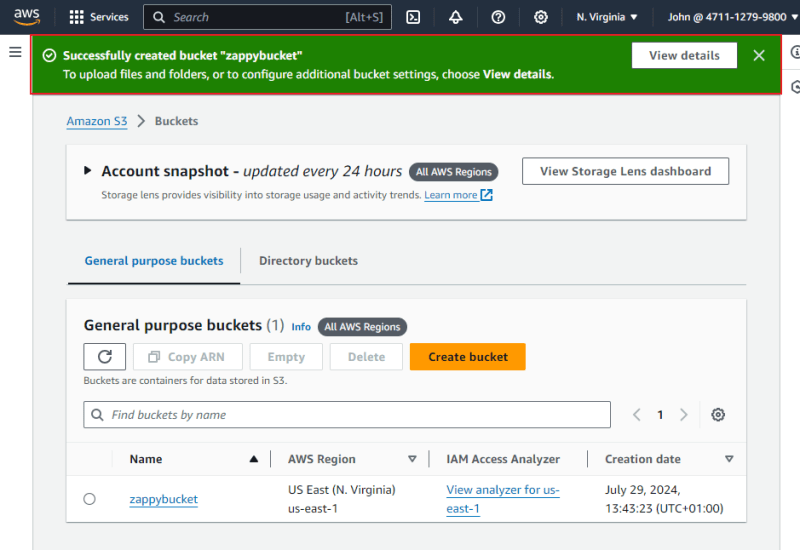
Creating S3 Bucket
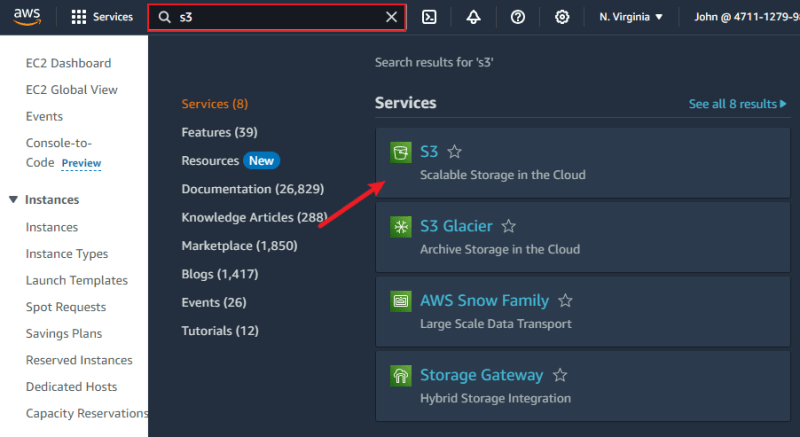
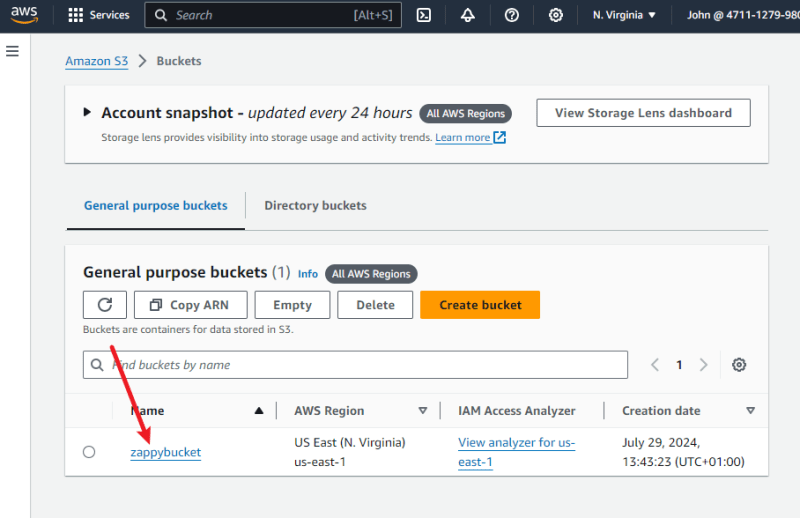
- Search S3 and click
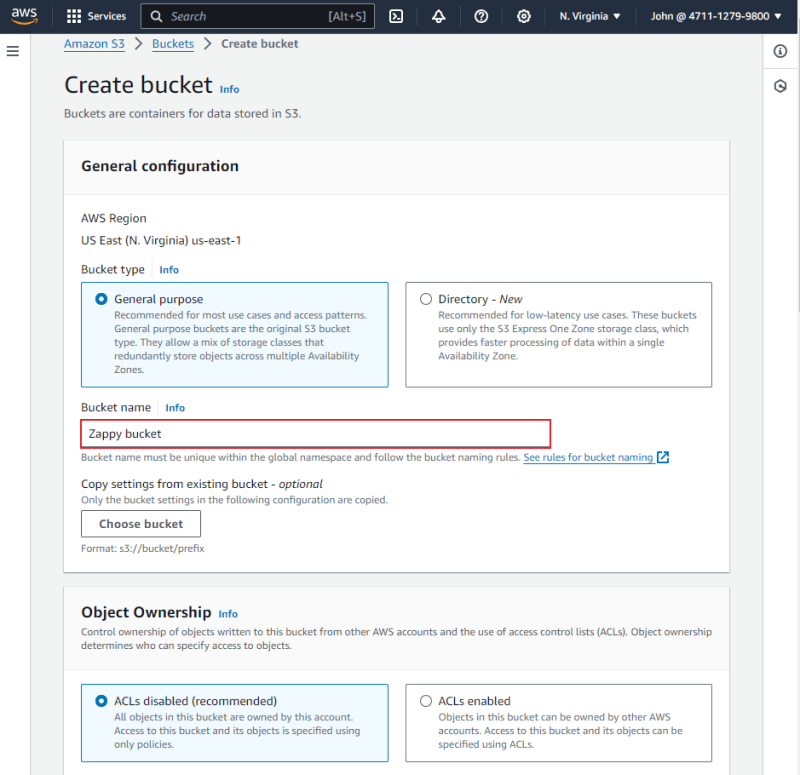
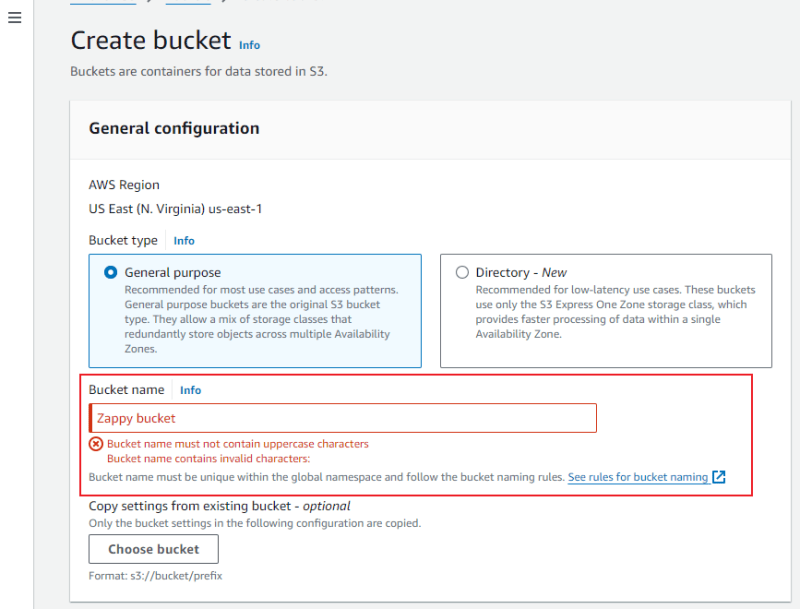
- Create a new bucket and give it a name of your choice
- Create a new object inside the bucket. You should upload an index.html file containing


- On your computer, create an index.html file with the content "Welcome to Amazon
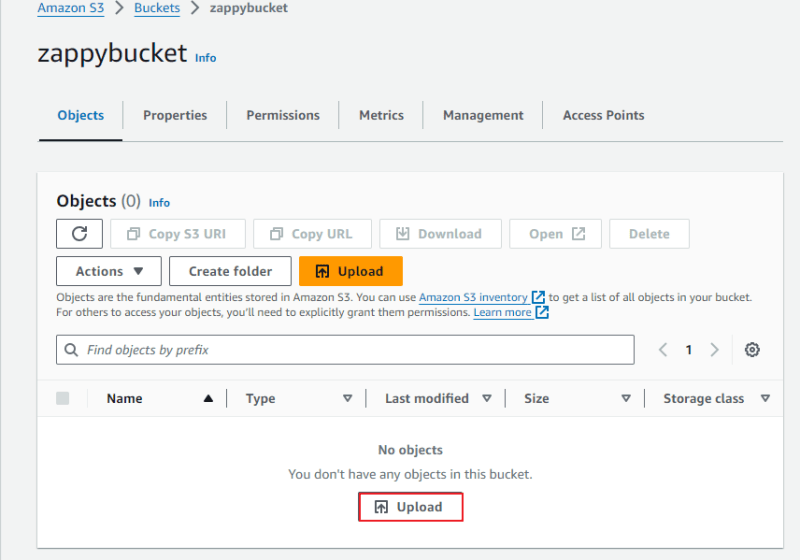
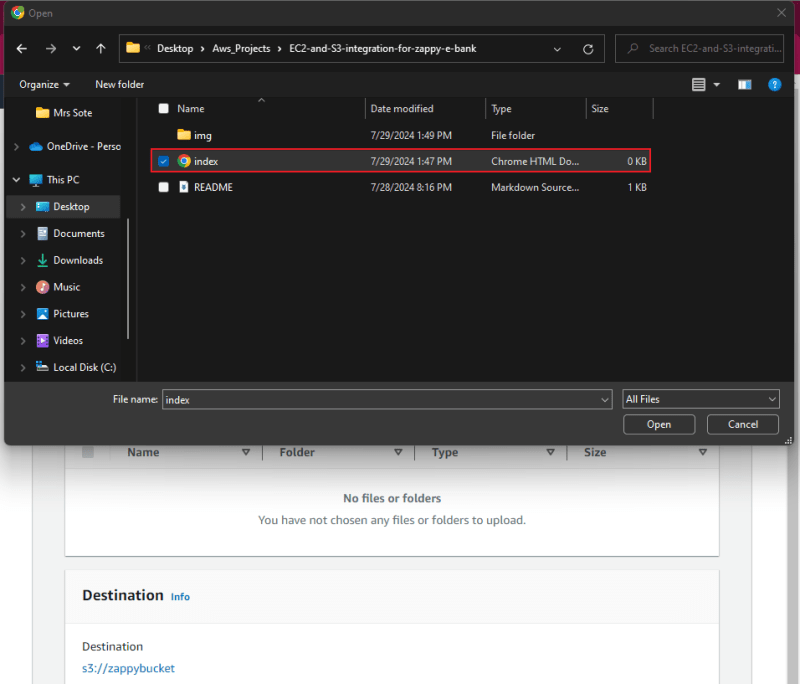
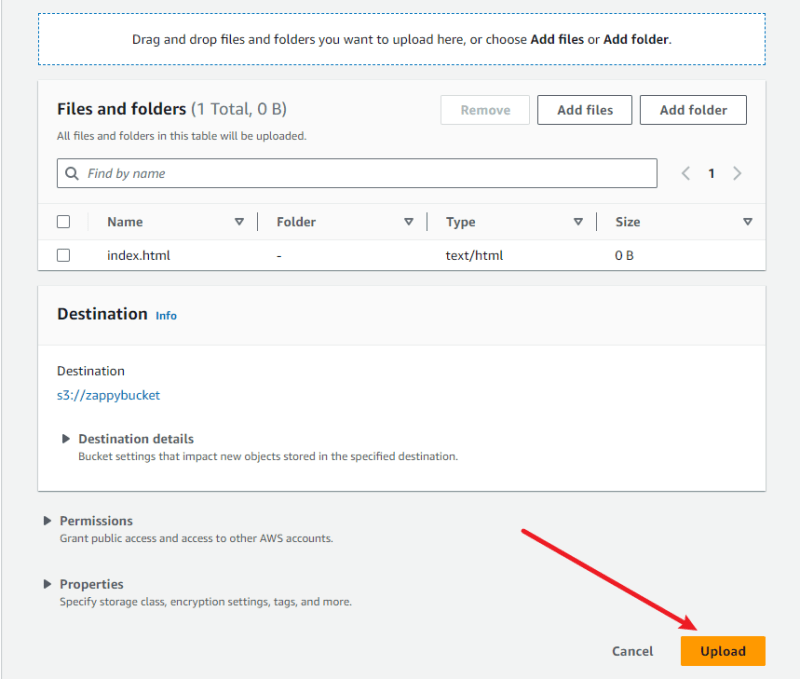
- Upload the index.html on S3 bucket as shown in the image below;
Step 5:
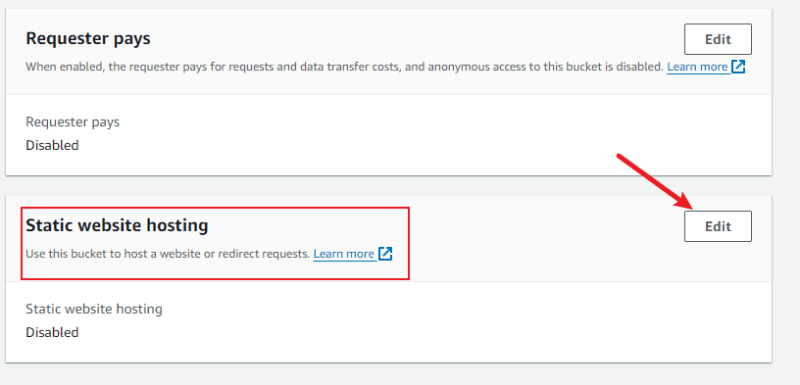
Configuring S3 Bucket for Web Hosting
- Click on your bucket name
- Click on the properties tab and scroll down

- Click on edit
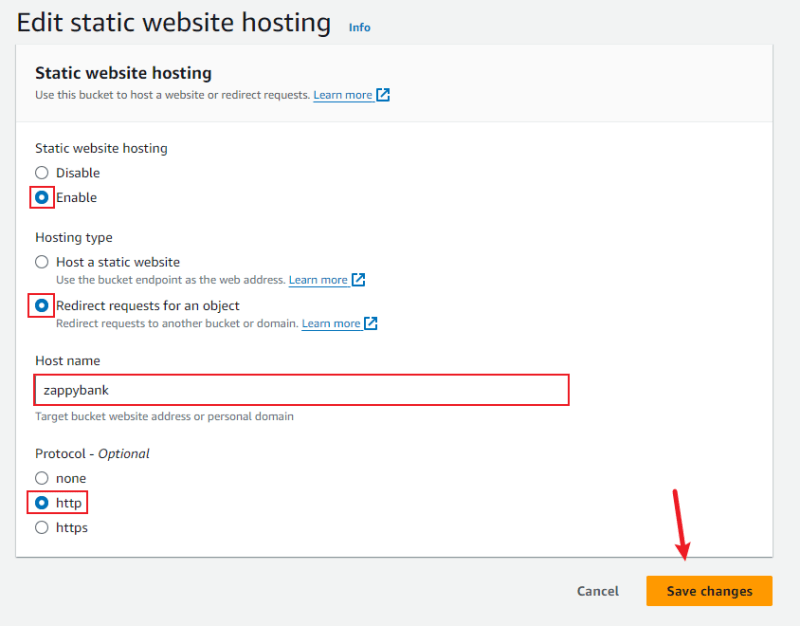
- Copy the URL

Step 6:
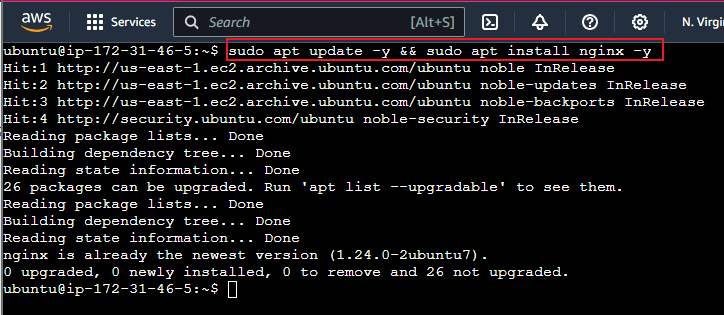
Configuring a web server as Reverse Proxy
- On your EC2 instance, install Nginx web server
sudo apt update -y && sudo apt install nginx -y
- Configure the Web Server to Serve your S3 app directly and forward request to your S3 bucket
sudo vim /etc/nginx/sites-available/mybucket

- Paste the configuration code snippet below and replace the highlighted part with your S3 link
 server {
    listen 80;
    server_name 100.26.55.173;  # Replace with your domain name or server IP address

    location / {
        proxy_pass https://your-bucket-name.s3.amazonaws.com; # Replace with the link you generated after you enabled  static web hosting for your bucket
        proxy_set_header Host your-bucket-name.s3.amazonaws.com;
        proxy_set_header X-Real-IP $remote_addr;
        proxy_set_header X-Forwarded-For $proxy_add_x_forwarded_for;
        proxy_set_header X-Forwarded-Proto $scheme;
    }
}
Note Make sure to replace the link above with the link you generated after you enabled static web hosting for your bucket

Step 7:
Make your index.html public
- Navigate to the index.html file, click on Action and then click on Make Public


Step 8:
Launch
insert this code to link the files
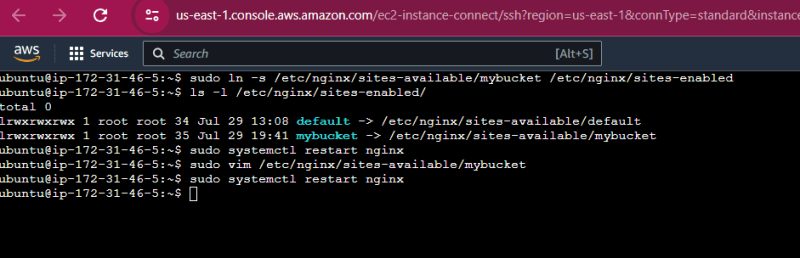
sudo ln -s /etc/nginx/sites-available/mybucket /etc/nginx/sites-enabledThen Restart the nginx
sudo systemctl restart nginx
- Copy your Public URL and paste into your browser

Top comments (0)