Introduction
You can restrict network traffic to resources in your virtual network by using network security groups. A list of security rules that permit or prohibit inbound or outgoing network traffic is contained in network security groups.
Steps involved in creating Network Security Group
The first thing to do is to create a virtual machine to use in testing the network security.
- Click create a resource

- Search for virtual machine in the market place and click create

- Fill the project details which comprises of subscription and resource group

- Fill in the instance details

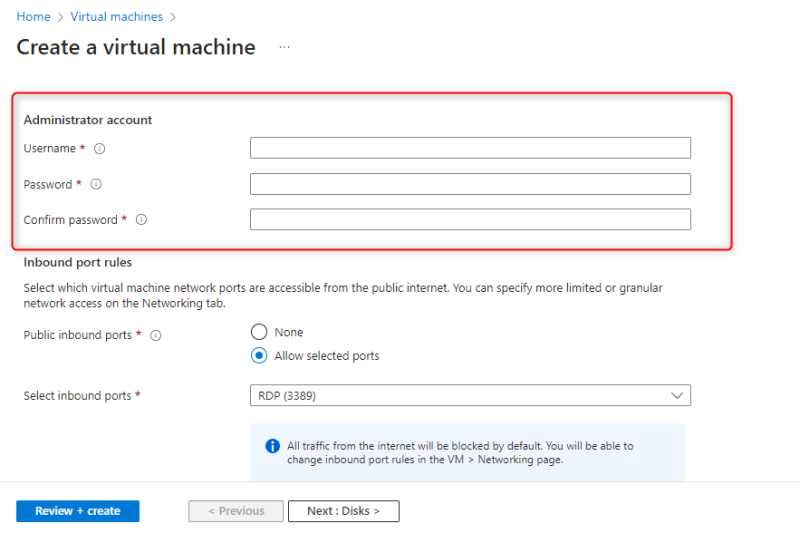
- Fill the Administrator account

- In the inbound port rules section, select none for Public inbound ports

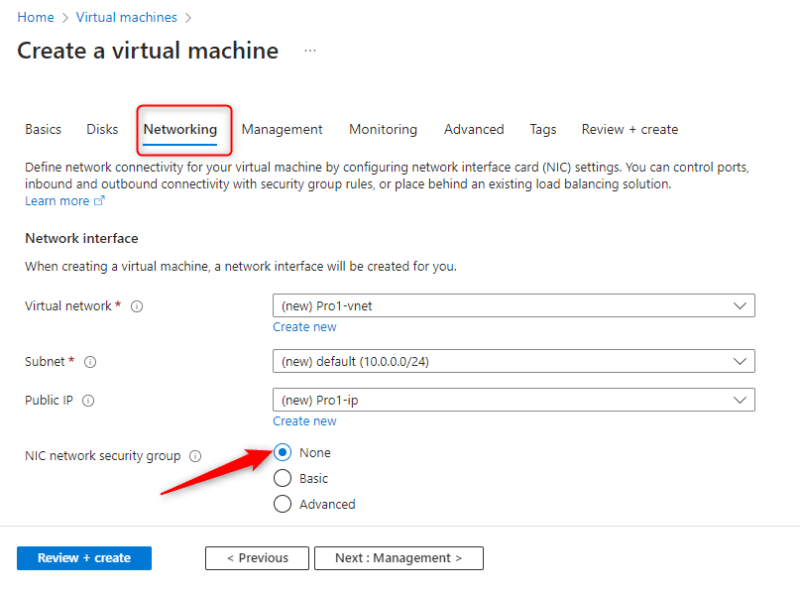
- Select the Networking tab and choose none for NIC network security group.

- Select the monitoring tab, disable Boot diagnostics and leave other settings as default, click create + review after

- Click create once validation is passed

- Wait for it to deploy and click go to resource once deployment is complete

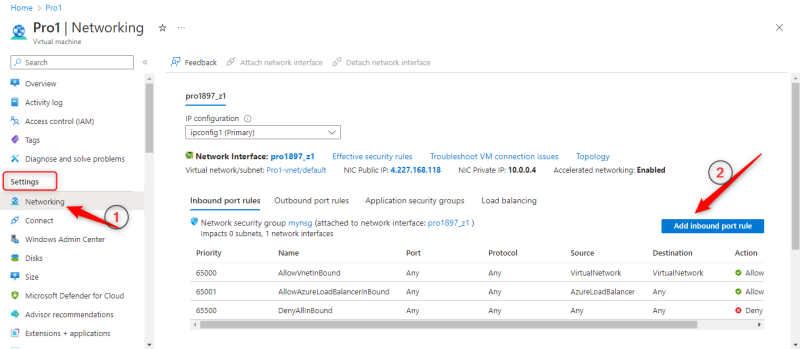
- In the overview page, Click Networking in the settings. You will notice that there is no network security group in the inbound port rules. Also take note of the Network Interface Card name

How to create Network Security Group
- Click create a resource

- Search for virtual machine in the market place and click create

- Fill the project details

- Fill the instance details

- Click preview + create

- Click create once validation passed

- Click go to resource once deployment is complete

- Click Network interfaces in the settings section and click associate

- Click Network Interface association and select the name of the interface noted earlier from the drop down, click Okay after.


How to configure Inbound security port rule to give access to RDP.
- Go back to the virtual machine created earlier and click connect in the overview page

- We need to connect to the virtual machine by downloading the RDP. First click connect under Native RDP

- Click download RDP

- After downloading the RDP file click on the file to launch it and the launch will fail because the Network Security Group created will not allow RDP

- Click Networking under settings in the virtual machine and click Add inbound port rule

- Configure the inbound rule with the following settings
Destination port ranges: 3389
Protocol: TCP
Priority: 300
Name: AllowRDP
Leave other settings as default and click add


- We need to try to connect the virtual machine again to check if the inbound rule is working. Download the RDP file again
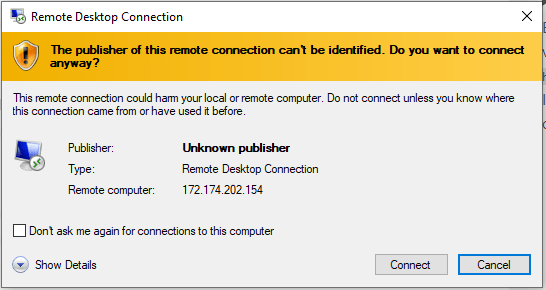
- After downloading the RDP file click on the file to launch it and click connect

- Enter your username and password and click Ok

- Click yes

How to configure Outbound port rule to deny access to internet
- First check if the virtual machine connected to can access internet by opening internet explorer and search bing.com
 This shows that outbound port rule is allowed
 - Click networking in the settings, click outbound port rule and select add outbound port rule

- Enter the following settings
Destination: Service Tag
Destination port ranges: *
protocol: TCP
Action: Deny
Priority: 4000
Name: DenyInternet
Leave other settings as default and click save


- To check if the outbound rule is working, go back to the connected virtual machine and search bing.com in internet explorer. The access will be denied


Top comments (0)