Active Storage Overview
Active Storage is a ruby gem that facilitates uploading files to a cloud storage service and attaching those files to Active Record objects. Testing and development environments have a local disc service option for storing files locally. Active Storage utilizes naming conventions similar to Active Record , making it very intuitive and easy to integrate into any Ruby on Rails application.
Final Result
Please feel free to visit my gitHub repository or my website to see the the results of this tutorial.
- Website: https://extrackt.onrender.com/
- Repository: https://github.com/nickmendezFlatiron/extrackt
If you already have Active Record installed , navigate down to the "Configuring Active Storage for S3" section.
How To Setup Active Storage
I highly recommend planning out your application prior to installing Active Storage. Map out your models, attributes, associations, and routing logic. I recommend using an entity relationship diagram (ERD) to map out your model/table relationships dbdiagram. Build out a frontend that can capture files for you to test and troubleshoot Active Storage.
1) Install the Active Storage gem from your terminal , or add the Active Storage gem to your Gemfile and run bundle install
gem 'activestorage', '~> 7.0', '>= 7.0.4'
2) As an option , install Active Storage Validator to add validations to your Active Storage uploads
gem 'activestorage-validator', '~> 0.2.2'
3) Migrate the Active Storage auto generated tables to your database
rails db:migrate
4) Create and migrate the rest of your Models , preferably using a scaffold or resource generator. When using generators , Active Storage attachments follow the convention below. Use the attachments (plural) to setup a one-to-many relationship between records and files
rails g resource User avatar:attachment photgraphs:attachments
At this point , your app_name/app/db/migrate folder should look similar to this

4b) Alternatively, open your model and define the attachment directly in the model. Setup a one-to-many relationship between records and files using the has_many_attached naming convention
class User < ApplicationRecord
  has_one_attached :avatar
  has_many_attached :photographs
end
Configuring Active Storage for S3
1) Add the AWS S3 Gem to your Gemfile and run bundle install
gem "aws-sdk-s3", require: false
2) Set your Active Storage service in config/environments folder
- to use S3 service in your development and production environment , include the following code in your config/environments/development.rb and config/environments/production.rb files. ```
Store files on Amazon S3.
config.active_storage.service = :amazon
- if you'd like to store files locally in your development environment, copy/paste the following code in your config/environments/development.rb file.
config.active_storage.service = :local
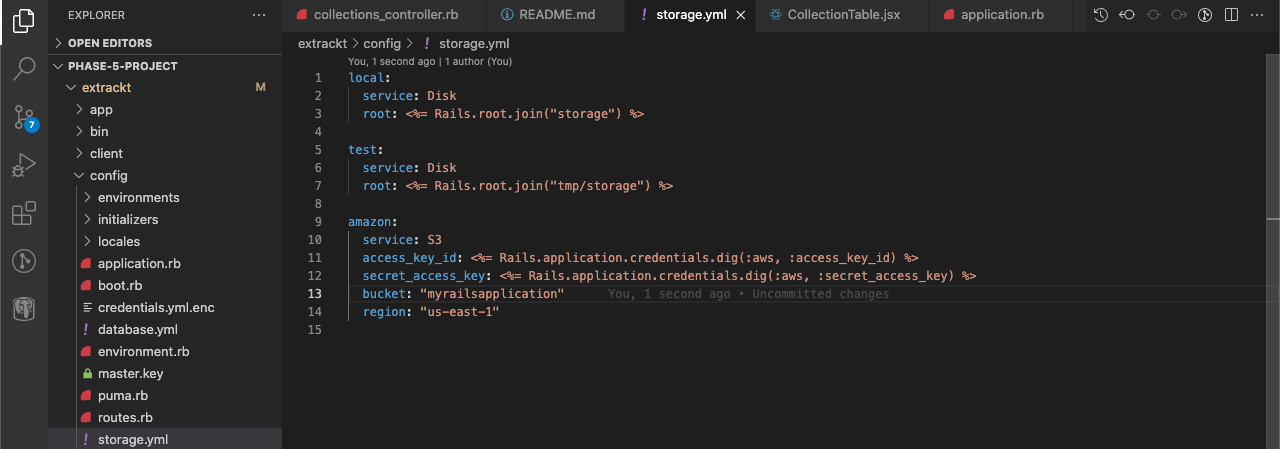
3) Inside your config folder , create a storage.yml file if one does not exist.
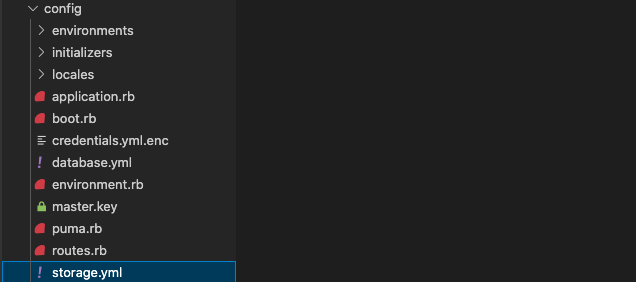
- Inside the config/storage.yml file , copy/paste the following code. We will enter a bucket and region in a later step
local:
service: Disk
root: <%= Rails.root.join("storage") %>
test:
service: Disk
root: <%= Rails.root.join("tmp/storage") %>
amazon:
service: S3
access_key_id: <%= Rails.application.credentials.dig(:aws, :access_key_id) %>
secret_access_key: <%= Rails.application.credentials.dig(:aws, :secret_access_key) %>
bucket: "bucket_name_here"
region: "your_region_here"
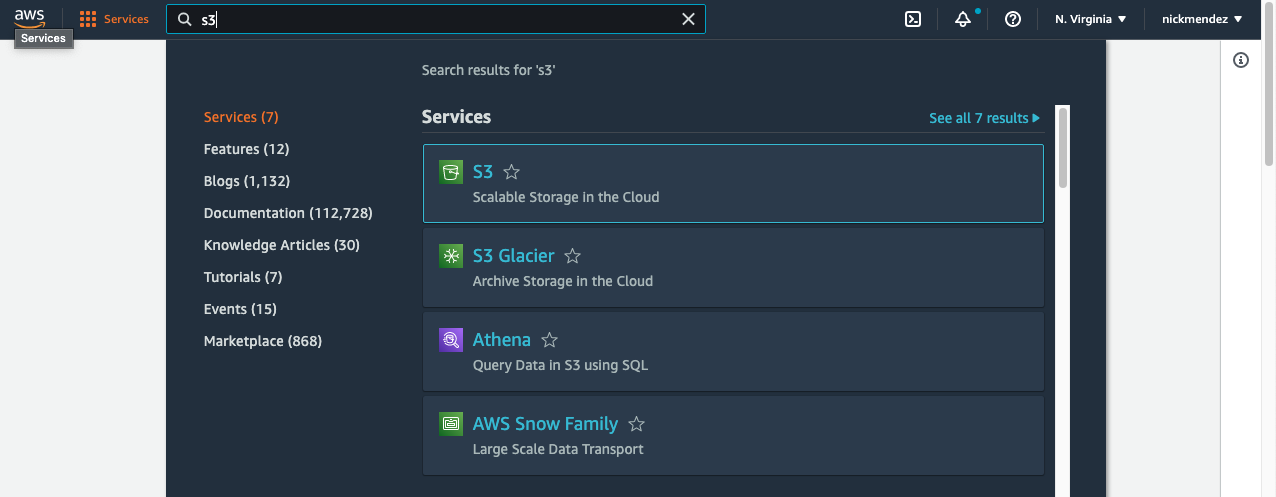
4) Login to your AWS account or [create a free account.](https://aws.amazon.com/s3/pricing/?loc=ft#AWS_Free_Tier)
5) Under the services tab, navigate to the S3
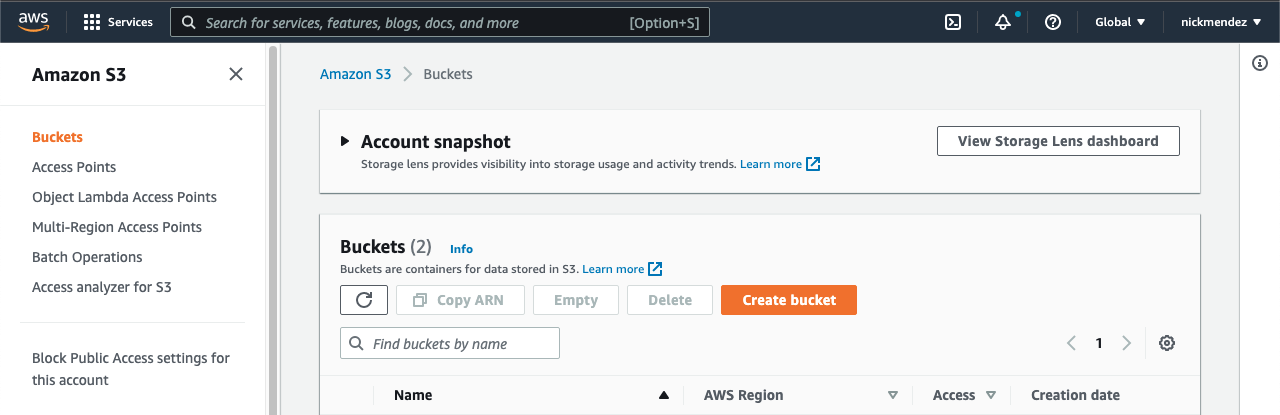
6) Create a New Bucket by clicking the orange Create Bucket button
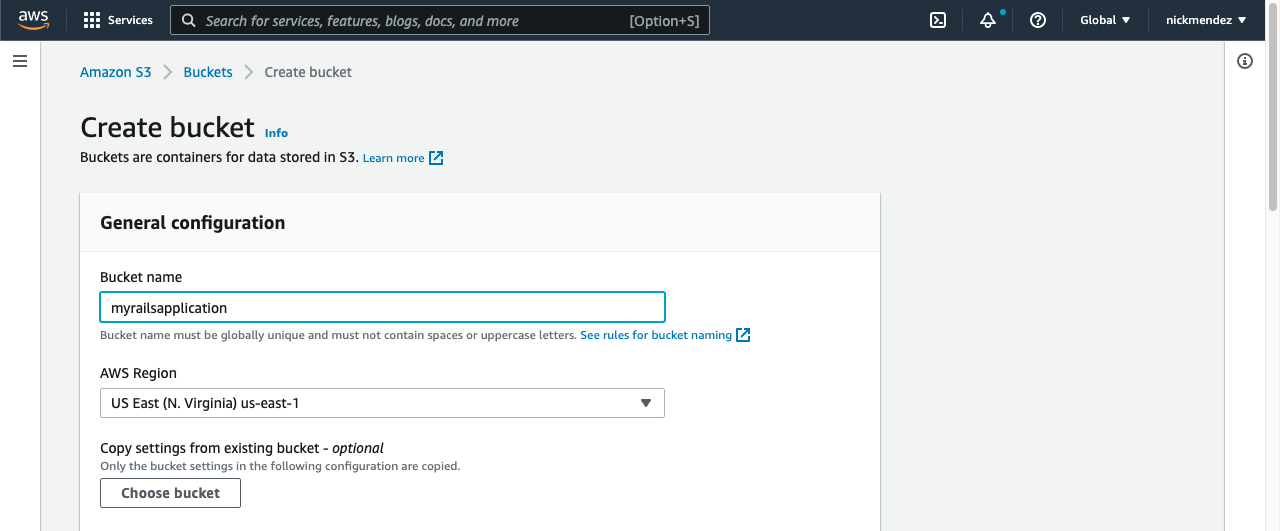
7) Under General Configuration:
- use your application's name as the bucket name.
- Select the region which is closest to your location.
8) Leave default settings for the rest of the bucket and click the create bucket button on the bottom of the page.
9) Inside the config/storage.yml file from step 3 , enter the bucket name and region from the bucket you created.

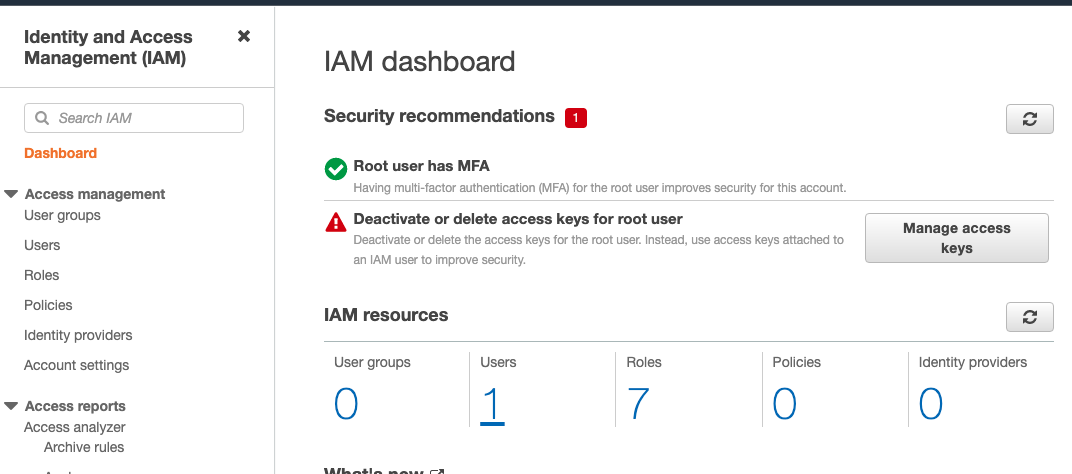
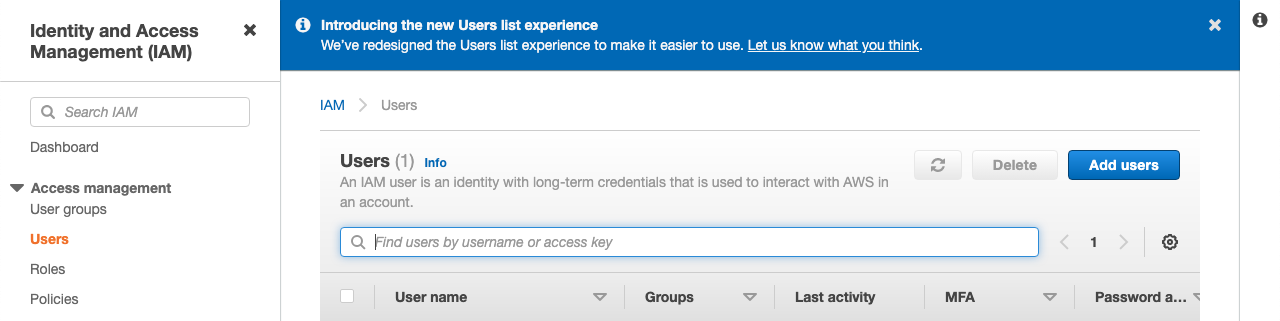
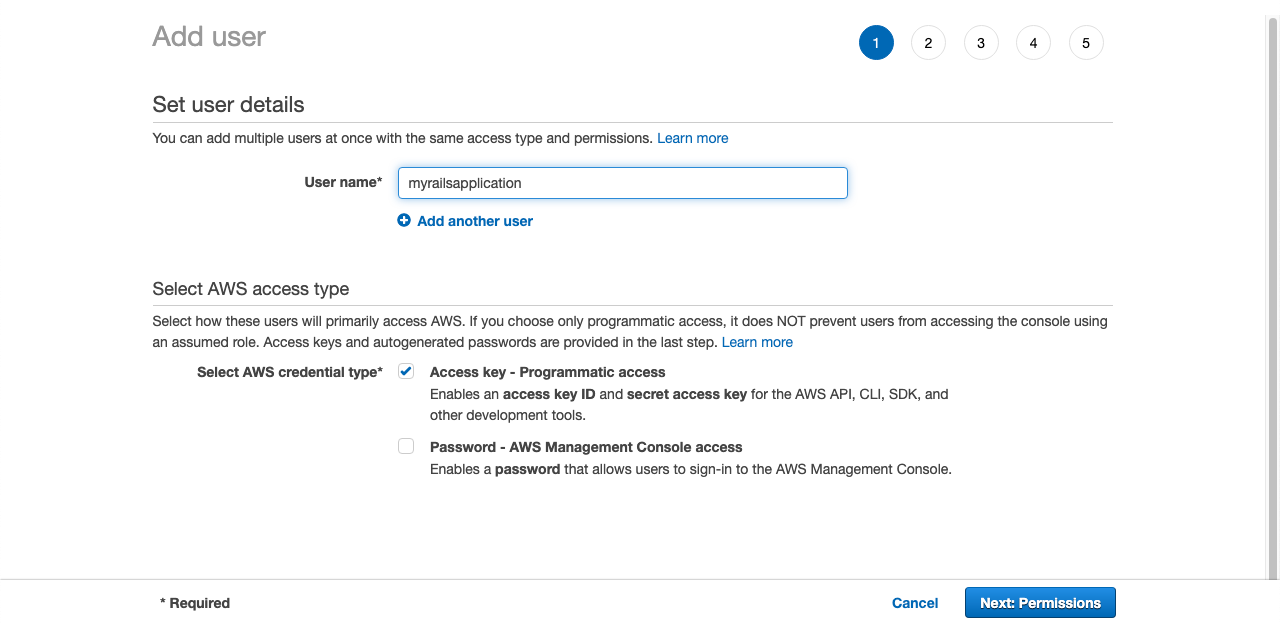
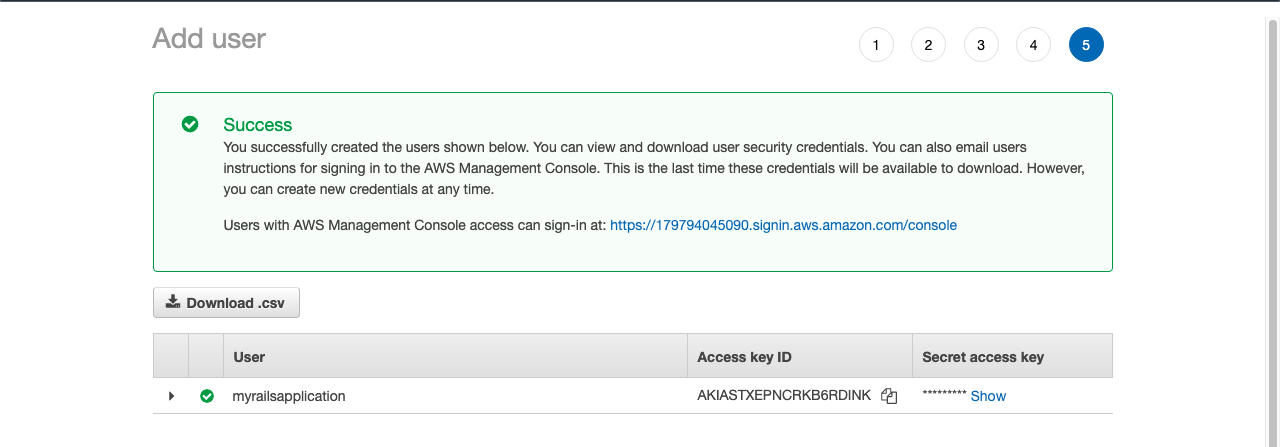
10) Navigate back to your AWS website tab and select IAM under the services tab. Click on Users and then click on the blue Add Users button

11) Use your application's name as the user name and select programmatic access.
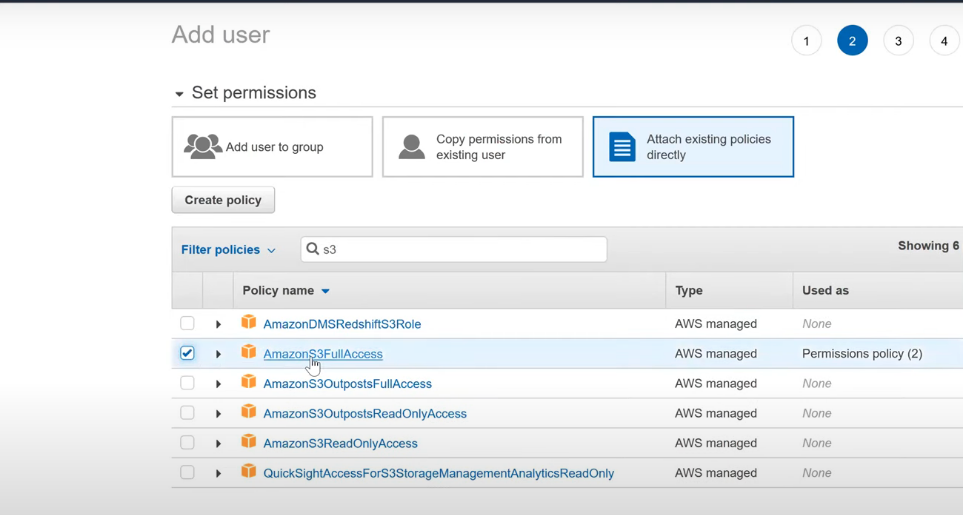
- Select Attach Existing Policies tab and search for S3.
- Select the Amazon S3 Full Access policy.
12) Navigate back to your IDE and open a terminal. cd into your root directory folder and run the following command.
- We will be adding our AWS S3 user information into an encrypted file because we do not want to store sensitive information in plain text.
EDITOR=VIM bundle exec rails credentials:edit
- Note: If you encounter an "Couldn't decrypt config/credentials.yml.enc. Perhaps you passed the wrong key?" error , delete the config/credentials.yml.enc file and rerun the command.
13) Inside the VIM editor , press the i key to edit the contents inside the terminal window.
- copy/paste the secret access key and access_key_id from the S3 user you created.
- make sure to uncomment
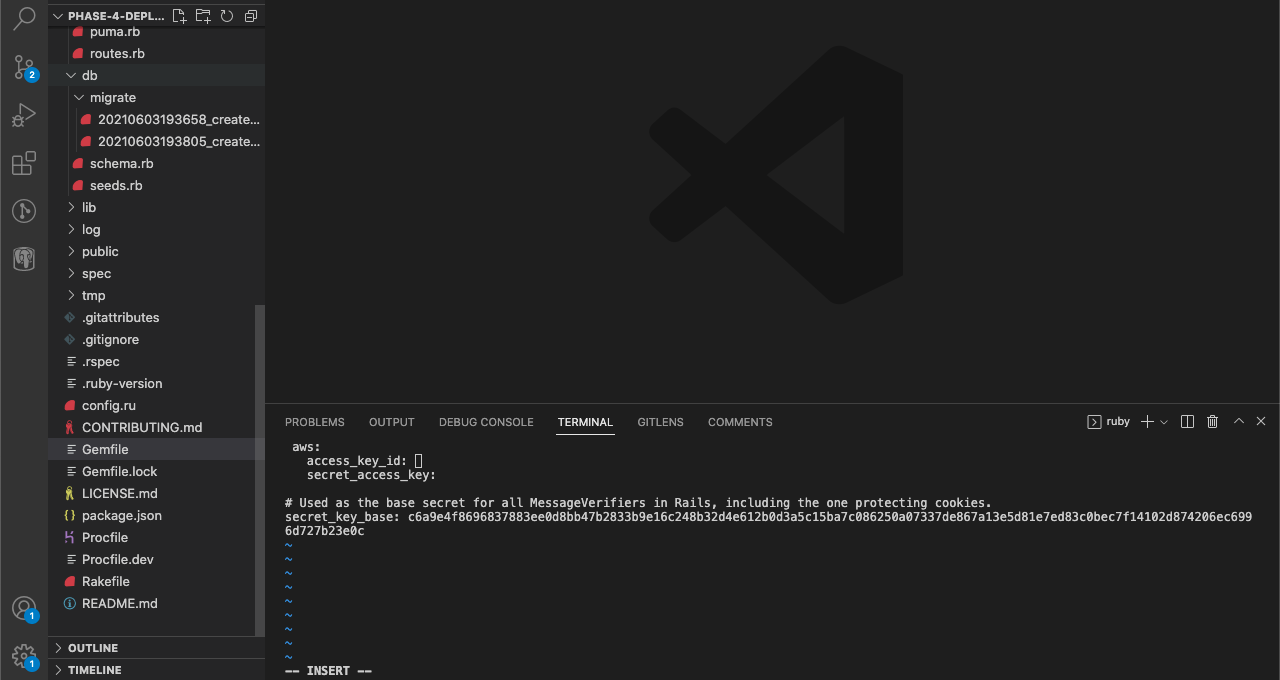
14) Press the escape key and then type :qa to exit and save the file
At this point , everything is set up. If you plan on deploying your project , make sure to commit and push to your Github Repo. Once you have a URL for your live application , configure CORS in your S3 bucket under the Permissions tab. Here is a CORS configuration example
[
{
"AllowedHeaders": [
"*"
],
"AllowedMethods": [
"GET",
"POST",
"PUT"
],
"AllowedOrigins": [
"https://www.example.com"
],
"ExposeHeaders": []
}
]
---
Resources
- [Active Storage Guide](https://edgeguides.rubyonrails.org/active_storage_overview.html#attaching-files-to-records)
- [Amazon AWS](https://aws.amazon.com/s3/)
- [AWS CORS Configuration](https://docs.aws.amazon.com/AmazonS3/latest/userguide/ManageCorsUsing.html)

Top comments (0)