Pre-Requisites
Before beginning the Avi installer, I configured the following in my environment:
- Management Segment (NSX-T Overlay). This is set up with DHCP for quick automatic provisioning - no ephemeral addresses required
-
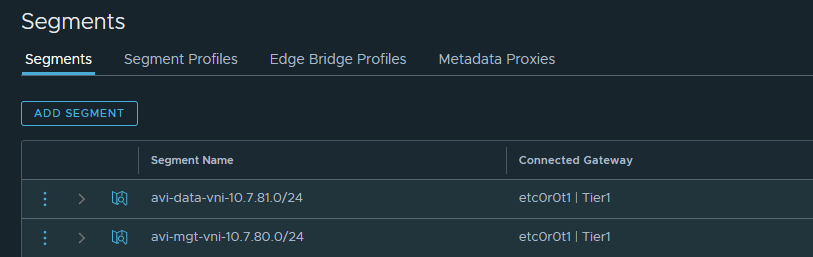
Data Segments (NSX-T Overlay). Avi will build direct routes to IPs in this network for vIP processing. I built 3 -
- Layer 2 Cloud (attached to Tier-1)
- NSX Integrated (attached to Tier-1)
- Layer 3 Cloud (attached to Tier-0)
Avi also supports automatic SE deployment - which means that automatic IP configuration is important. Avi supports SLAAC (IPv6) and DHCP (IPv4) for this purpose.
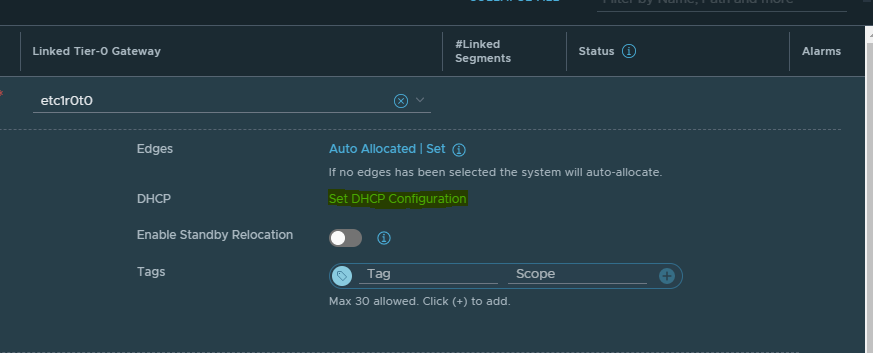
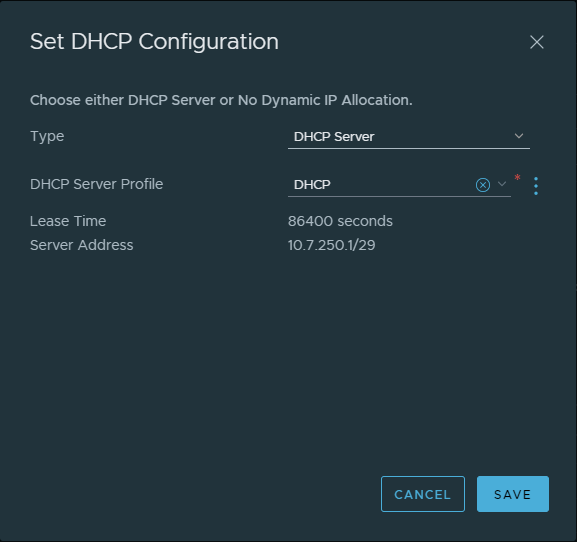
NSX-T is unsurprisingly symbiotic here. I have built a dedicated Tier-1 for NSX ALB, and we're going to provide DHCP services via the Tier-1 router. If this was a production deployment or a VVD-compliant SDDC, this should be performed with a DHCP relay. I just haven't set aside time to deploy DHCP/IPAM tools for reasons that are beyond me.
The following changes are performed on the Tier-1 Logical Router. This step is not required for external DHCP servers!
*The following changes are to be performed on the Logical Segment. *
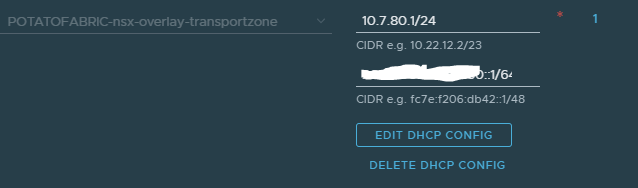
If production, DHCP relay is selectable from the following screen:

Installation
Avi Controller
VMware provides a prepackaged OVA for the Vantage controller - and it's a pretty large appliance. 24 GB of memory and 8 vCPUs is a lot of resourcing for a home lab. There are no sizing options here.
Installation is pretty easy - once the OVA is deployed, I used my CI/CD pipeline and GitHub to deploy DNS updates and logged right into the installation wizard.

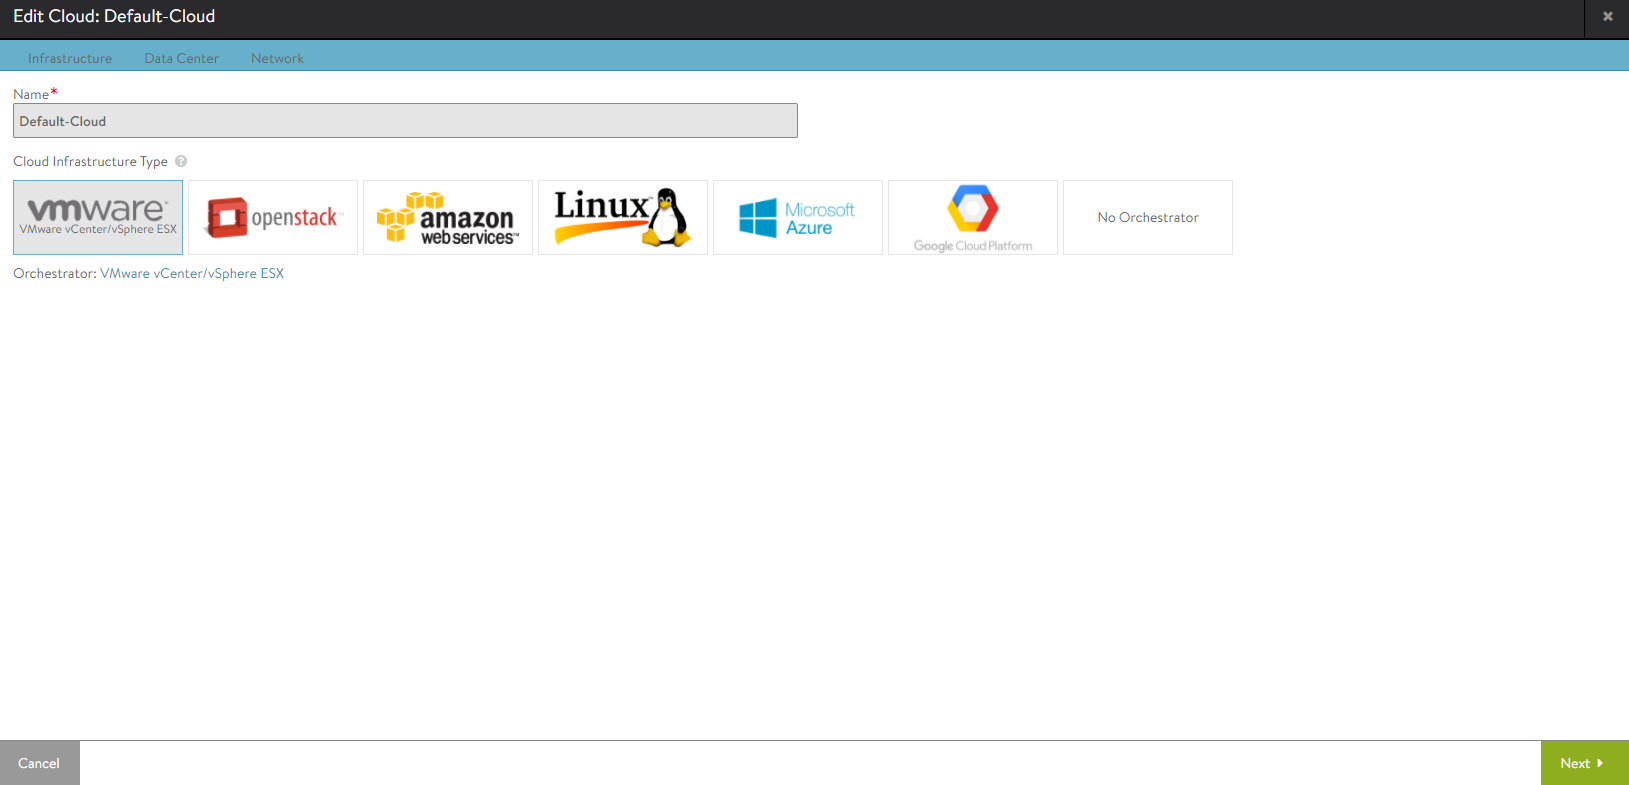
AVI version 20.1.5 has changed the installer approach from the above to this. When "No cloud setup" is selected, it still insists on configuring a new cloud. This isn't too much of a problem:
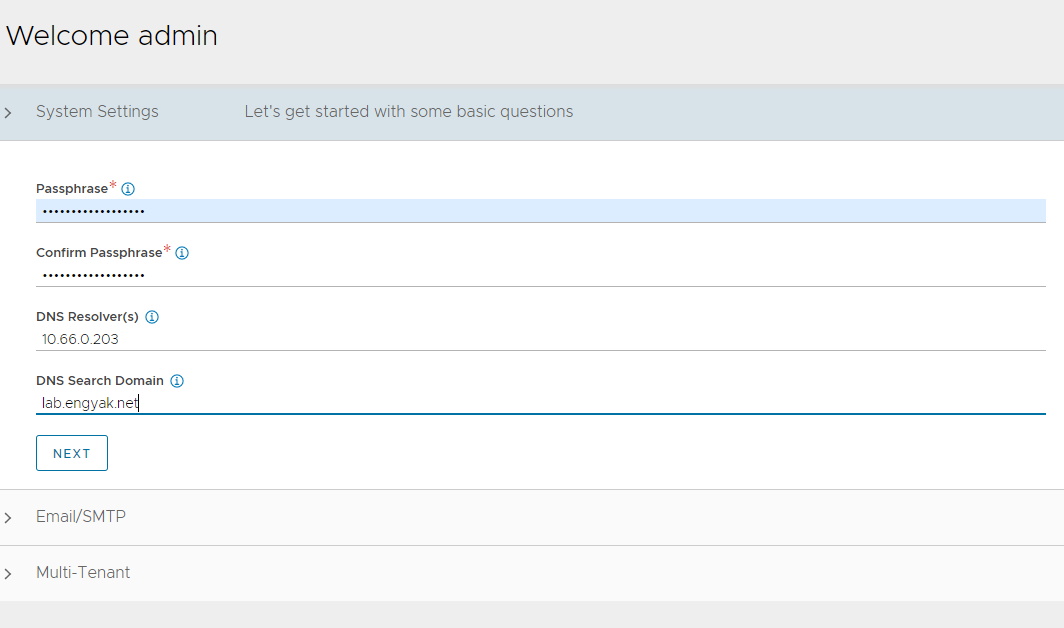
Note: This passphrase is for backups - make sure to store it somewhere safe!
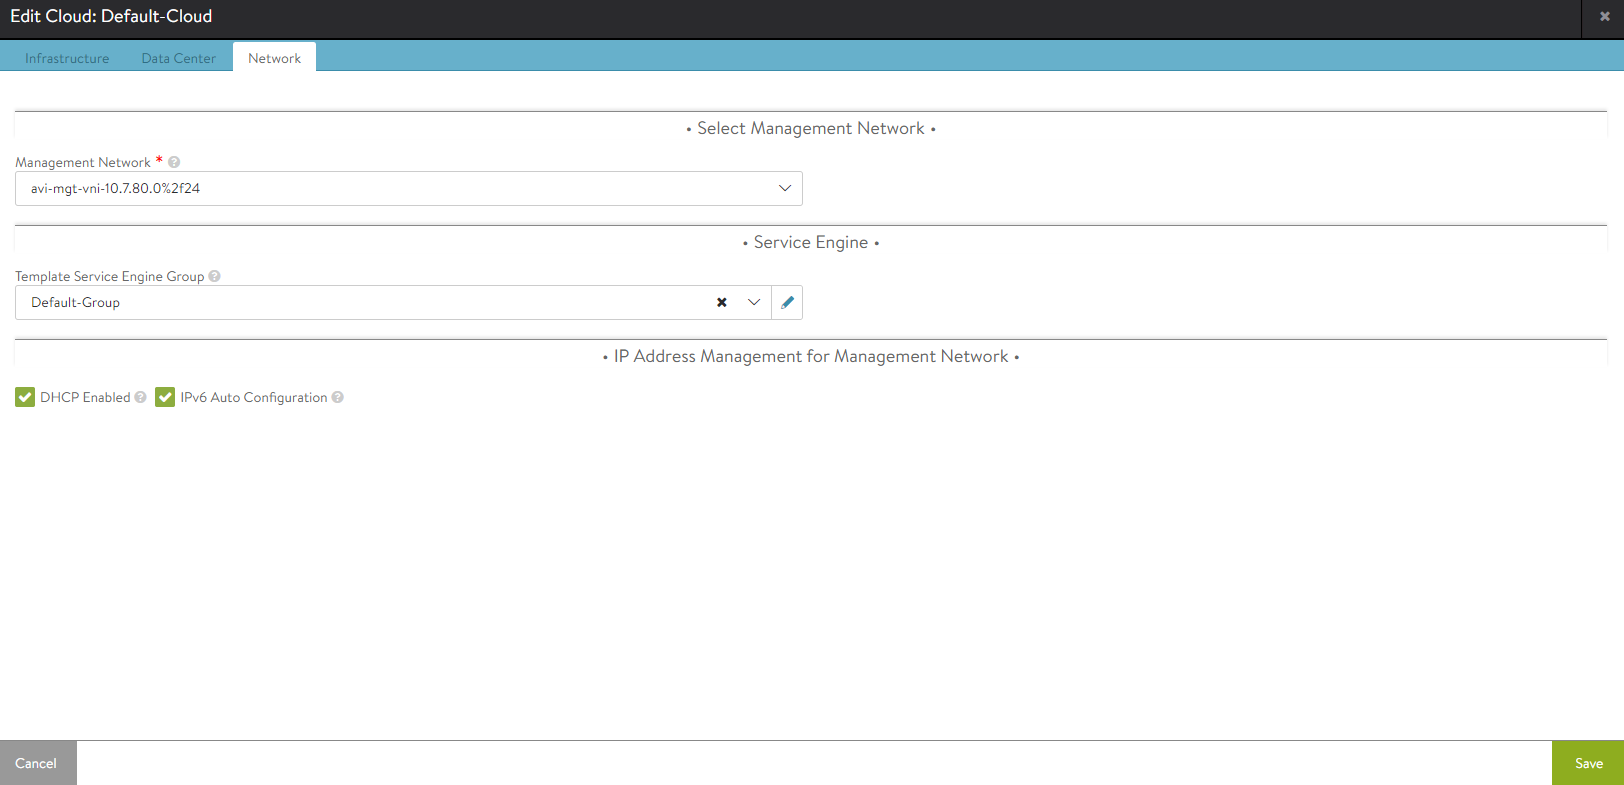
From here, we configure vCenter's integration:
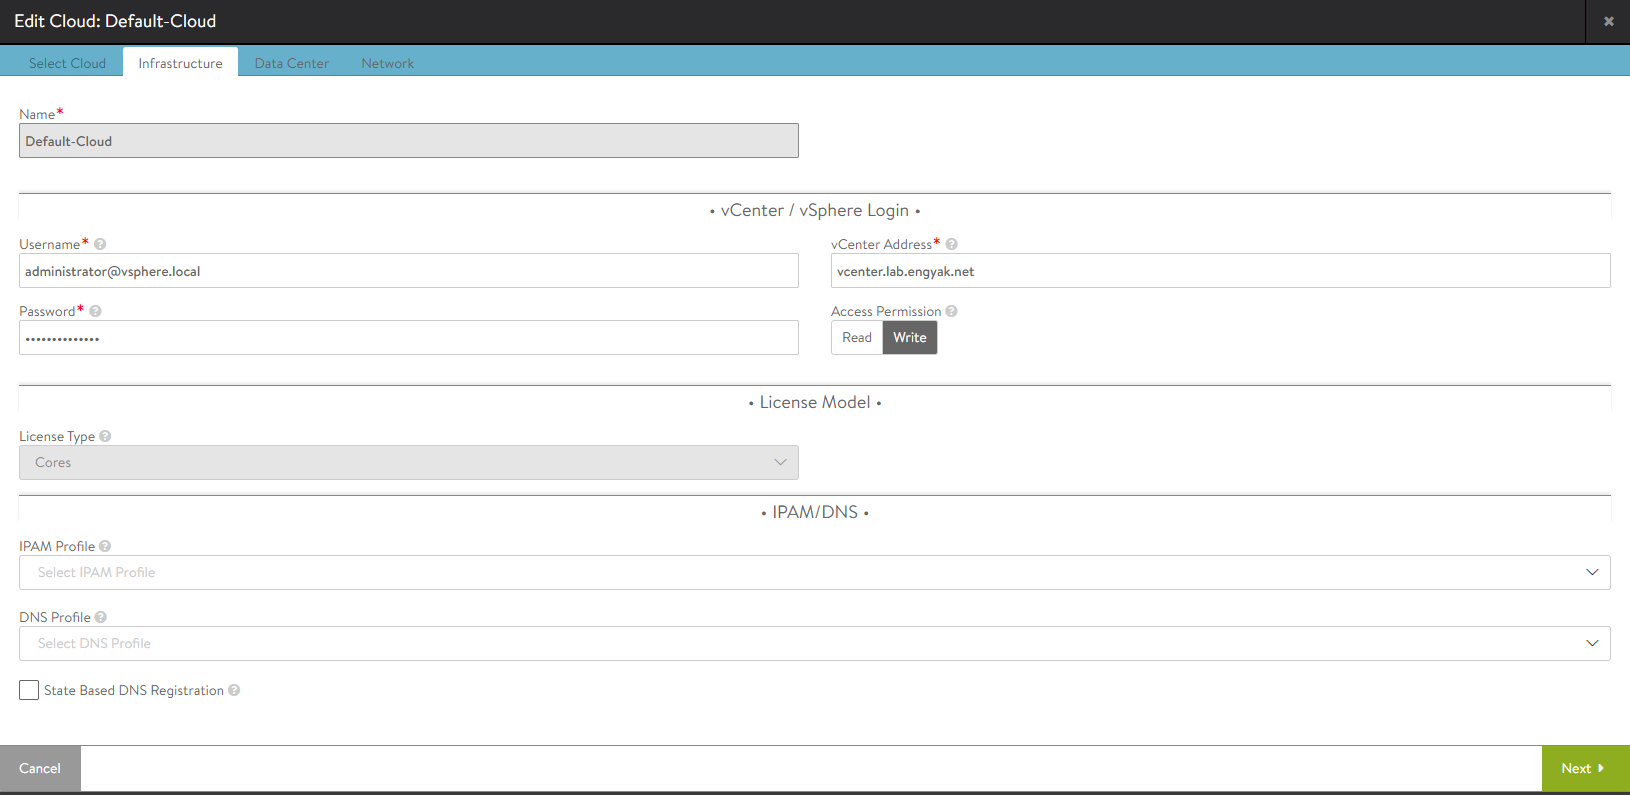
Let's ensure that Avi is connected to vCenter and has no issues. Note: VMware recommends write-mode for vCenter clouds.

After install, it's useful to get a little oriented. Up in the top left of the Avi Vantage GUI. In the top left, you'll find the major configuration branches by expanding the triple ellipsis. Get familiar with this part of the GUI - you'll be using it a lot!

Patching
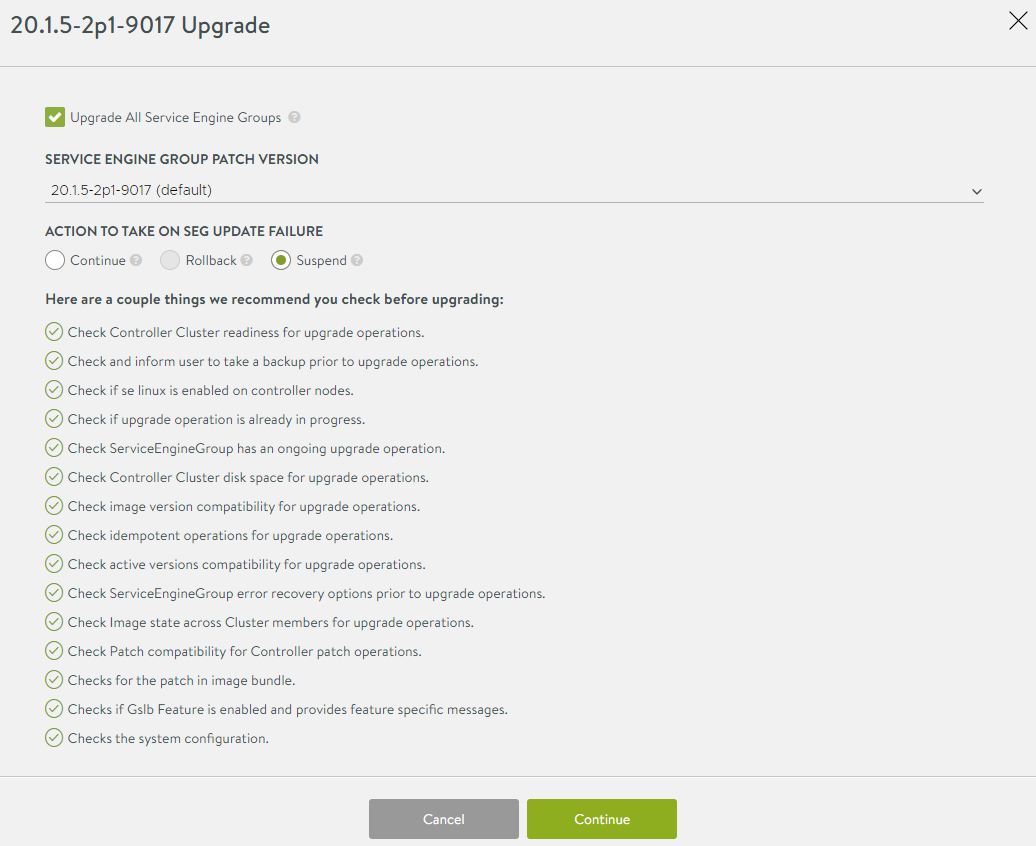
Before we build anything, I prefer to load any patches (if applicable) prior to building anything. This should help avoid any software issues on deployment, and patching is usually simpler/lower impact if you have no configuration yet.
Avi Vantage really excels here - this upgrade process is pretty much fully automated, with extensive testing. As a result, it's probably going to be slower than "manual" upgrades, but is definitely more reliable. Our industry really needs to get over this - If you have a good way to keep an eye on things while keeping busy, you're ahead of the curve!
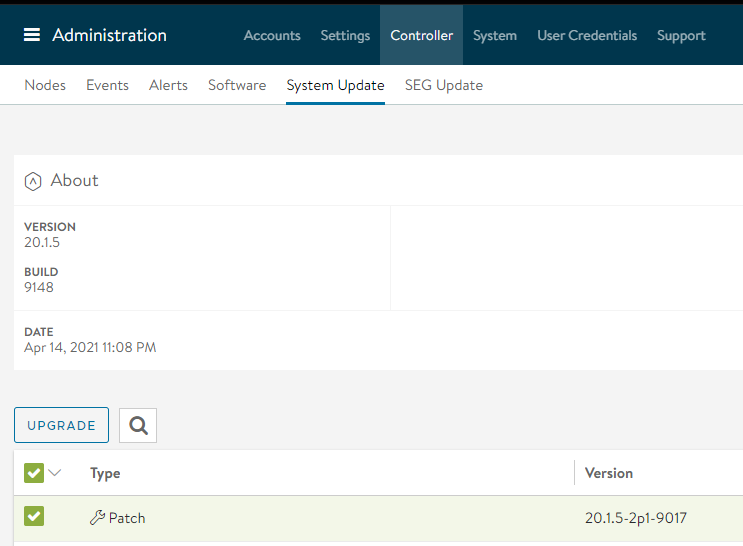
We'll hop on over to Administration -> Controller -> Software:

While this upgrade takes place - Avi's controller will serve up a "Sorry Page" indicating that it's not available yet - which is pretty neat.

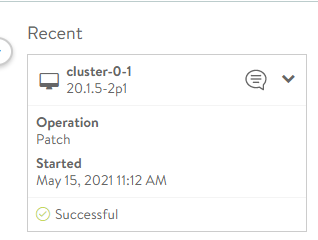
When complete, you should see this:
Avi Clouds
Clouds are Avi's construct for deployment points - and we'll start with the more traditional one here - vCenter. Most of this has already been configured as part of the wizard above. Several things need to be finished for this to run well, however:
- Service Engine Group - here we customize service engine settings
- IPAM - Push IP address, get a cookie
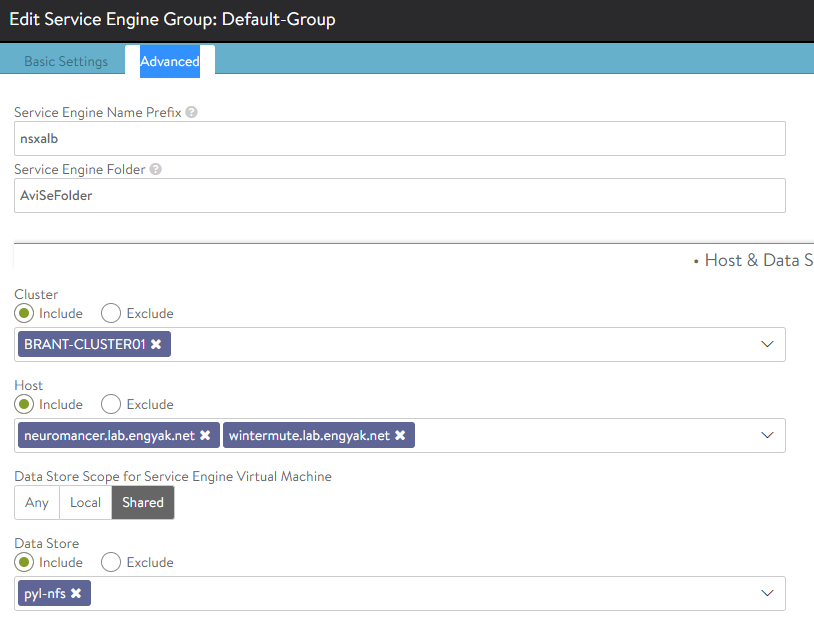
SE Group Changes are executed under Infrastructure -> SE Groups. Here I want t to constrain the deployment to specific datastores and clusters.
IPAM is located in two places, Templates -> Profiles -> IPAM/DNS Profiles (bindable profile):
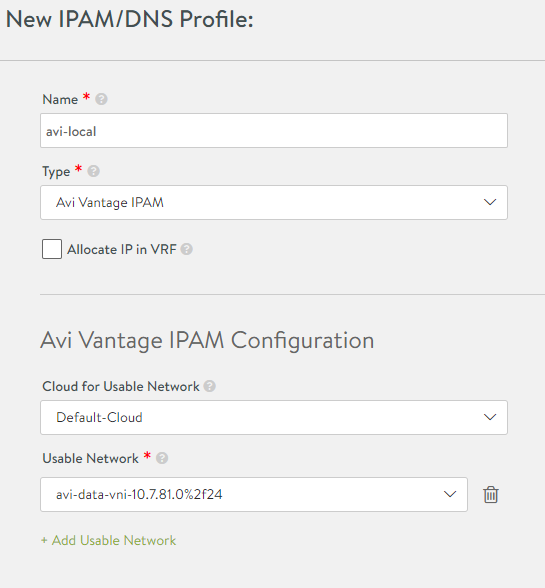
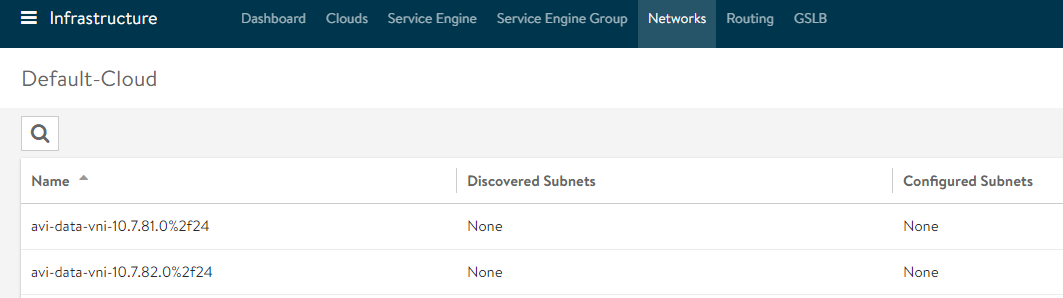
Ranges are configured under Networks. If you configure a write-access cloud, it'll scan all of the port groups and used IP ranges for you. IP ranges and Subnets will still need to be configured and/or confirmed:

Note: This IPAM profile does need to be added to the applicable cloud to leverage auto-allocate functions with vIPs.
Avi Service Engines
Now that the setup work is done, we can fire up the SE deployments by configuring a vIP. By default, Avi will conserve resources by deploying the minimum SEs required to get the job done - if there's no vIP, this means none. It takes some getting used to!
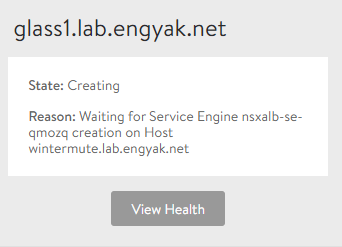
Once the vIP is applied, you should see some deployment jobs in vCenter:

Service engines take a while to deploy - don't get too obsessive if the deployment lags. There doesn't appear to be a whole lot of logging to indicate deployment stages, so the only option here is to wait it out. If a service engine doesn't deploy quite right, delete it. This is not the type of application we just hack until it works - I did notice that it occasionally will deploy with vNICs incorrectly configured.
From here, we can verify that all service engines are deployed. The health score will climb up over time if the deployment is successful.
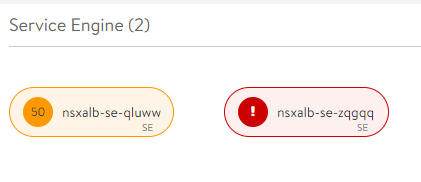
Now we can build stuff!

Top comments (0)