I cheated/pivoted a little bit - decided to simulate a bit more closely what I'd be using at work. I bootstrapped a CentOS VM and followed the instructions in: https://github.com/PaloAltoNetworks/minemeld-ansible
$ sudo yum install -y wget git gcc python-devel libffi-devel openssl-devel zlib-dev sqlite-devel bzip2-devel$ wget https://bootstrap.pypa.io/get-pip.py$ sudo -H python get-pip.py$ sudo -H pip install ansible$ git clone https://github.com/PaloAltoNetworks/minemeld-ansible.git$ cd minemeld-ansible$ ansible-playbook -K -i 127.0.0.1, local.yml$ usermod -a -G minemeld # add your user to minemeld group, useful for development
Everything worked fine - I had to retry the playbook once to get it to run, but the install playbook even enabled/started the requisite services. I'd highly recommend this approach over the OVA - it took me ~ 30 minutes in total to get Minemeld up and running in my lab, including the CentOS ISO download.
Anyone else who is doing this may find it useful to know that the usermod above doesn't grant you login access to minemeld - it has its own credential set. Default credentials are _admin| minemeld. _
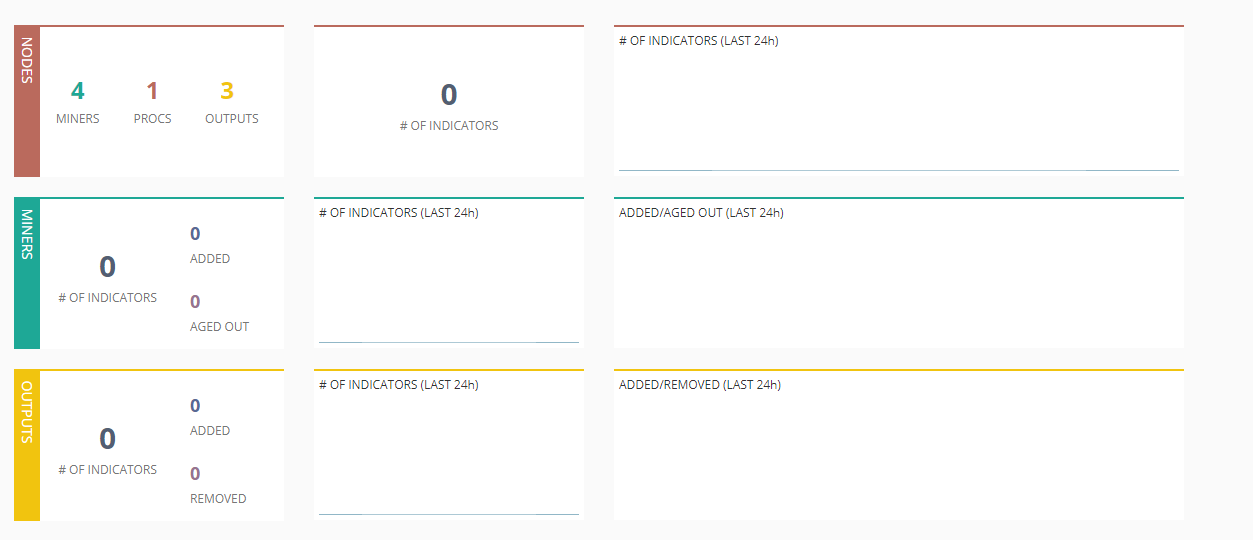
My next objective will be to integrate with my lab firewall using EDLs. Here's a preview of it running without any custom miners - eventually I'd like to mine NSX-T's manager to share object groups between systems.


Top comments (0)