Blogs in the Series
| Part | Description |
|---|---|
| 1 | Setting the backend |
| 2 | Setting the API server to talk to Backend as well as frontend |
| 3 | Setting the Frontend to talk to API server |
| 4 | Deploying the app to something permanent |
| 5 | Research on deploying to slack app store |
Background
This is my first blog post here, but i have been silently learning a lot from this great community. So finally i thought its is the time to give back to the community which has given us so much. Off late i have been using slack to work closely. Recently there was a need to get some group members opinion on some questions came up.
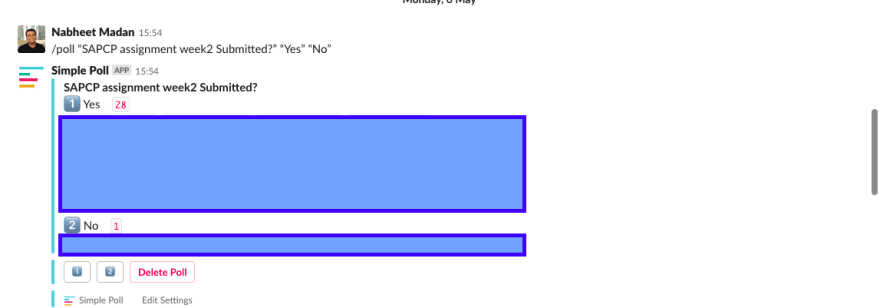
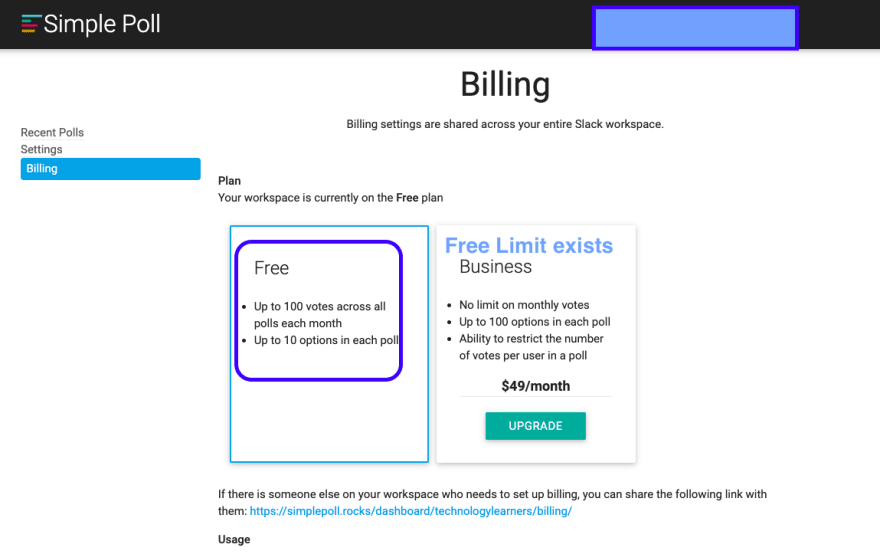
As always i tried with few of the already existing slack applications such as simple poll but sadly none of it is free as can be seen below.
So i thought of we are the developers why can't we make a custom free poll app. This will have two benefits one So this and next set of blogs will be about sharing my experience while doing the same, with a hope it might help someone like me. I will share the code also so that anyone can adapt as per his/her own needs. So lets begin:)
How we are planning to built?
Since we want our app to be mostly running free, I thought of doing as below.
- A backend using google spread sheet to store the results.
- Our custom NodeJS app hosted somewhere free which talks to both google spread sheet as well the slack app.
- Custom slack app to talk to our NodeJS api.

Setting up the backend
So in this first part we will be setting up our Google Spreadsheet set up and API's which can be consumed by the NodeJS app in upcoming blogs.
Google cloud platform provides us with free 300$ credit which are sufficient enough to run things for a year. So lets keep the ball rolling and get our google spread sheet backend up and running
- Create your free GCP account

- Login to the console-> Choose API and Services-> Dashboard -> Click on Enable API & Services-> Search for Google Spreadsheet -> Enable the Google Spreadsheet API

- Save the private key file which is generated after you have enabled the API. This will be used by our NodeJS app to talk to the the backend.

- Create a spreadsheet with columns as you need.Note down the spreadsheet id which you will need to refer in NodeJS
backend in coming blogs.

What is next?
So now our backend is ready, the next step is to get our NodeJS app i[ and running which will be interacting with both frontend as well backend. In next blog we will be discussing about the same. Please feel free to provide your feedback.

Top comments (0)