There is something that you realize really quickly when you start programming games, and it’s that materials are coded differently than anything else. They work almost in mysterious ways that can often be hard to describe and the code is often very dense c style code that doesn’t shed any light on how or why something works the way it does.
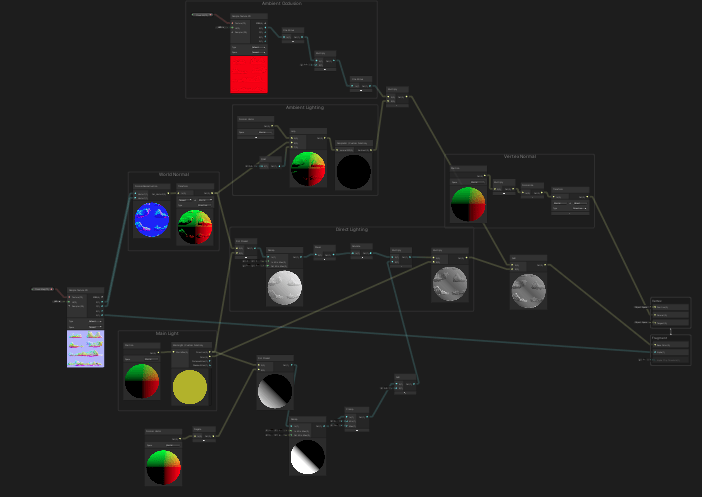
Enter Shader Graphs, Unity’s latest attempt to help alleviate some of the mystery and confusion around how shaders work. This feature is recently out of preview and has a wide array of features that aim to shift how shaders are made. Before, you made shaders with code, now the hope is that you make shaders with graphs like the one below:
Want to follow along? Here is a link to the sample project!
So if shaders are for programming materials, why is it so hard? Because you are writing low level code that the GPU needs to take and determine how in the world this object is going to look. It’s a complicated process but the benefit is that you are not taking up valuable CPU time with compute heavy tasks that are often needed to determine how something is going to look (i.e. shiny, dull, transparent, etc).
Shader Graphs allow the coder to visually assemble the “graphical elements” that manipulate the end properties of how something is going to look. In the video, we look at the basics of what a node is, how to connect them, and how to find the documentation around each possible node. We also go over some of the new features in Shader Graphs since there have been some changes since the project is now officially supported.
Pro Tips
Make sure you have Shader Graph included in the project
To make sure that you can use Shader Graph, go to Window -> Package Manager and make sure that Shader Graph is included in the project Resources.
Quickly get to the documentation for what a node does.
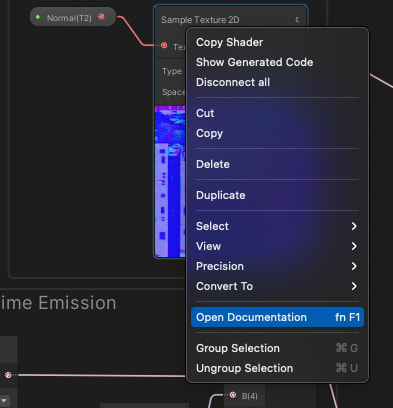
When looking at a node it might be hard to exactly tell what this black box does when computing. To quickly go to the documentation, Right click on the node and hit ‘View Documentation’. It will bring up a Unity page with relevant information.
Use Sticky Notes and Groups!!
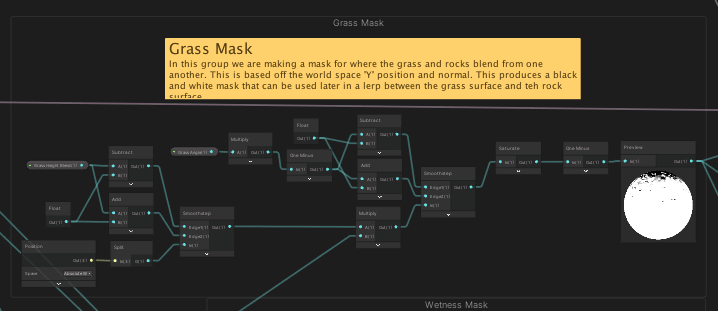
One of the newer features is that you can add sticky notes and groups of nodes to help organize your graph. It massively helps anyone looking at your graph later to understand how something is working. In the example below, you can see a ‘Grass Mask’ group that has a sticky note attached to it.
Follow me on Twitter for more tech articles!
 Joe Maurer@maurerpwer
 Exploring @ThePracticalDev @forem's API dev.to/mwrpwr/explori… via @maurerpwer
#javascript #todayilearned #webdev #api #DEVCommunity00:16 AM - 28 May 2021


Top comments (0)