Appwrite is a new open-source, end-to-end service that enables developers of front-end and mobile applications to build apps more quickly. Developers can build advanced apps faster with REST APIs and tools that abstract and simplify common development tasks.
In this article, I will walk through and introduce you to Appwrite, how to install it, how to create a project, its advantages and many more. Without further preamble let us get into the article
What is Appwrite
Appwrite represents an end-to-end backend server that simplifies and abstracts the complicated and repetitive process of creating modern apps.
With Appwrite, you can build apps a lot faster and much more safely by means of a set of APIs, tools, and a UI for the management console. Within Appwrite, you will find a wide variety of services, from user authentication and account management to user preferences, database and storage persistence, localization, image manipulation, and scheduled background tasks.
In addition to being cross-platform, Appwrite is technology agnostic, which means it runs on any operating system, coding language, framework, or platform. Despite being a serverless technology, Appwrite is designed to work well in multiple configurations. Appwrite can be integrated directly into your client app, used behind your custom backend, or used with your custom backend server.
How To Install Appwrite
The Appwrite instance can be installed on your local computer or on any cloud provider of your choice.
Firstly, you need to install Docker Desktop on your operating system to run Appwrite instance.
Depending on the operating system you are using, press one of the following commands in your terminal after installing Docker.
For Mac and Linux:
docker run -it --rm \
    --volume /var/run/docker.sock:/var/run/docker.sock \
    --volume "$(pwd)"/appwrite:/usr/src/code/appwrite:rw \
    --entrypoint="install" \
    appwrite/appwrite:0.10.2
For Windows:
docker run -it --rm ^
    --volume //var/run/docker.sock:/var/run/docker.sock ^
    --volume "%cd%"/appwrite:/usr/src/code/appwrite:rw ^
    --entrypoint="install" ^
    appwrite/appwrite:0.10.2
Following the execution of the above command, you will be prompted for the port number, as well as other configuration questions. You can accept the default options or modify them to suit your needs.
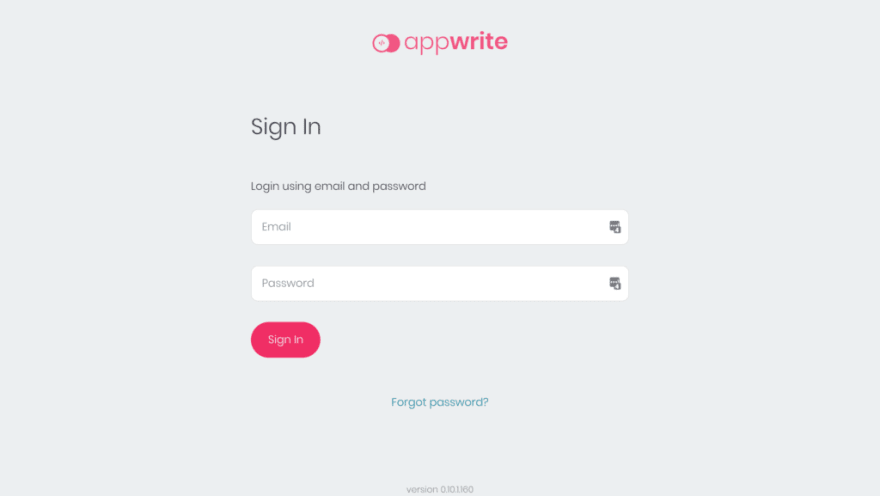
If your docker installation is complete, you can start the Appwrite console by entering the machine's IP address or hostname. If it does not start right away, try waiting a minute or two. Once it is successfully installed you should see a screen like below.
How To Create A New Project in Appwrite
Go to your new Appwrite console, and once inside, click the 'Create Project' button on your console homepage. Choose a name for your project and click create to get started.
Walkthrough Of Appwrite Project Dashboard
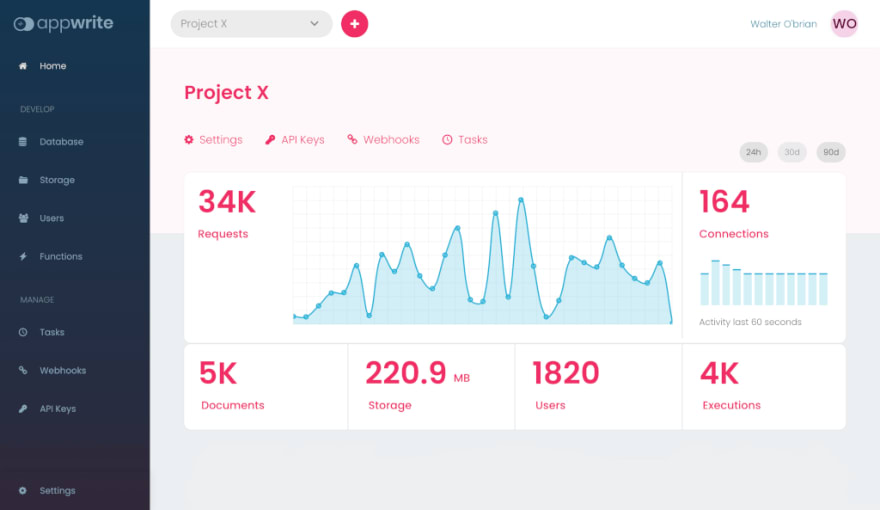
Once you have created a project as described above. You will land on the project dashboard.
Home:
The Home is the central part. This gives you an overall picture of the project and its activity.
Database:
Using the Database service, you can create structured collections of documents, query and filter lists of documents, and manage an advanced set of permissions to read and write documents.
JSON documents are used to store all data in the database service. In addition to nesting child documents in parent documents, Appwrite allows you to search and query data using deep filters.
The Appwrite collection rules define each database document structure in your project. Collection rules help you ensure that all user-submitted data is validated and stored in accordance with the collection structure.
Storage:
Your project files can be managed through the Storage service. With the Storage service, you can upload, view, download, and query your entire project archive.
To manage who has access to view or edit a file within the service, each file is granted read and write permissions.
Users:
Managing your project users is possible with the Users service. Find your users' information, view current sessions, and view their activity logs with this service. The Users service also allows you to edit your users' preferences and personal information.
Functions:
By using the Functions service, you can define custom behaviors that are triggered either by Appwrite system events or by a schedule you define.
With Appwrite Cloud Functions, backend code can automatically run when Appwrite triggers events or it can be scheduled to execute at a predefined time. Appwrite maintains your code in a secure way and executes it in an isolated environment.
Tasks:
Using Appwrite tasks, you can schedule any repeating tasks your app may need to run in the background. The Appwrite tasks are defined by setting a CRON schedule and by submitting an HTTP endpoint.
Webhooks:
With Webhooks, you can create events on Appwrite and set up integrations to subscribe to them. Whenever one of these events occurs, they'll send a POST payload to the URL of the webhook. In addition, webhooks are useful for clearing the cache from the CDN, calculating data, or sending notifications to Slack. Your imagination is the only limit.
API Keys:
With your API Keys, you can access Appwrite's services via your SDK of choice. You can create an API key by going to the API Keys tab of your project settings in your Appwrite console and clicking ‘Add API Key.
When creating a new API Key, you can choose which permission scope your application should have access to. Allowing only the permissions that are necessary to accomplish your project's goals is a best practice.
You can replace your API Key by creating a new one, updating your app credentials, and deleting your old key once you are finished.
Advantages of Appwrite:
Great UI
100% open source
Easy to setup
End to end solution
Consistency across platforms
Easy to use
Small learning curve
Predictable REST API
Accelerate app development
Simplicity first attitude
Lot of security features
Built-in file encryption
Auto SSL certificate generator
Built-in file scanner
Webhooks
Abuse Protection
Built-in Anti-Virus scanner
Conclusion
Appwrite has a great advantage over its competitors attributed to its open-source nature, dedicated community, and founding team for timely improvisations. If your business is looking to manage core backend needs, then Appwrite should be your go-to option.
What are you waiting for go and join their discord community and spread the world about Appwrite
Happy Appwriting ♥
You can now extend your support by buying me a Coffee.😊👇
Thanks for Reading 😊


Top comments (0)