
Since SignIn forms are always first steps that every web developers take let's add Google services to them.
Things we need to do get a Google enabled signin form is just to follows the given steps.
- First goto the Google Cloud Platform and create new project or use already created one.
- Move to credentials in APIs & Services which will look something like given below.

- Inside configure consent screen select
Externalas option and ClickCreate. This will lead us to form which asks for information regarding what you are creating.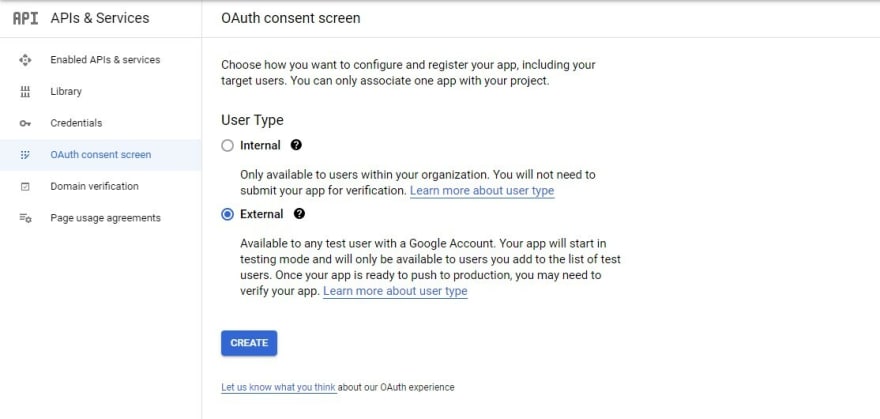
- Fill the form with proper name and Email make sure you use your GCP mail in the form and click on
Save and Continue; you can skip scopes part arrive directly atTest Userspart of the form here you have toadd Emailwhich will we used to check services on localhost.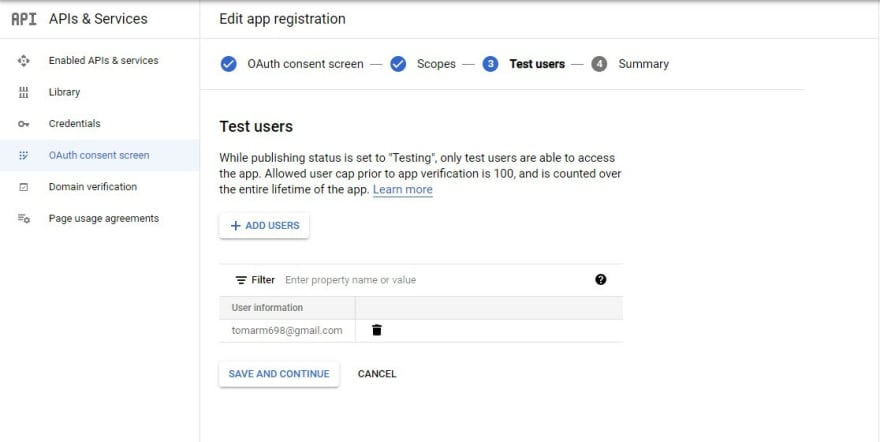
- Now go back to credentials and
CREATE CREDENTIALSforOAuth client IDand select application type to whatever you want here we will we usingWeb application. Then fill the form, make sure you useport numberwhich you are using and click onCREATEand save theclient secret and id.
- Our GCP preparation are complete lets start or create our application . Lets start with creating react app.
npx create-react-app authloginapp
- Most important part of application is adding
Google Scriptinside head section ofpublic/index.html.
<script src="https://accounts.google.com/gsi/client" async defer></script>
Make sure to add async and defer as they will manage delay.
- Now lets change the things to display on screen from
src/App.js.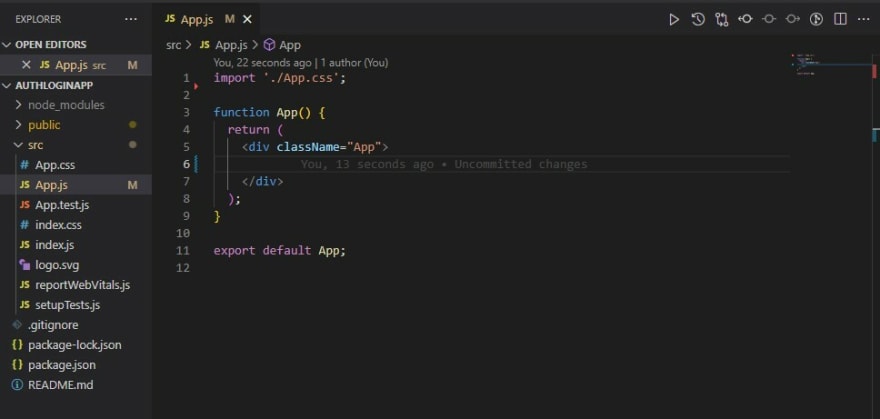
- We will use react hooks such as
useEffectanduseSatefor creating simple login-form. Add following code in App function .
useEffect will Provide us with Jwt-token.
- Add the following hook to enable google in app
 useEffect(() => {
    /* global google */
    google.accounts.id.initialize({
      client_id:
        'Your-Google-client-Id',
      callback: handleCallbackResponse,
    });
   google.accounts.id.renderButton(document.getElementById('signInDiv'), {
      theme: 'outline',
      size: 'large',
    });
  }, []);
Here google.accounts.id is because the script provided.
Google also Provide various different buttons and function.
- Now let's define the function
handleCallbackResponseinside App function.
function handleCallbackResponse(response) {
    console.log('Encoded JWT ID token: ' + response.credential);
  }
- Let's check our progress by running
npm start
On inspecting in console we will get ourjwt-tokenwhich is provided by google as verification and also holds user details.
- Now it's our job to convert and use the token for that we will we required decoder such as jwt-decode.
npm install jwt-decode
Later Update handleCallbackResponse with
var userObject = jwt_decode(response.credential);
console.log(userObject);
We can now see detailed inscription of user.
- Now displaying details we first have to store info in something let's use another use hook
useStatefor storing user. Add useState for use in app function.
const [user, setUser] = useState({});
Later update handleCallbackResponse with
setUser(userObject);
- Here, we have information of user now we can display on screen by applying following code.
<div id="signInDiv"></div>
{user && (
  <div>
    <img src={user.picture}></img>
    <h3>{user.name}</h3>
    <h4>{user.email}</h4>
  </div>
)}
Now we can see name, image and email on screen after login.
- Lastly give finishing touch by adding one line to hide signin option after signin in handleCallbackResponse function.
document.getElementById('signInDiv').hidden = false;
- Our Complete
src/App.jslooks something like.
import React, { useEffect, useState } from 'react';
import jwt_decode from 'jwt-decode';
import './App.css';

function App() {
  const [user, setUser] = useState({});

  function handleCallbackResponse(response) {
    console.log('Encoded JWT ID token: ' + response.credential);
    var userObject = jwt_decode(response.credential);
    console.log(userObject);
    setUser(userObject);
    document.getElementById('signInDiv').hidden = true;
  }

  function handleSignOut(event) {
    setUser({});
    document.getElementById('signInDiv').hidden = false;
  }

  useEffect(() => {
    /* global google */
    google.accounts.id.initialize({
      client_id:
        'Your-Google-Client-Id',
      callback: handleCallbackResponse,
    });  google.accounts.id.renderButton(document.getElementById('signInDiv'), {
      theme: 'outline',
      size: 'large',
    });
  }, []);
 return (
    <div className="App">
      <div id="signInDiv"></div>
      {user && (
        <div>
          <img src={user.picture}></img>
          <h3>{user.name}</h3>
        </div>
      )}
    </div>
  );
}

export default App;
This is all required for basic Google enabled authentication system all it required 10 mins.
Note:
- You can use
reduxin place ofuseStateif you are using it in Stack application. - You can check other button and functions for Google Auth at Google Identity.
- Check the FULL CODE at for better picture.


Top comments (0)