
Yes, I know what you think: there are already a ton of MQTT related posts and videos circulating around the net. But here's a thing: most of them either failed to demonstrate how to get started with an MQTT broker, or did not show any code about how to get things working, and did not provide a handy initial concept.
My goal with this series is to teach you how to publish events from a simple IoT button using MQTT, and then receive and react to button presses on two separate devices at the same time - a computer with NodeJS and an another connected Arduino device. All this as simple as possible, even without signing up to a hosted message broker like CloudMQTT.
Sounds good? Now let's get into it!
Setup your own MQTT broker
Assuming you have docker installed, setting up a local MQTT broker is much simpler than you might expect. Just execute the following command:
docker run -it -p 1883:1883 -p 9001:9001 eclipse-mosquitto
This tells docker to download the latest image of the open-source MQTT broker Eclipse Mosquitto, and start a container based on that image.
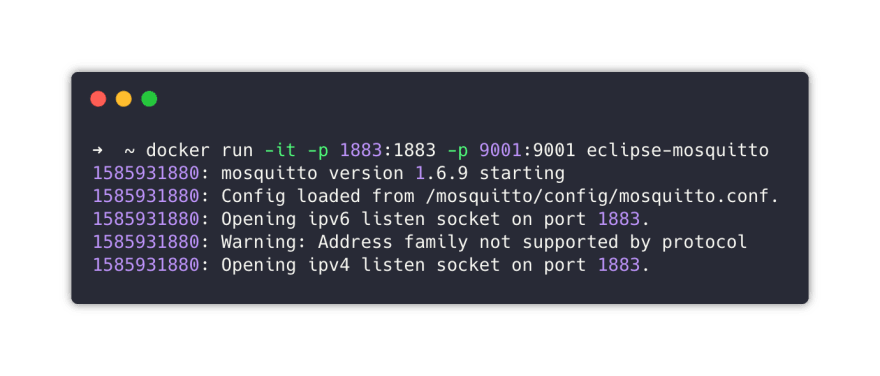
BOOM, now you have fully-functioning MQTT server listening on port 1883. Later you can run the container in the background with the --detach or -d option, but this way you can see the logs more easily. You can stop the container any time using CTRL+C.
Take a look behind the curtain
Unlike RabbitMQ, Mosquitto doesn't have a built-in management plugin with a UI, but without one it's hard to see what's happening under the hood. Fortunately there are multiple brilliant solutions out there, the best ones are MQTT.fx and MQTT Explorer, and the latter will be used throughout this tutorial.
It's a good idea to figure out your local IP address to use instead of localhost, because later the connected Arduino devices will need to know the broker IP address and thats obviously not localhost from their point of view.
One note here: this is for learning purposes only, later with port forwarding you can expose your MQTT broker to the internet if you want to (maybe from an ever-connected Raspberry PI), but when you done experimenting I suggest you to use a Cloud MQTT provider.
After figuring out your IP address open up MQTT Explorer and try to connect to the broker. My IP is 192.168.0.195, so for me it looked something like this:

After clicking connect you should see the empty broker. Going back to the terminal where the container runs will be logs from the incoming connection from the client.

What's next?
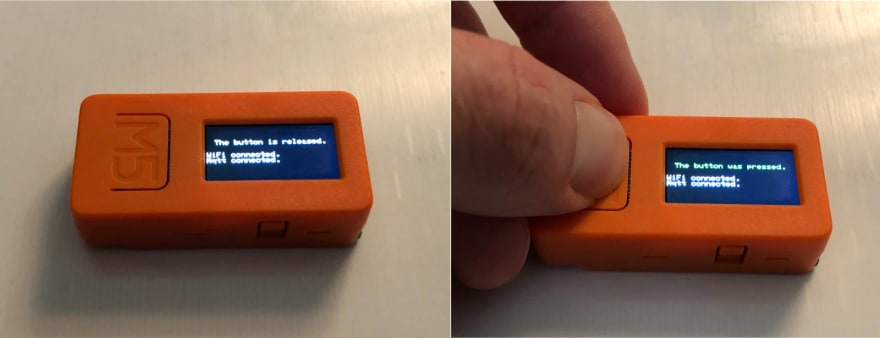
In the next chapter i'll show you how to publish messages to the broker using C/C++ code with M5Stick-C, an inexpensive ESP32 powered mini IoT device and consuming those messages in NodeJS.

Top comments (0)