Are you familiar with iOS App Previews?
App previews are short movies that can be used to showcase your app on the App Store.
Recording and setting up app previews can be a slow and error-prone process, so in this post I’ll share the flow I’ve been using on my apps.
App preview constraints
- You can have up to three app previews for each screen size your app supports. Just like app screenshots, you can cover multiple screen sizes with a single resolution. As of today, an 886x1920 and a 1080x1920 recordings will cover all the iPhone screens, and a 900x1200 recording will cover all the iPad screens. Check the App Preview Resolutions page for more informations.
- Only
.mov,.m4v, and.mp4files are supported. - App previews can have a max frame rate of 30 frames per second.
- App previews must be between 15 and 30 seconds long.
- App previews size can be up to 500 MB.
- App previews must have an audio track.
- App previews must only show footage of the app itself.
Setup COSTouchVisualizer to show taps and gestures
One nice touch I always try to add to app previews is showing taps and gestures to make the interactions with the app more clear to the audience.
Unfortunately, differently from Android, iOS doesn’t provide any tool to show these interactions out of the box.
There are multiple ways to add this functionality. My go-to tool is COSTouchVisualizer, an open-source native library that requires very minimal setup and that can be easily added in React-Native apps.
The setup looks like this (on React-Native or ObjC apps):
- Add
pod "COSTouchVisualizer"to your Podfile - Run
pod install - In your AppDelegate application add
self.window = [[COSTouchVisualizerWindow alloc] initWithFrame:[UIScreen mainScreen].bounds]; - In your AppDelegate add the following:
- (COSTouchVisualizerWindow *)window {
  static COSTouchVisualizerWindow *customWindow = nil;
  if (!customWindow) {
    customWindow = [[COSTouchVisualizerWindow alloc] initWithFrame:[[UIScreen mainScreen] bounds]];
    customWindow.touchVisualizerWindowDelegate = self;
  }
  return customWindow;
}

- (BOOL)touchVisualizerWindowShouldAlwaysShowFingertip:(COSTouchVisualizerWindow *)window {
    return YES;
}

- (BOOL)touchVisualizerWindowShouldShowFingertip:(COSTouchVisualizerWindow *)window {
    return YES;
}
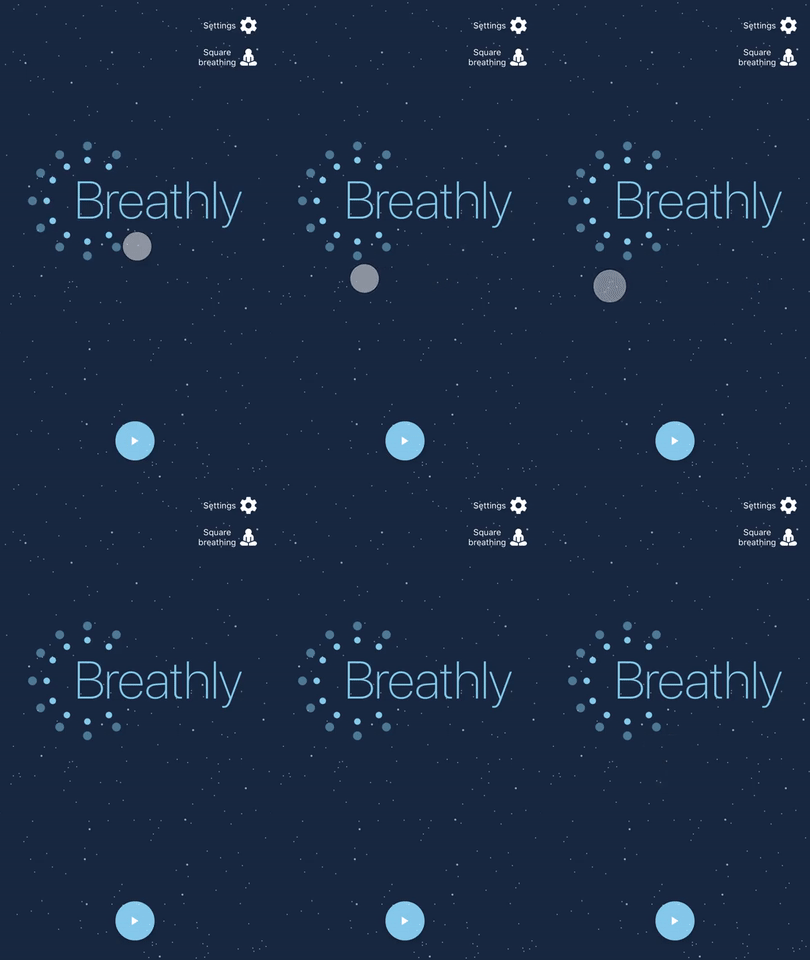
Run your app and you should see the touch and gesture hints:
If you’re planning to record the iOS simulator using QuickTime you can also show the taps by running
defaults write com.apple.iphonesimulator ShowSingleTouches 1.
Please notice that in this way the touches won’t be recorded bysimctl io(which is the way I record videos, see the next section).
Record the app previews
The way I record app previews (on multiple devices) is by capturing the video of an iOS simulator using simctl io.
To do so:
- Open the simulator you want to record. I’d suggest you to record one video on each of these devices: iPhone 8 Max , iPhone 11 Pro Max , iPad Pro (any generation). These devices will cover all the possible screen sizes.
- Run
xcrun simctl io booted recordVideo output.mov --type=h264. The reason why I record inh264is that it’s the only recording type that doesn’t show some weird artifacts (at least from my experience 🤷♂️). This command will start the recording. - Showcase your app in your simulator.
- Once done, press CTRL + C to end the recording.
- Edit the output using QuickTime or any other video editing software. Remember to keep the video under 30 seconds long.
Resize the recordings
The final step here is resizing the recorded app previews. For this part, I always use the good old ffmpeg.
Assuming I want to resize an iPhone 11 Pro Max recording, I would run the following steps:
# Stream-copy the input file into a compatible mp4 file.
ffmpeg -i my-iphone-11-pro-max-recording.mov -c copy temp.mp4

# Resize to 886x1920 (use 1080x1920 for the iPhone 8 Max recording
# and with 1200x1920 for the iPad Pro recording).
# If you recorded the video from the right device this command will
# just scale it down/up... but you can also use it on recordings from other
# devices if needed. In such case, this command will also add black bars to
# keep the aspect ratio if needed.
ffmpeg -i temp.mp4 -vf "scale=w=886:h=1920:force_original_aspect_ratio=decrease,pad=886:1920:(ow-iw)/2:(oh-ih)/2:color=black" temp-resized.mp4

# Limit the frames per second to 30.
ffmpeg -i temp-resized.mp4 -filter:v fps=fps=30 iphone-11-pro-max-app-preview.mp4
Bonus point: if you recorded an app that doesn’t produce any sound effect, the recording won’t have an audio track (and the App Store will reject your app preview).
As a workaround, you can add a silent track by running:
ffmpeg -f lavfi -i anullsrc=channel_layout=stereo:sample_rate=44100 -i input.mp4 -shortest -c:v copy -c:a aac output.mp4
That’s it! 🎊
We can now publish the app previews in the App Store.
Please notice that some specific App Store actions are only available from Safari (e.g.: customizing the app preview cover).


Top comments (0)