Goto CodeBuild services tab.

Start with creating a build project:

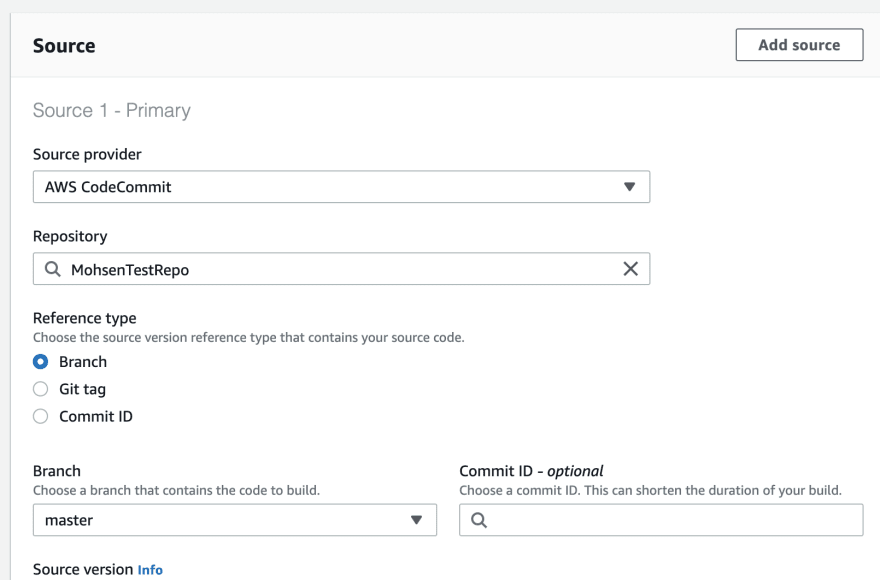
Chose your source control management. Here we are selecting the one we created on another post on AWS CodeCommit
Select the Environment as Managed Image and Operating as Ubuntu and Runtime as Standard and the latest image version.
After selecting the image the Role name would be generated like:
codebuild-{The build project name}-service-role
For instance in our sample:
codebuild-MohsenTestBuild-service-role

Select Insert build commands and the click on Switch to editor.

Edit Buildspec the pre_build and build sections as:
  pre_build:
    commands:
      dotnet restore WebAppTest.csproj
  build:
    commands:
      dotnet build WebAppTest.csproj
Now start the build

Hit the Start build

The build should get successfully completed.

Note: Currently the AWS Code build doesn't support .Net Core 3.1.
Phase 2:
Now that the build is successful we can edit the build artifact settings:

And add a S3 bucket to the artifact.

And also modify the build spec and add the artifact.
pre_build:
commands:
dotnet restore WebAppTest.csproj
build:
commands:
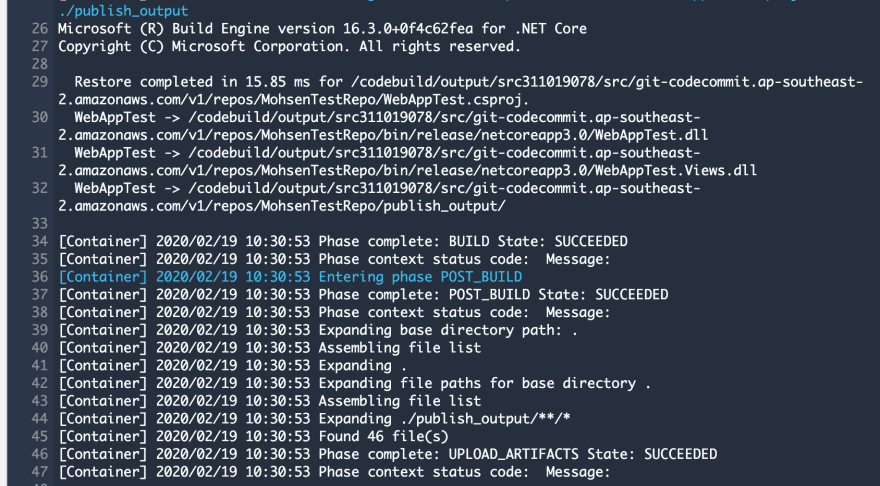
dotnet publish -c release WebAppTest.csproj -o ./publish_output
artifacts:
files:
- ./publish_output/**/*
Now the build should ends with steps of copying the artifacts to S3.

Latest comments (0)