
Security Assertion Markup Language (SAML) is an XML-based standard for exchanging authentication and authorization data between parties, in particular, between an identity provider (IDP) and a service provider (SP). In this article, we will walk through how to set up a SnowMirror SP integration with Authentik SAML IDP.
Overview
The SAML flow allows you to authenticate a user's identity and obtain a SAML response that can be used to interact with Authentik SAML IDP on their behalf. Here are the steps involved in setting up a SnowMirror integration with Authentik SAML IDP:
- Create SAML Property Mappings
- Set up a SAML Provider in Authentik
- Create an application in Authentik
- Create Groups and assign users in Authentik
- Configure the SnowMirror Security Real
We'll go through each of these steps in detail below.
Step 1: Create SAML Property Mappings
Login to your Authentik admin interface and
- Browse to the Customisation > Property Mappings section from the left sidebar
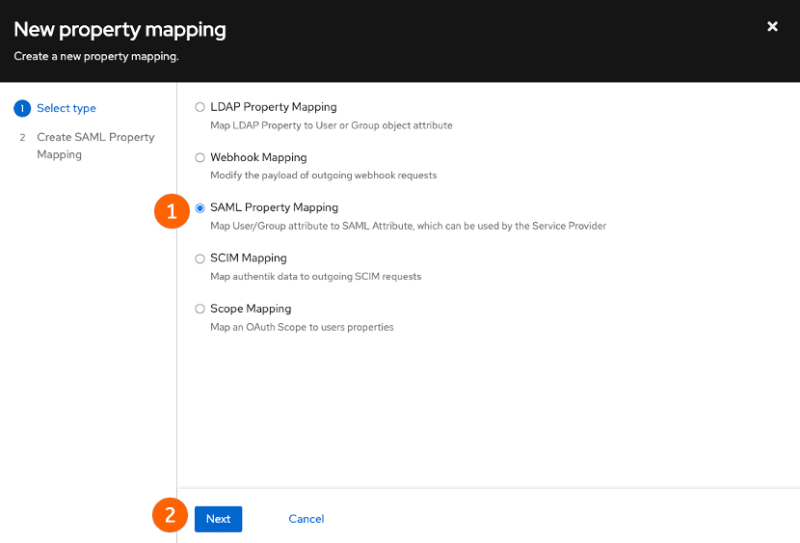
- Click the Create button.
- Select SAML Property Mapping and then click Next.
Then use the following values to create the property and click Finish.
| Parameter | Value |
|---|---|
| Name | SnowMirror SAML Mapping: Groups |
| SAML Attribute Name | groups |
| Expression | for group in request.user.ak_groups.all(): yield group.name |

Step 2: Set up a SAML Provider in Authentik
The first step is to create a Authentik Provider. To do this, follow these steps:
- Browse to the Applications > Providers section from the left sidebar
- Click the Create button.

- Select "SAML Provider" and Click on "Next"

Then use the following values to create the provider and click Finish.
| Parameter | Value |
|---|---|
| Name | SnowMirror |
| Authorization flow | default-provider-authorization-implicit-consent |
| ACS URL | https://snowmirror.company/saml/SSO |
| Issuer | SnowMirror |
| Service Provider Binding | Post |
| Property Mapping | SnowMirror SAML Mapping: Groups, authentik Default SAML Mapping: User ID |


| ⚠️ WARNING |
|---|
| The ACS URL is an example URLs only and will not work in your setup. You need to replace snowmirror.company with the FQDN of your SnowMirror server |
Step 3: Create an application in Authentik
- Click the Create button under the "Assigned to application" heading that's now showing for the SnowMirror provider in Authentik.

- Populate the form with the information pictured below and then click the Create button:
| Parameter | Value |
|---|---|
| Name | SnowMirror |
| slug | snowmirror |
| Provider | SnowMirror |

4. Create Groups and assign users in Authentik
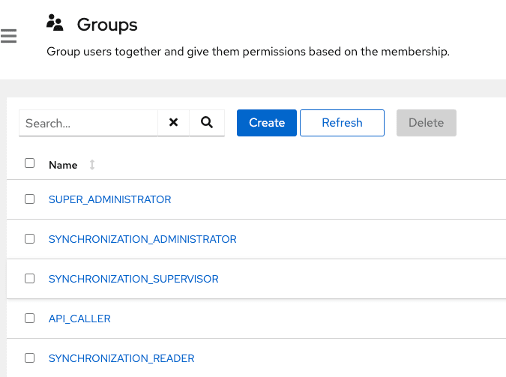
- Browse to the Directory > Groups section from the left sidebar
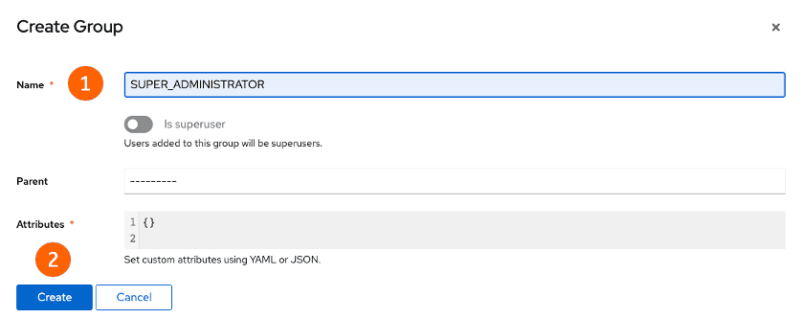
- Click the Create button.
- Enter SUPER_ADMINISTRATOR and click Create
- Setup additional SnowMirror Groups if required
- Select the Group for which you would like to add users to and select Users from the top tab bar.
- Click on Add Existing User

- Select the user and click Add
Step 5: Configure the SnowMirror Security Real
Login to your SnowMirror admin interface and
- Browse to the Settings > User Management section from the top menu
- Click the Configure Security Realm button Then use the following values to create the Security Realm and click Save.
| Parameter | Value |
|---|---|
| Security Realm | SSO |
| Entity Id | SnowMirror |
| IdP Metadata | copy the Metadata from the Authentik provider created in Step 2 |
| Internal Realm | Enabled |

Click logout and login to your SnowMirror using your SnowMirror FQDN.


Top comments (0)