
Row widget in Flutter uses to display the multiples child horizontally. Row widget accepts an array of child and you can add any no of widgets.
But when using a row widget there are some tips you need to remember
1.Row widget is not a scrollable widget
2.Row widget cannot have a more widget than it can show in the available room and it consider as an error.
Height of the Row widget
The row adjusts its size based on the child content. Therefore you can control the height of the row by controlling the height of the child widgets.
Add Spacing between children in Row widget
If you want to add space between child widget inside a row there are multiples ways to do that.
You Can simply add a SizedBox to add space between widgets.
        Row(
        children: [
                      Container(height: 100, width: 100, color: Colors.red),
                      SizedBox(width: 20,),
                      Container(height: 100, width: 100, color: Colors.green)
                ],
          )

Adding Spacer widget between the two widgets will also make a space between those widgets. It will take all the available space and align other widgets to the left corner and right corner
Row(
      children: [
                Container(height: 100, width: 100, color: Colors.red),
                Spacer(),
                Container(height: 100, width: 100, color: Colors.green)
              ],
        )

Add background colour to Row
There is no direct property to set the background colour to Row widget. But you can wrap row inside a Container and add a background colour to the container.
 Container(
        color: Colors.black,
        child: Row(
            children: [
                                Container(height: 100, width: 100, color: Colors.red),
                                SizedBox(width: 20),
                                Container(height: 100, width: 100, color: Colors.green)
                    ],
                ),
          )
Change width of a row
Row normally takes available space and we can control that by wrapping inside a Container or SizedBox widget. You can wrap the Row inside the Container and add width to the container. Then the Row will take the same width as a Container
Container(
            width: 350,
            color: Colors.white,
            child: Row(
              children: [
                Container(height: 100, width: 100, color: Colors.red),
                Container(height: 100, width: 100, color: Colors.blue)
              ],
            ),
          )

Handle row overflow issue
If you added a widget which can’t fit into the current frame, it will show an error with the yellow strip by saying overflow. This happens because the row widget is not scrollable.
There are mainly two solutions for that.
1.If you need to show all items in a horizontal row you must use ListView instead of Row
2.If you want to move an item to next row you can use Wrap widget instead of row widget
How to use mainAxisAlignment to align children inside a row
The main axis of the Row widget is x-axis( horizontal way). There are multiple ways to align in the main axis.
MainAxisAlignment.start
Align all children to close to the start of the main Axis. This start position identify based on the text direction. If you set textDirection to TextDirection.rtl it will consider start position as right instead of left.
Row(
          mainAxisAlignment: MainAxisAlignment.start,
          children: [
                            Container(width: 100, height: 100, color: Colors.red,),
                            Container(width: 100,height: 100,color: Colors.green,),
                            Container(width: 100,height: 100,color: Colors.blue,),
                      ],
        )
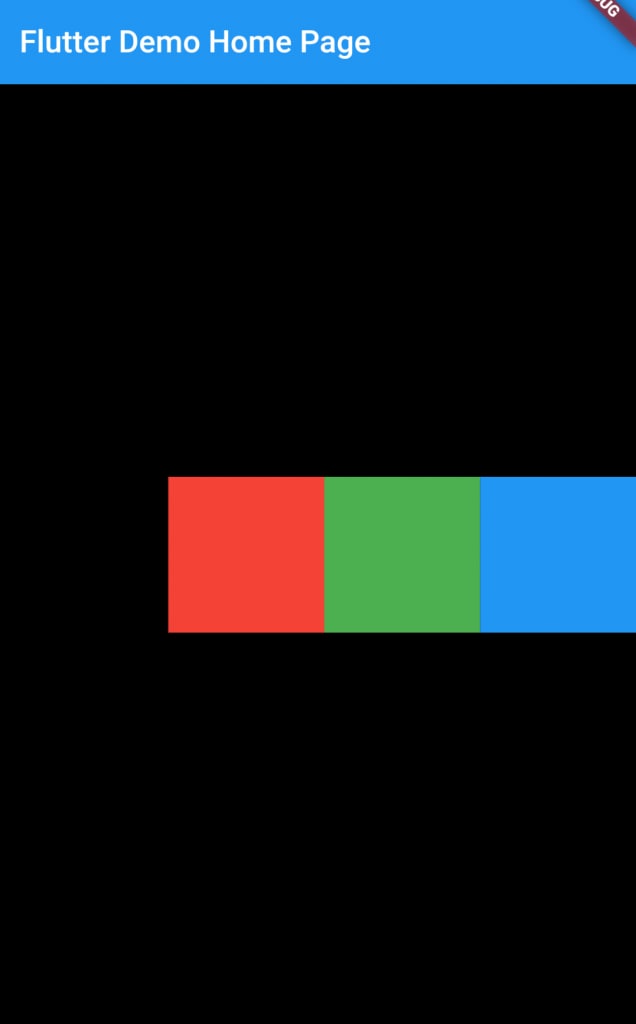
MainAxisAlignment.end
Align all children to end of the main axis. End position identifies base on textDirection.
 Row(
          mainAxisAlignment: MainAxisAlignment.end,
          children: [
                            Container(width: 100, height: 100, color: Colors.red,),
                            Container(width: 100,height: 100,color: Colors.green,),
                            Container(width: 100,height: 100,color: Colors.blue,),
                      ],
        ),
      )
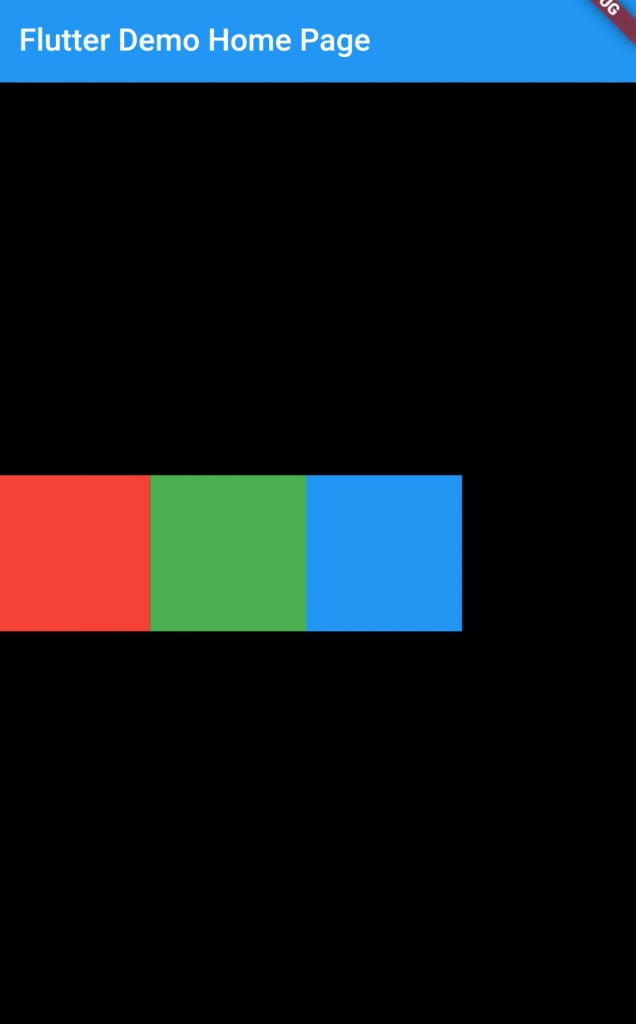
MainAxisAlignment.spaceAround
Place space evenly between the children and also half of the space before and after the first and the last child.
 Row(
          mainAxisAlignment: MainAxisAlignment.spaceAround,
          children: [
                            Container(width: 100, height: 100, color: Colors.red,),
                            Container(width: 100,height: 100,color: Colors.green,),
                            Container(width: 100,height: 100,color: Colors.blue,),
                 ],
        )

MainAxisAlignment.spaceBetween
Place free space evenly between the children.
 Row(
          mainAxisAlignment: MainAxisAlignment.spaceBetween,
          children: [
                            Container(width: 100, height: 100, color: Colors.red,),
                            Container(width: 100,height: 100,color: Colors.green,),
                            Container(width: 100,height: 100,color: Colors.blue,),
              ],
        )
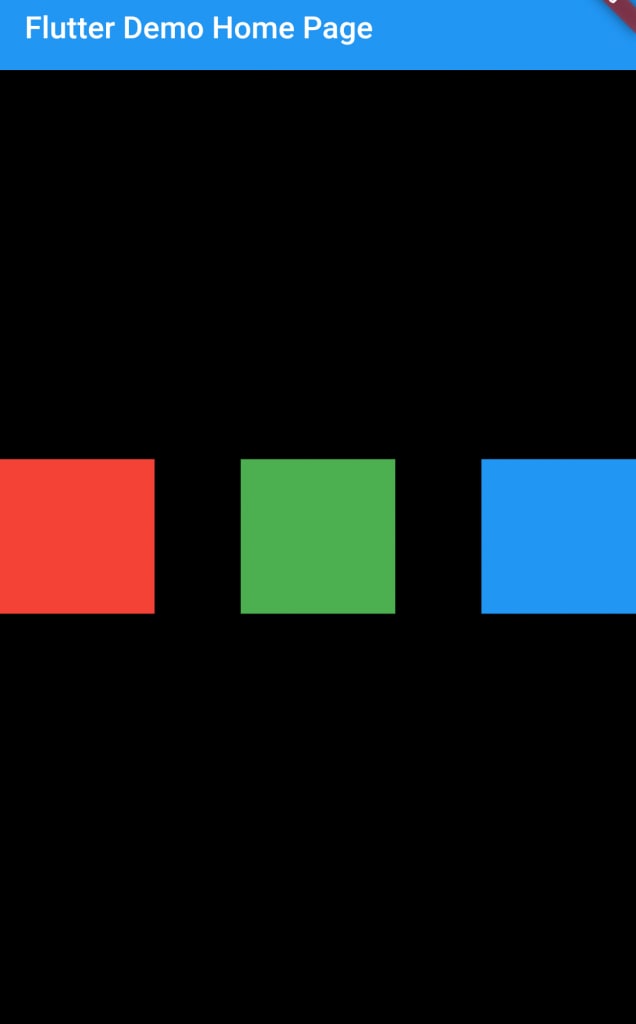
MainAxisAlignment.spaceEvenly
Place space evenly between the children as well as space before and after the first and last child.
 Row(
          mainAxisAlignment: MainAxisAlignment.spaceEvenly,
          children: [
                            Container(width: 100, height: 100, color: Colors.red,),
                            Container(width: 100,height: 100,color: Colors.green,),
                            Container(width: 100,height: 100,color: Colors.blue,),
                  ],
        )

What is Cross Axis of Row widget and How to align in Cross Axis
In the Row widget vertical direction consider as the cross axis. There are multiple properties available to align in Cross Axis.
CrossAxisAlignment.start
This will place the children with their start edge align with the start of the cross axis. verticalDirection property can use to specify the direction whether from down to top or top to down.
 Row(
          crossAxisAlignment: CrossAxisAlignment.start,
          verticalDirection: VerticalDirection.down, //start from top and lay to bottom
          children: [
            Container(width: 100, height: 100, color: Colors.red,),
             Container(width: 100,height: 100,color: Colors.blue,),
          ],
        )

CrossAxisAlignment.end
This will place the children to the end of the cross axis.
  Row(
          crossAxisAlignment: CrossAxisAlignment.end,
            children: [
                                Container(width: 100, height: 100, color: Colors.red,),
                                 Container(width: 100,height: 100,color: Colors.blue,),
                              ],
        )

CrossAxisAlignment.center
This will place the children to align their center to the middle of cross axis.
  Row(
          crossAxisAlignment: CrossAxisAlignment.center,
          children: [
            Container(width: 100, height: 100, color: Colors.red,),
             Container(width: 100,height: 100,color: Colors.blue,),
          ],
        ),
      )

CrossAxisAlignment.baseline
Place children alone cross axis to match baseline. When you use baseline you has to set textBaseline property also.
  Row(
          crossAxisAlignment: CrossAxisAlignment.baseline,
          textBaseline: TextBaseline.alphabetic,
          children: [
            Text("Hello1",style: TextStyle(fontSize: 80,color: Colors.green,decoration: TextDecoration.underline),),
            Text("Hello2",style: TextStyle(fontSize: 30,color: Colors.amber,decoration: TextDecoration.underline))
          ],
        )

CrossAxisAlignment.stretch
Required child to fill the cross axis.
  Row(
          crossAxisAlignment: CrossAxisAlignment.stretch,
          children: [
                             Container(width: 100, height: 100, color: Colors.red,),
                             Container(width: 100,height: 100,color: Colors.blue,),
                      ],
        )

Conclusion
I hope you get a better idea about row widget and how to use each property.
Originally published at mightytechno


Top comments (0)