
The combination of Strapi and React can be very powerful for developers that want to create blazing fast and scalable solutions. In this article we’ll deploy a Strapi CMS and a ReactJS starter on AWS, using Microtica’s production-ready templates.
Why deploy Strapi + React on AWS?
Here are some of the reasons why it would be a good idea to deploy your Strapi and React application on AWS:
- Application vertical and horizontal scaling
- Infrastructure and data ownership
- Serverless Strapi infrastructure
- Production-ready solution
Getting started
To deploy Strapi and React on AWS, you need the following templates:
Using these templates you will setup a production-ready website in less than 15 minutes.
Prerequisites
Create a Microtica account by signing up with your email or your Git account.
You need to have an AWS account to be able to deploy a react app to your AWS account. Here you can sign up for an AWS account.
Deploy Strapi Serverless
After you create a Microtica account, an Onboarding screen will be shown, and you can select the Strapi Serverless template there. Or click the Deploy app button to land on the Templates page, where you can see a list of all production-ready templates.
To deploy the Strapi template on AWS, follow these steps:
- Create/import Git repository - connect your preferred Git account, and create a Strapi starter app, or import your existing application if you already have one. This way you’ll have automated Git-push deployments.
- Choose a database - enter a name for the Strapi application, and choose a database client. The available options are SQLite, Postgres and MySQL.
- Connect your AWS account - the initial ‘development’ environment is preselected here, so you only need to connect your AWS account. This process last only a few seconds, so afterward only choose the region you want to deploy in.
- Deploy the template - an overview will show up, so you can check your setup and configurations and confirm the deployment on your AWS account. In less than 10 mins you’ll have a live Strapi environment. In the meantime, you can follow the deployment logs in real time, by clicking on the View deployment button.
- Preview the deployment - once the deployment is finished, navigate to Resources, select the Strapi app. In the Overview tab, under the Resource Outputs section, you’ll find the AccessUrl parameter. Your app will be available on a predefined domain by Microtica. Clicking on the domain link or you can preview your application live in the browser.
On the image below are shown the resources that should be created and deployed on your AWS account.

Deploy ReactJS
Now, to deploy a ReactJS frontend application on AWS, you can select the SPA on CloudFront template. This template is bootstrapped with Create React App. This template creates the following infrastructure resources that will be provisioned on your AWS account:
- an S3 bucket for storing the website static files
- a CloudFront distribution with S3 as origin
- and Lambda function to execute code deployments The steps to deploy a ReactJS app with SPA on CloudFront template are very similar to those of the Strapi template.
1. Create/Import a Git repository
If you already have a ReactJS application source code, you can import it in the first step. If not, Microtica will create a repository on your connected Git account with a default repo name aws-spa-reactjs.

2. Configure Template
Here you need to provide environment variables to configure your application to your needs. Enter an application name, a domain name, a certificate matching the domain name, and an optional parameter for the backend URL, that can be used in the application to access backend services. For more information refer to our documentation.

Environment variables can be updated/added/configured after deployment as well.
3. Configure environment
In step number three, select the environment in which you want to deploy your application. This can be the same environment in which you deployed the Strapi Serverless infrastructure and application. Your connected AWS account is already attached to this environment, so there is no need for additional actions here.

4. Deploy the ReactJS website to AWS
The final step is a deployment summary of what will be provisioned on your AWS account.
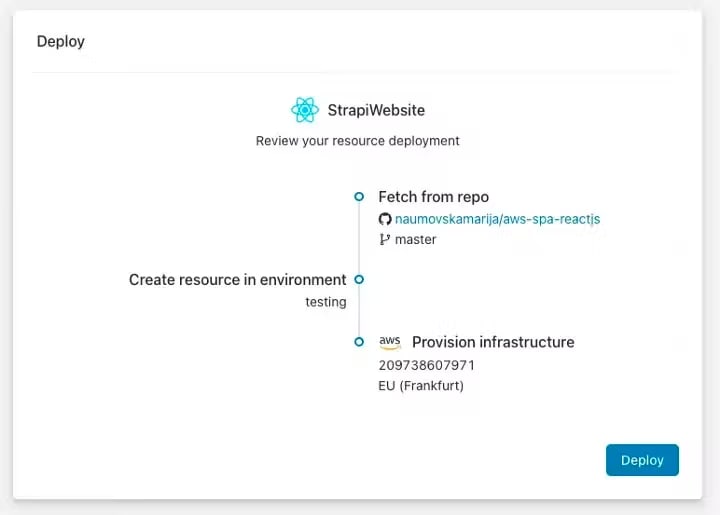
Clicking the Deploy button will trigger a deployment of the template and start creating the infrastructure for a Single Page Application on CloudFront with a ReactJS starter app. It will take 3-5 mins for the React app to be deployed on AWS. You can follow the build pipeline in real time by clicking the View Logs button.

Once the build process is complete, a new deployment with the infrastructure resources is triggered. You can follow the logs of the deployment process by clicking the View deployment button, and then selecting the deployment from the list.
5. Access the website
After the deployment is finished, navigate to Resources -> select the website -> Overview, and under Resource Outputs you should see the AccessUrl. Please make sure that you configure the CNAME record in your DNS provider. The application should be available on the provided custom domain. Follow our documentation on how to Configure a Custom Domain if you need any additional information. The image below shows how your environment should look like after deploying both templates.

Bonus: Cleanup
To remove all the resources created on your AWS account, navigate to your environment (testing in our example) → Environment Settings → Infrastructure, and you’ll see the Undeploy section.
This will clean up the resources created in AWS, but you will still have the configuration in Microtica in case you want to deploy it in the cloud again.

Latest comments (0)