In this post we will cover getting started with Google Kubernetes Engine (GKE) much the same as the previous posts covering Amazon EKS and Microsoft AKS, we will walk through getting a Kubernetes cluster up and running. Now we could walk through the Google Cloud Portal which is pretty straight forward and if you would like to see that as a walkthrough let me know and I will cover this but I think the most appropriate way is gearing up for Infrastructure as Code.
As with all the public cloud managed Kubernetes posts I have covered they all have great documentation and walkthroughs on getting up and running.
Pre-Requisites
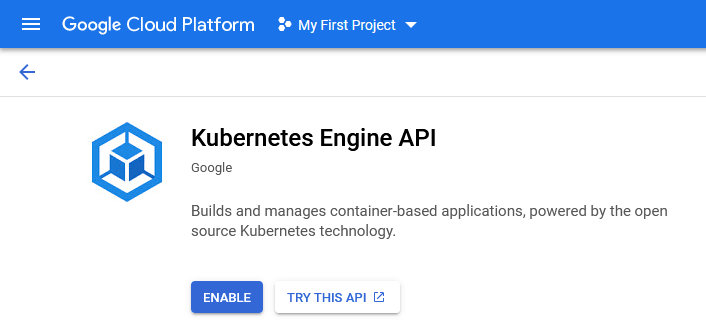
Before we get started you will need to go to the Kubernetes Engine page and choose or create your project.

After creating your project or selecting your project you will need to enable the Kubernetes Engine API.
Choose your Weapon (Shell)
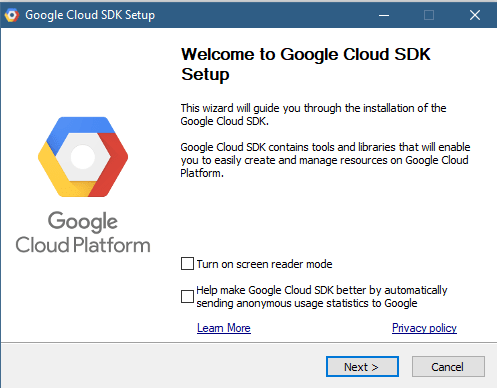
Next, we need to decide the shell we will use to deploy our Kubernetes cluster. For the purpose of this walkthrough, I am going to be using the local shell which involves us downloading and installing the Google Cloud SDK Shell. It is a super easy install but I have included the steps here with the configuration settings I have chosen.
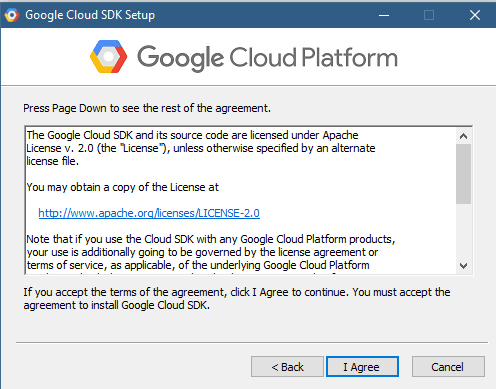
Next up is that agreement, not very long make sure you read this.
Which use will be using this shell?

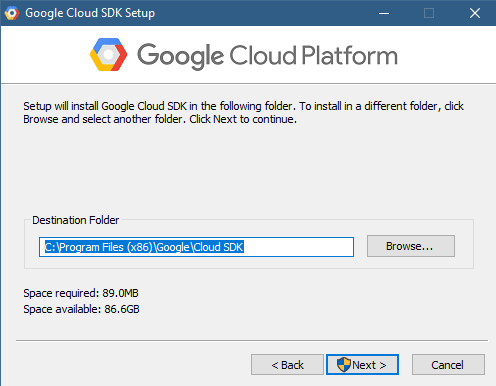
Where do you want the installation folder to be?
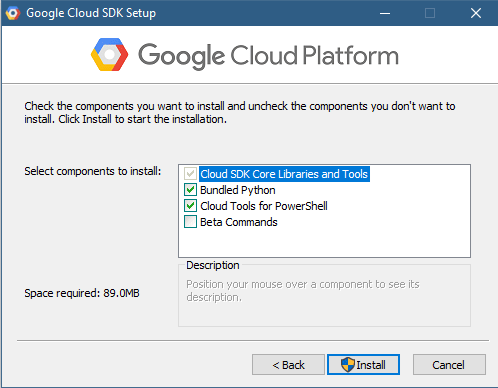
Which components do you wish to install?
Installation progress
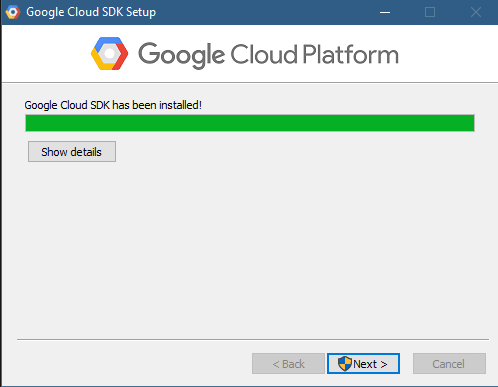
Install complete, choose where you want to find the shell.

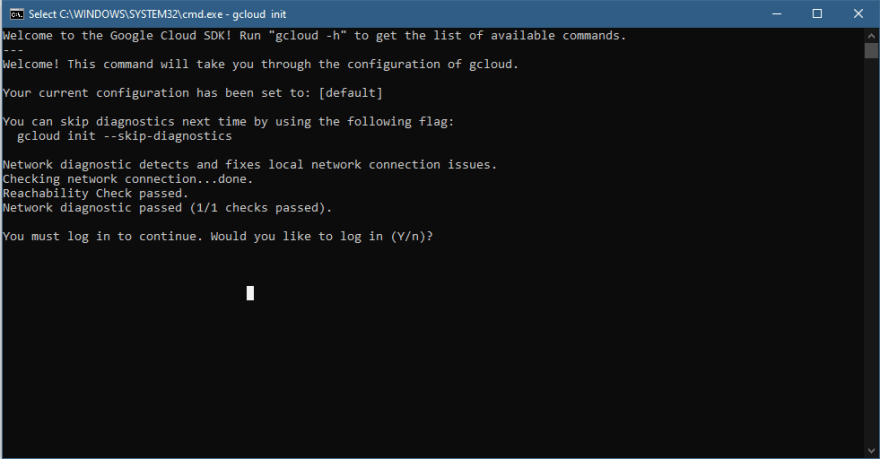
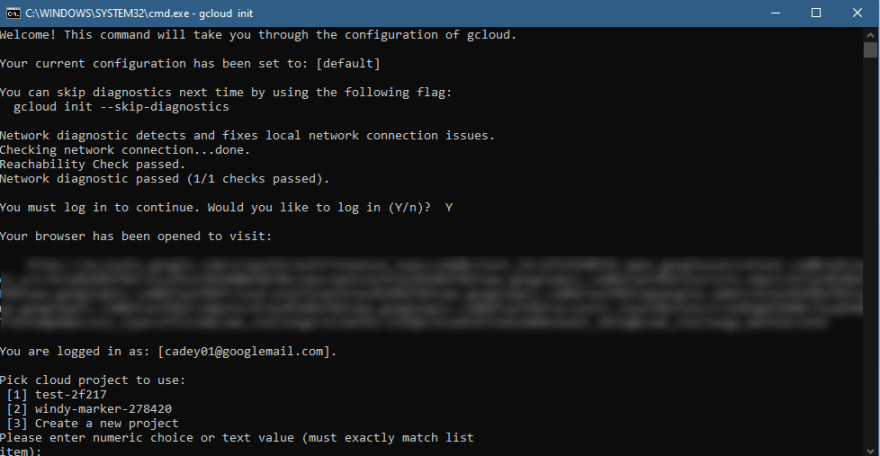
Because I ticked “start Google Cloud SDK Shell” guess what happened… it starts the shell and you are then prompted to log in to your Google Cloud Platform account.
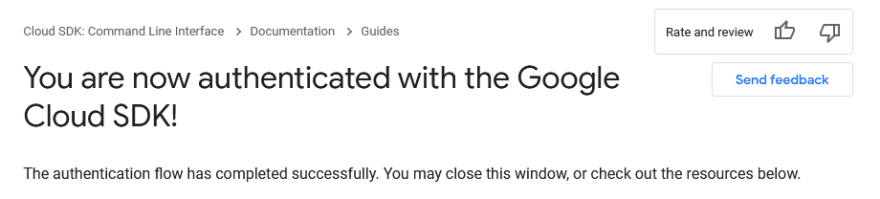
This then opens a web browser to authenticate with your account.

You then get the confirmation that all is good and that you are authenticated.
Now back to the shell you will now have the ability to choose your default project to use if you wish.
Finally, this is a good time if you have not already, install kubectl to interact with your Kubernetes cluster.
gcloud components install kubectl
Configuring GKE
With the above screenshot this where we can configure some of those defaults that we wish to use for our deployments. We choose the project we wish to use; we then choose our default Compute Region and Zone.
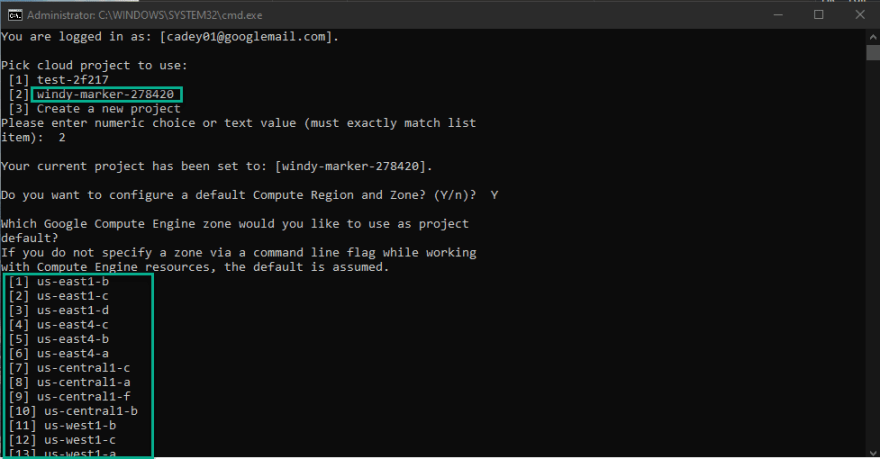
In the end, when you have selected your region and zone it will be confirmed

Deploying a GKE Cluster
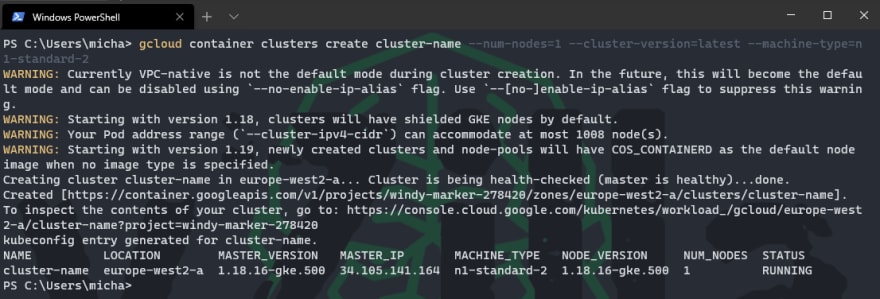
For test purposes I am going to simply deploy a 1 node cluster and name it cluster-name, I can do this simply by running the command below.
gcloud container clusters create cluster-name --num-nodes=1

Checking in on the GCP Kubernetes engine portal you can see we also have that cluster building out there.

Once this is complete in the shell you will see the cluster name, location, Kubernetes version, IP address, Machine type, node version and number of nodes.
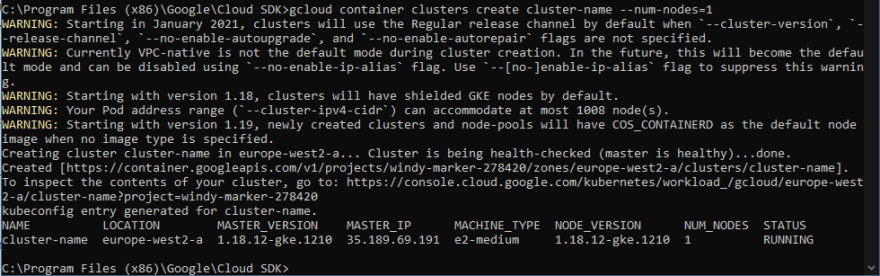
You will also notice that the kubeconfig entry generated for cluster-name is just above. What this means is that we have updated our kubectl config with our new GKE cluster details to that if we ran the following command, we would get back information about our GKE Cluster and be able to work with the cluster and deploy our applications.
kubectl get nodes

Customise your Kubernetes Cluster
In the example above I have just used defaults, but you are likely going to want to be able to determine the Kubernetes version you are using, the Machine types and the number of nodes, I have added some of these examples below.
Kubernetes version
In the above example, we just used the default version and did not specify anything in this section I am going to share the first command is how to check what versions are available in the region you have selected.
gcloud container get-server-config
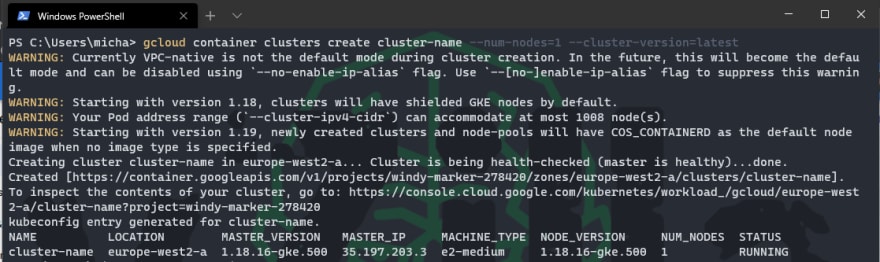
so, you can choose your version from the list above for example you would replace the latest shown below with 1.18.16-gke.500
gcloud container clusters create cluster-name --num-nodes=1 --cluster-version=latest
Machine Types
Next up could be the choice you have for machine types; the first line of code will give you a list of available machine types that you can use.
gcloud compute machine-types list
once we have selected our machine type from the list, we can then add this to our creation. Notice that in our examples above we were using e2-medium machine type.
gcloud container clusters create cluster-name --num-nodes=1 --cluster-version=latest --machine-type=n1-standard-2
 Number of Nodes
By default, if you miss out on the –num-nodes it will automatically be 3 nodes by default but by using this you can determine the number of nodes you require.
gcloud container clusters create cluster-name --num-nodes=4 --cluster-version=latest --machine-type=n1-standard-2

Regional Cluster
Everything we have created so far in this post has focused on the single zone, we have been using Europe West 2, there might be a requirement to have nodes running in multiple zones of a region. This is going to help more in a production environment where you need to keep alive systems during upgrades as well as potential zone outages.
gcloud container clusters create cluster-name --num-nodes=2 --cluster-version=latest --machine-type=n1-standard-2 --region=europe-west2
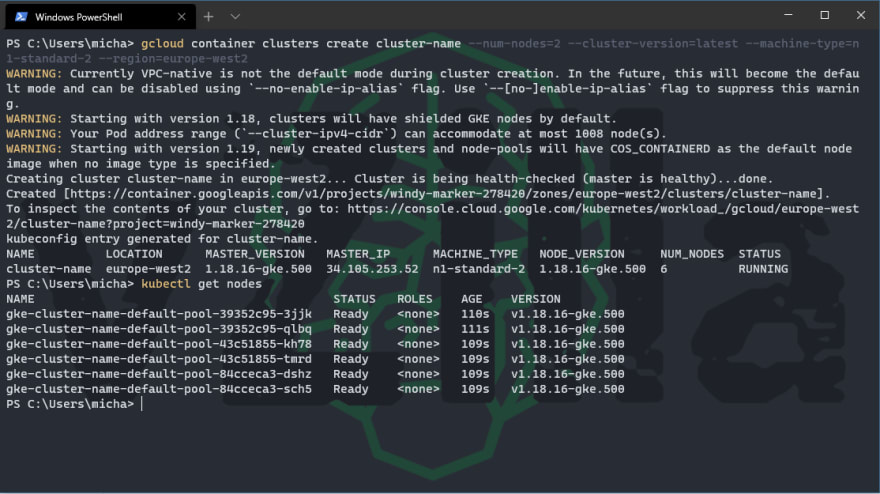
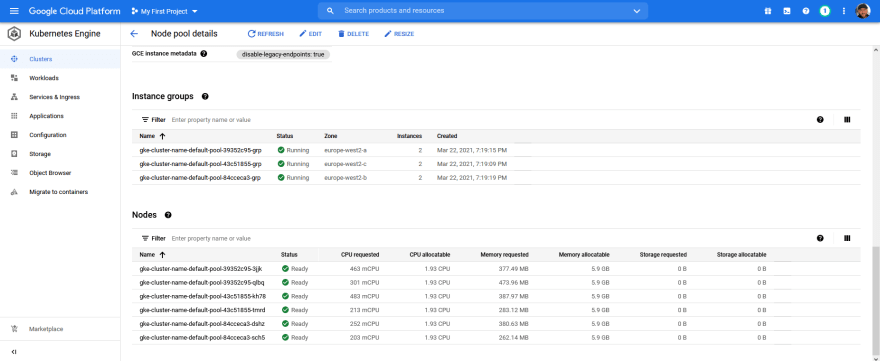
Then this is how this looks in the GCP portal, you can see that the location is set to Europe-west2 which covers 3 zones, you can see that the number of nodes we specified means we have 2 nodes in each zone.

You can see here as we go down into the node pool details how this looks.
Deleting the Kubernetes cluster
Ok so before things start getting out of hand and costing me lots of money, we need to quickly remove what we have done from our GCP account and organisation. This can easily be done with the following command.
gcloud container clusters delete cluster-name

And then once complete you see the following confirmation.

One more note that if you are running the zonal clusters that we described last then your delete command is going to need to add the following onto the command.
gcloud container clusters delete cluster-name --zone=europe-west2
Hopefully, this will be useful to someone, as always open for feedback and if I am doing something not quite right then I am fine also to be educated and open to the community to help us all learn.
The post Getting started with Google Kubernetes Service (GKE) first appeared on vZilla.

Top comments (0)