Over the last few weeks since completing the 10 part series covering my home lab Kubernetes playground I have started to look more into the Amazon Elastic Kubernetes Service (Amazon EKS) is a managed service that you can use to run Kubernetes on AWS without needing to install, operate, and maintain your own Kubernetes control plane or nodes.
I will say here that the continuation of “this is not that hard” is still the case and if anything and as probably expected when you start looking into managed services. Don’t get me wrong I am sure if you are running multiple clusters and hundreds of nodes that might change that perception I have although the premise is still the same.
Pre-requisites
I am running everything on a Windows OS machine, as you can imagine though everything we talk about can be run on Linux, macOS and of course Windows. In some places, it can also be run in a docker container.
AWS CLI
Top of the tree is the management CLI to control all of your AWS services. Dependent on your OS you can find the instructions here.

The installation is straight forward once you have the MSI downloaded. Just follow these next few steps.

Everyone should read the license agreement. This one is a short one.


Confirm that you have installed everything successfully.

Install kubectl
The best advice here is to check here on the version to be using within AWS EKS, you need to make sure for stable working conditions that you have the supported version of kubectl installed on your workstation. If you have been playing a lot with kubectl then you may have a newer version depending on your cluster, my workstation is using v1.20.4 as you can see below. To note it is the client version you need to focus on here. The second line (“Server Version”) contains the apiserver version.

My suggestion is to grab the latest MSI here.
Install eksctl CLI
This is what we are specifically going to be using to work with our EKS cluster. Again official AWS Documentation can be found here. Again, various OS options here but we are using Windows so we will be installing eksctl using chocolatey.

IAM & VPC
Now I am not going to cover this as this would make it a monster post but you need an IAM account with specific permissions that allow you to create and manage EKS clusters in your AWS account and you need a VPC configuration. For lab and education testing, I found this walkthrough very helpful.
Let’s get to it
Now we have our prerequisites we can begin the next easy stages of deploying our EKS cluster. We will start by configuring our workstation AWS CLI to be able to interact with our AWS IAM along with the region we wish to use.

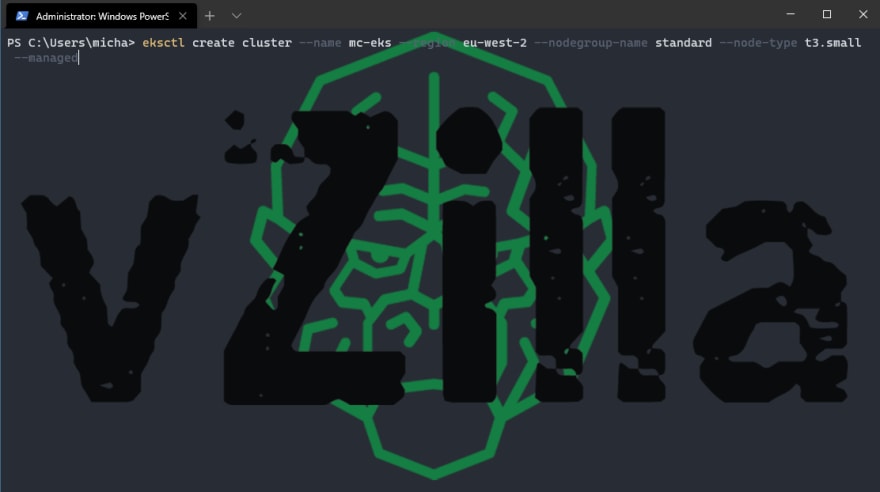
Next, we will use EKSCTL commands to build out our cluster, the following command is what I used for test purposes. Notice with this we will not have SSH access into our nodes as we did not specify this, but I will cover off the how on this later. This command will create a cluster called mc-eks in the eu-west-2 (London) region with a standard node group and it will use t3.small instances. This is my warning shot. If you do not specify a node type here it will use m5.large and for those using this for education then things will get costly. Another option here to really simplify things is to run eksctl create cluster and this will create an EKS cluster in your default region that we specified above with AWS CLI with one nodegroup with 2 of those monster nodes.
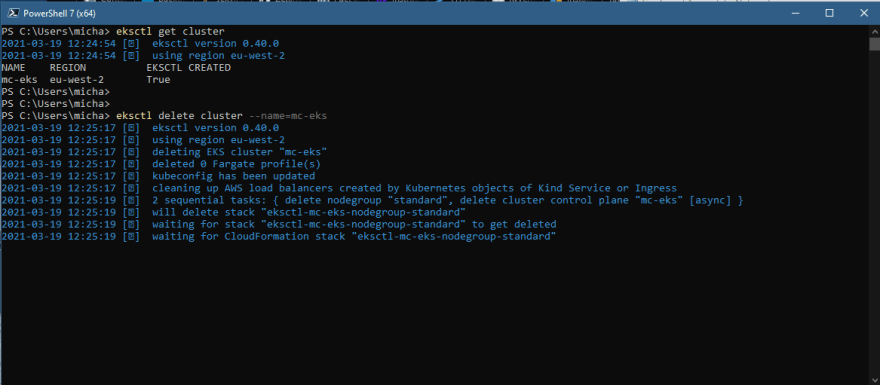
Once you are happy you have the correct command then hit enter and watch the cluster build start to commence.

If you would like to understand what the above is then you can head into your AWS management console and location CloudFormation and here you will see the progress of your new EKS stack being created.

Then when this completes you will have your managed Kubernetes cluster running in AWS and accessible via your local kubectl. Because I also wanted to connect via SSH to my nodes I went with a different EKS build-out for longer-term education and plans. Here is the command that I run when I require a new EKS Cluster. To what we had above it looks similar but when I also created the IAM role I wanted the SSH key so I could connect to my nodes this is reflected in the –ssh-access being enabled and then ssh-public-key that is being used to connect. You will also notice that I am creating my cluster with 3 nodes with 1 minimum and 3 maximum. There are lots of options you can put into creating the cluster including versions
eksctl create cluster –name mc-eks –region eu-west-2 –nodegroup-name standard –managed –ssh-access –ssh-public-key=MCEKS1 –nodes 3 –nodes-min 1 –nodes-max 4

Accessing the nodes
If you did follow the above and you did get the PEM file when you created the IAM role then you can now SSH into your nodes by using a similar command to below: obviously making sure you had the correct ec2 instance and the location of your pem file.
ssh ec2-user@ec2-18-130-232-27.eu-west-2.compute.amazonaws.com -i C:\Users\micha.kube\MCEKS1.pem
in order to get the public DNS name or public IP then you can run the following command, again for the note I am filtering to only show m5.large because I know this is the only instances I have running with that size ec2 instance type.
aws ec2 describe-instances –filters Name=instance-type,Values=m5.large
if these are the only machines you have running in your default region, we provided then you can just run the following command.
aws ec2 describe-instances
Accessing the Kubernetes Cluster
Finally we now just need to connect to our Kubernetes cluster, when you receive the end of the command we ran to create the cluster as per below

We can then check access,

eksctl created a kubectl config file in ~/.kube or added the new cluster’s configuration within an existing config file in ~/.kube. if you already had say a home lab in your kubectl config then you can see this or switch to this using the following commands. Also covered in a previous post about contexts.

The final thing to note is, obviously this is costing you money whilst this is running so my advice is to get quick at deploying and destroying this cluster, use it for what you want and need to learn and then destroy it. This is why I still have a Kubernetes cluster available at home that costs me nothing other than it is available to me.
Hopefully, this will be useful to someone, as always open for feedback and if I am doing something not quite right then I am fine also to be educated and open to the community to help us all learn.
The post Getting started with Amazon Elastic Kubernetes Service (Amazon EKS) first appeared on vZilla.

Top comments (0)