This post will wrap up the 10-part series of getting started on my hands-on learning journey of Kubernetes, the idea here was to try and touch on a lot of the areas without going through the theory in these posts. A lot of theory I have picked up through various learning assets that I have listed here. In the previous posts we have gone into creating a platform for our Kubernetes cluster to run on, we have touched on various stateless and stateful applications, load balancers and object storage amongst a few more topics to get going and started. We have only touched the surface of this whole entire topic though and I fully intend to continue to document further on about the public cloud and managed Kubernetes services that are available.
In this post we are going to wrap the series up talking about data management, what better way to attack this than to cover the installation and deployment of K10 in our lab to assist us with our lab backups and more, the more we can get into over another series and potential video series. But after spending the time getting up and running you will want to spin up and down that cluster and it might then make sense to store some backups to get things back but at least have that data protection angle in the back of your mind as we all navigate this new world.
Everything Free
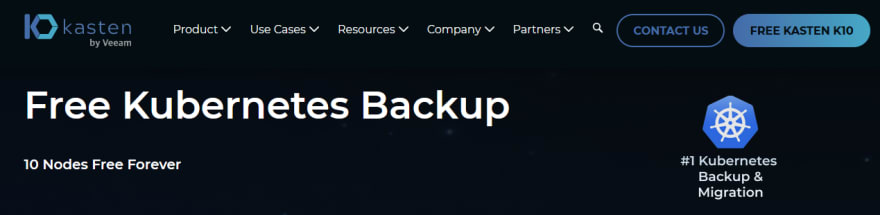
First of all, everything so far in the series has been leveraging free tools and products, so we continue that here with Kasten K10 free edition. There are a few ways in fact you can take advantage of this free edition, firstly its going to cover you for 10 worker nodes and its free forever! This is ideal for testing and home lab learning scenarios where a lot of us are now. This is a mantra that has been the case at Veeam for a long time. There is always a free tier available with Veeam software. How do you get started, well on the page above and both topics needs to be covered off more in another post but you have the test drive option which enables you to not have to have any home lab or cloud access to a Kubernetes cluster this will walk you through the easy approach of getting Kasten K10 up and running in a hands on lab type environment, the second is the free edition which can be obtained from cloud based marketplaces. I have also written about this in one of my opening blogs for Kasten by Veeam.
Documentation

Another thing I have found is that the Kasten K10 documentation is good and thorough. Don’t worry its not thorough because its hard but it details the install options and process for each of the well known Kubernetes deployments and platforms that you are using and then into specific details that you may want to consider from a home lab user through to the enterprise paid for product that includes the same functionality but with added enterprise support and a more custom node count. You can find the link to the documentation here. Which is where the steps I am going to run through ultimately come from.
Let’s get deploying
First, we need to create a new namespace.
kubectl create namespace kasten-io
we also need to add the helm repo for Kasten K10. We can do this by running the following command.
helm repo add kasten https://charts.kasten.io/
We should then run a pre flight check on our cluster to make sure the environment is going to be able to host the K10 application and be able to perform backups against our applications. This is documented under Pre-Flight checks, this will create and clean up a number of objects to confirm everything will run when we come to install K10 later on.
curl https://docs.kasten.io/tools/k10\_primer.sh | bash
this command should look something like the following when you run it. This is going to check for access to your Kubernetes cluster by using kubectl, access to helm for deployment that we covered in a previous post as well. Validates if the Kubernetes settings meet the K10 requirements.

Continued

Installing K10
If the above did not come back with errors or warnings, then we can continue to install Kasten K10 into our cluster. This command will be leveraging the MetalLB load balancer that we covered in a previous post to give us network access to the K10 dashboard later on, you could also here use a port forward to gain access which is the default action without the additional externalGateway option in the following helm command.
helm install k10 kasten/k10 –namespace=kasten-io \
–set externalGateway.create=true \
–set auth.tokenAuth.enabled=true
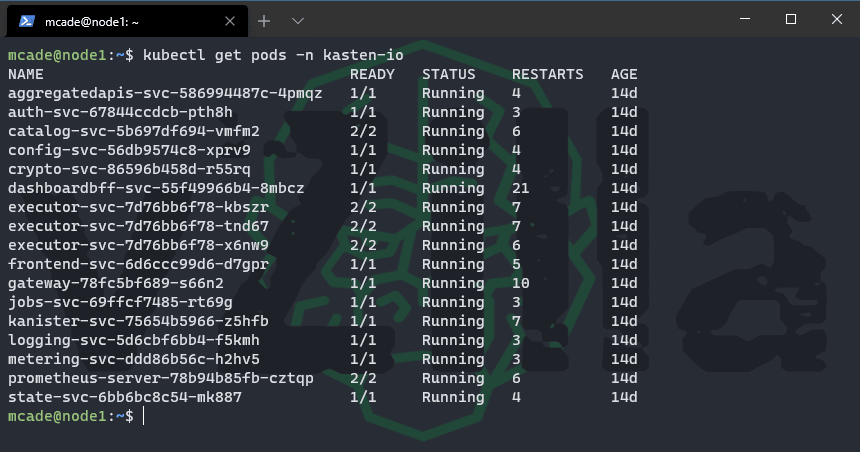
Once this is complete you can watch the pods being created and, in the end, when everything has completed successfully you will be able to run the following command to see the status of our namespace.
kubectl get all -n Kasten-io

You will see from the above that we have an External IP on one of our services, service/gateway-ext should with our configuration be using LoadBalancer type and should have a value that you configured in MetalLB that you can access on your network. If you are running this on the public cloud offerings this will be using the load balancing native capabilities and will also give you an external facing value. Depending on your configuration in the public cloud you may or may not have to make further changes to enable access to the K10 dashboard. Something else we will cover in a later post.
Upgrading K10
Before we move on, we also wanted to cover, upgrades again in more detail later but every two weeks there is an update release available so being able to run this upgrade to stay up to date with new enhancements is important. The following command will enable this quick and easy upgrade.
helm upgrade k10 kasten/k10 –namespace=kasten-io \
–reuse-values \
–set externalGateway.create=true \
–set auth.tokenAuth.enabled=true
Accessing the K10 Dashboard
We have confirmed above the services and pods are all up and running but if we wanted to confirm this again we can do so with the following commands.
Confirm all pods are running
kubectl get pods -n kasten-io
Confirm your IP address for dashboard access
kubectl get svc gateway-ext –namespace kasten-io -o wide

Take the external IP listed above and put this into your web browser adding it like the following, http://192.168.169.241/k10/# you will be greeted with the following sign in and token authentication request.

To obtain that token run the following command, this is the default service account that is created with the deployment. If you require further RBAC configuration then refer to the documentation listed above.
kubectl describe sa k10-k10 -n kasten-io

kubectl describe secret k10-k10-token-b2tnz -n kasten-io

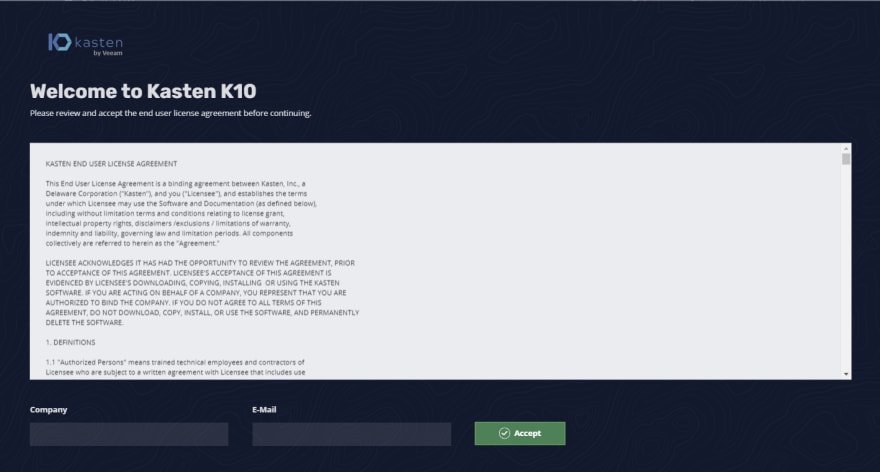
Use the above token to authenticate and then you will be greeted with the EULA, fill in the details, obviously read all the agreement at least twice and then click accept.
You will then see your Kasten K10 Cluster Dashboard where you can see your available Applications, Policies and what backups (snapshots) and exports (backups) you have with then a summary and overview of the jobs that have ran down below.

The next series of posts are going to continue the theme of learning Kubernetes and we will get back to the K10 journey also as we will want and need this as we continue to test out more and more stateful workloads that then require that backup functionality but also there is a lot of other cool tech and features within this product which is the same product regardless of it being free or the enterprise edition.
Hope the series was useful, any feedback would be greatly appreciated. Let me know if it has helped or not as well.
The post Building the home lab Kubernetes playground – Part 10 first appeared on vZilla.

Top comments (0)