
Terraform is an Infrastructure as Code tool that focuses on the automation of infrastructure.
Terraform Cloud is a platform that performs Terraform runs to provision infrastructure, either on-demand or in response to various events.
This article covers the following sections:
- Signing up to Terraform Enterprise
- Creating a Terraform Workspace
- Using the Version Control Workflow
- Using the CLI driven Workflow
Create a Terraform Cloud account by taking the following steps:
- Sign in to the Terraform Cloud website

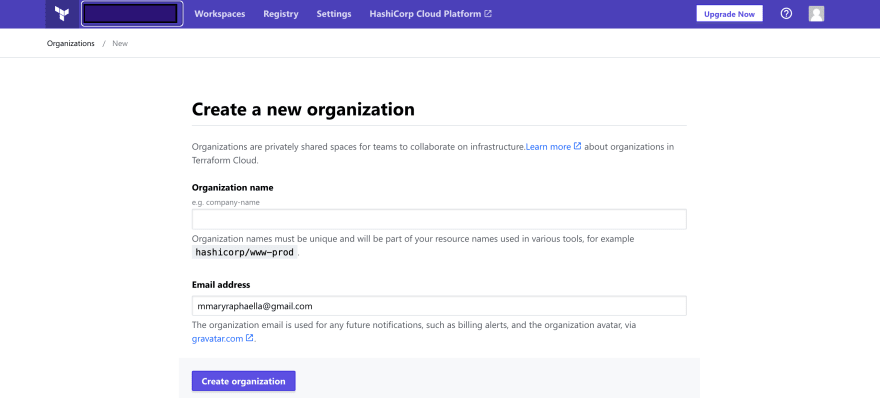
Create an Organization
-
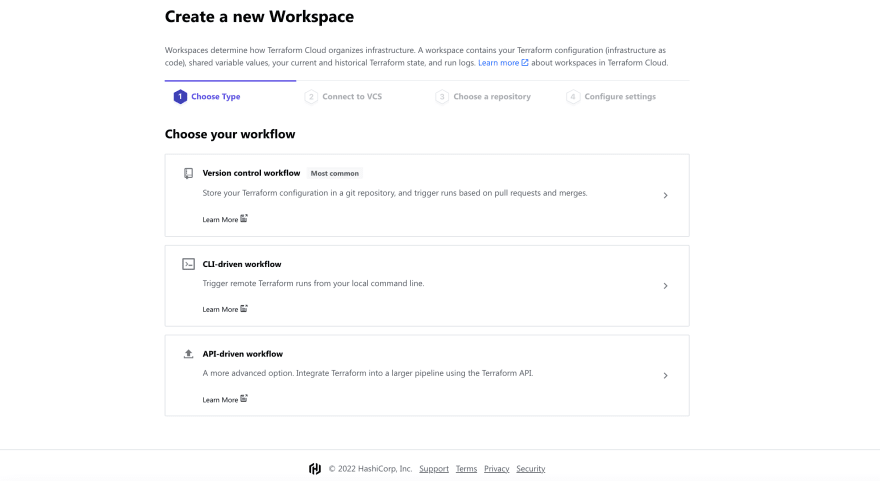
Create a Workspace: here, you are asked to select a method of building the workflow for your build; this can be through:
Version Control Workflow: A build is triggered by pushing your code to a selected Version Control System such as GitHub GitLab.- CLI-driven workflow: Build infrastructure by running commands from your local terminal.
- API-driven workflow: implement Terraform using the Terraform API.
Version Control Workflow
To use Terraform code on a Version Control system to build an infrastructure on Terraform enterprise, follow the prompts presented under the Version Control Workflow, to connect your VCS of choice to your Terraform Organization.

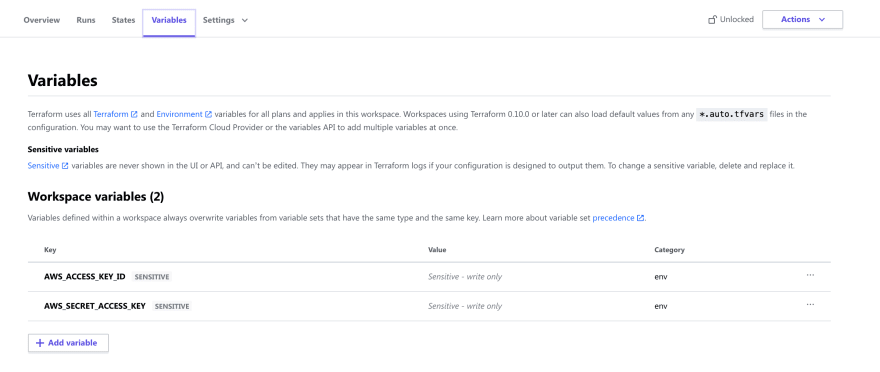
Then set up variables such as your access key and secrets.
To trigger the build of any infrastructure, push the code to the repository to which you connected your Terraform Enterprise under the Version Control Workflow prompt.
Overview of an AWS ASG Infrastructure built with Terraform
The code for this section is available on GitHub.
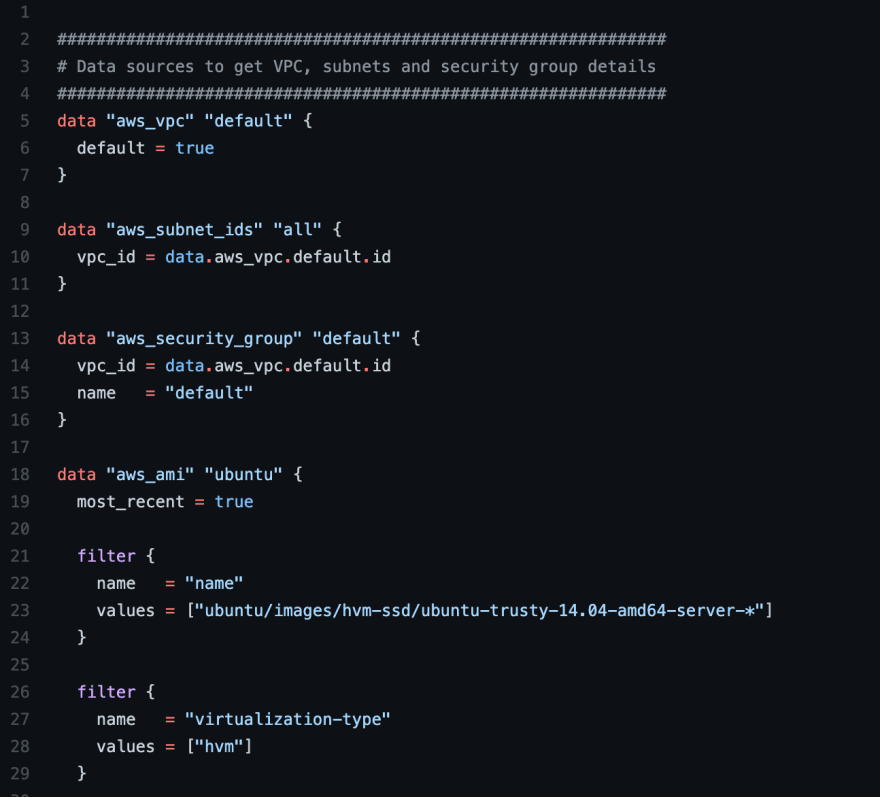
The codes used to provision this architecture are modularized. A Terraform module is a set of Terraform configuration files in a single directory.
Our file structure is as follows:
Terraform Enterprise
-- main.tf
-- variables.tf
-- output.tf
-- provider.tfThe main.tf file, contains the configurations with values defined as variables.
- The
variables.tffile, contains the values used in the main.tf file.
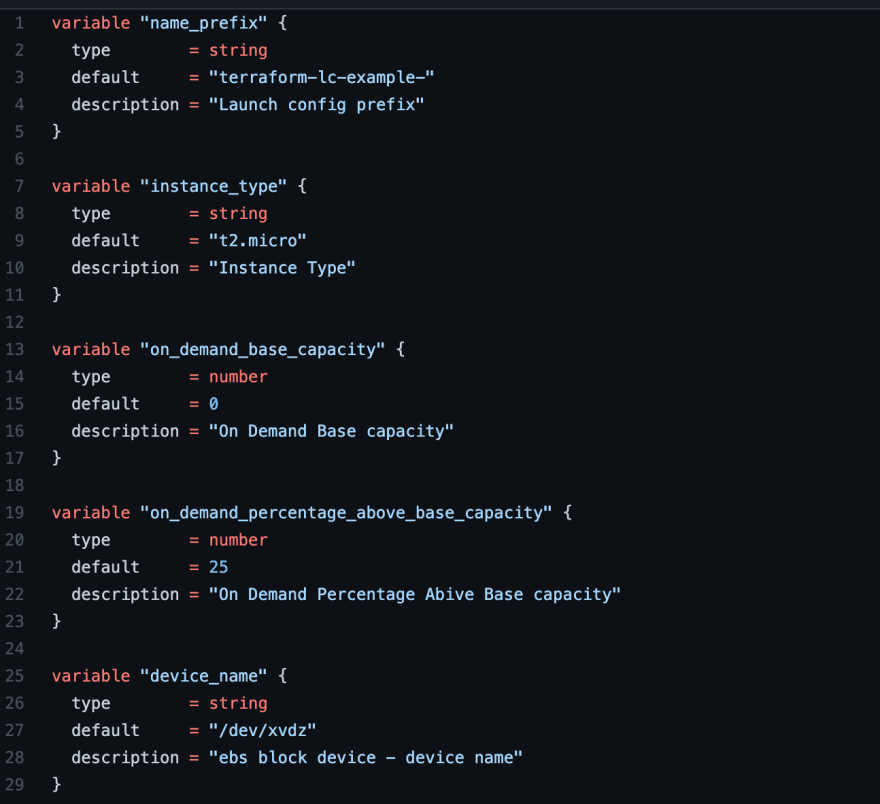
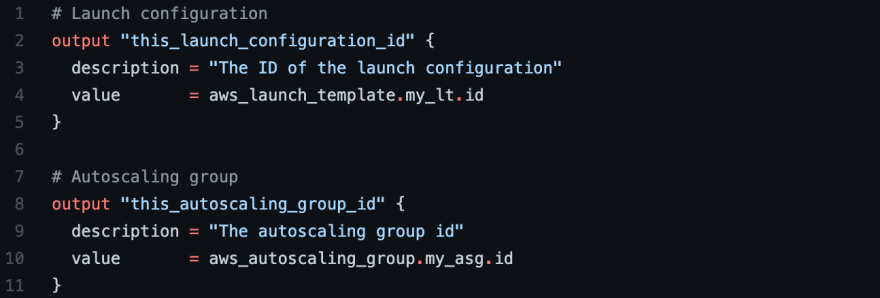
- The
output.tffile, contains information that would be displayed publicly after runningterraform apply.
- The
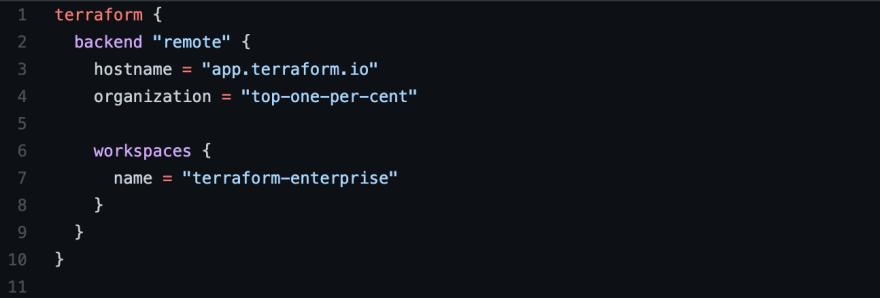
provider.tffile, contains details of the Terraform configuration for the cloud provider of choice, in this case AWS.
Triggering the Run
- Login to Terraform enterprise
terraform login
- Push your code to the previously created GitHub repository.
git add .
git commit -m '<commit message>'
git push <remote> <branch>
- Then head over to the Terraform enterprise UI, following the prompts.

- The configuration has been planned (equivalent to running
terraform plan), click onconfirm and apply.

- An
applyingtag becomes visible - this is equivalent to runningterraform applyin the CLI.
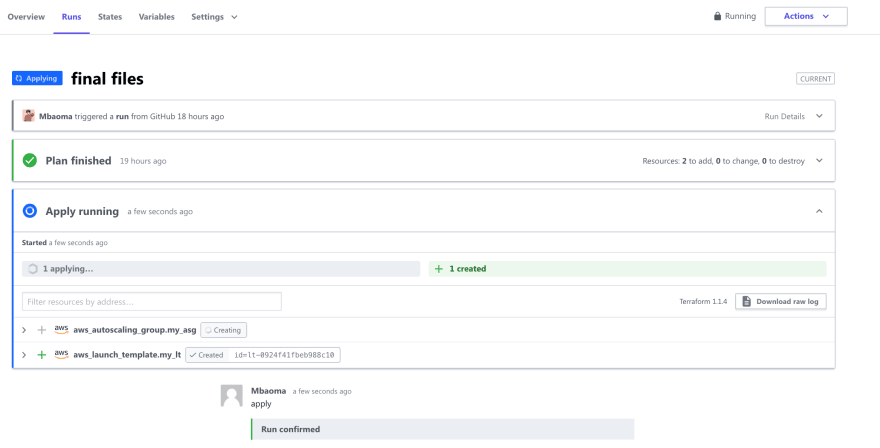
- Head over to your AWS account, to view the created resources.

N.B: Any new changes made to the Terraform code, should be pushed to GitHub so as to trigger a run to update your infrastructure
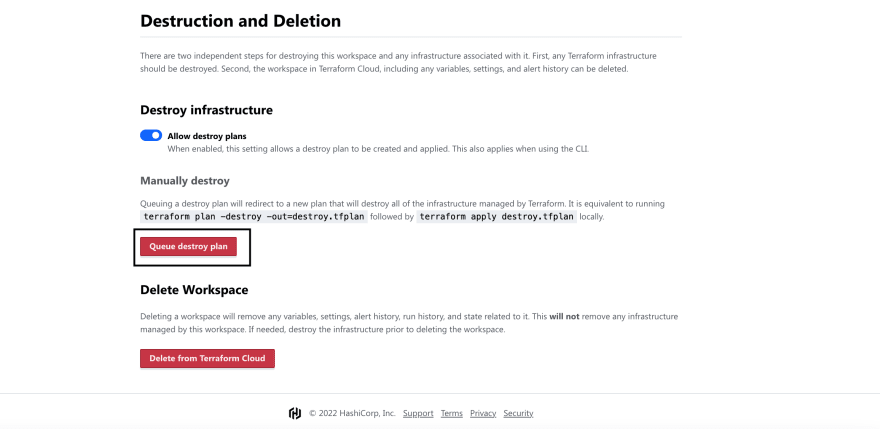
- It is good practice to delete all provisioned services, to avoid incurring costs when using cloud providers.
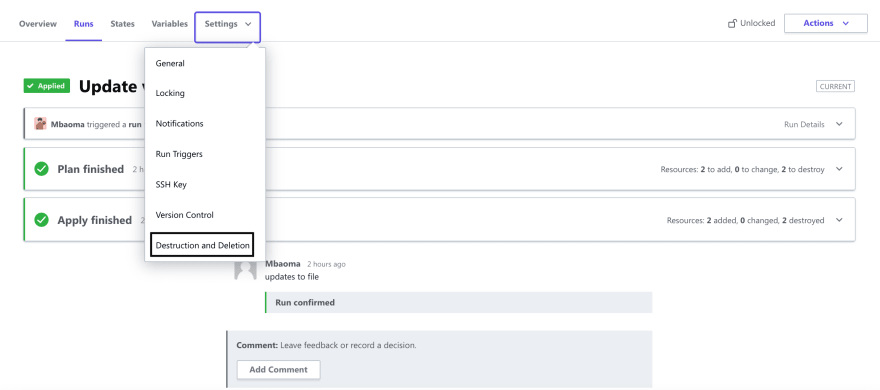
For this use case, we click on the Queue Destroy Plan.
The sequel to this article will highlight the CLI Driven Workflow.
Thanks for your time.
Feel free to connect with me via: LinkedIn, Twitter
Yoroshko!

Oldest comments (0)