We as software developers tend to always be thinking about our next app idea, or how we can solve that specific problem we're struggling with and share our new app to the world as soon as possible.
But when our focus is always on the urgent, we easily forgot about other important things like accessibility or, in other words, how our users will interact with our app.
Apple is doing a great job by making accessibility super simple
Some months ago, I thought that making an app fully accessible was a major effort, but after digging into Apple's documentation I realize that it is not a big deal. It turns out that iOS views are accessible by default.
Example: if you're using UILabel or UIButton in your views, blind and low vision users will be able to interact with those labels and buttons through Apple's screen reader VoiceOver by default (no intervention or additional code required).
Even though Apple is making a huge effort to keep accessibility as easy as possible for developers, there are certain scenarios where we'll need to add some additional code to be sure our app is 100% accessible.
How do we know if our app is accessible?
Xcode has a super powerful tool called Accessibility Inspector that will let us know if our app has accessibility issues.
How it works
You just need to run your app using a simulator and then:
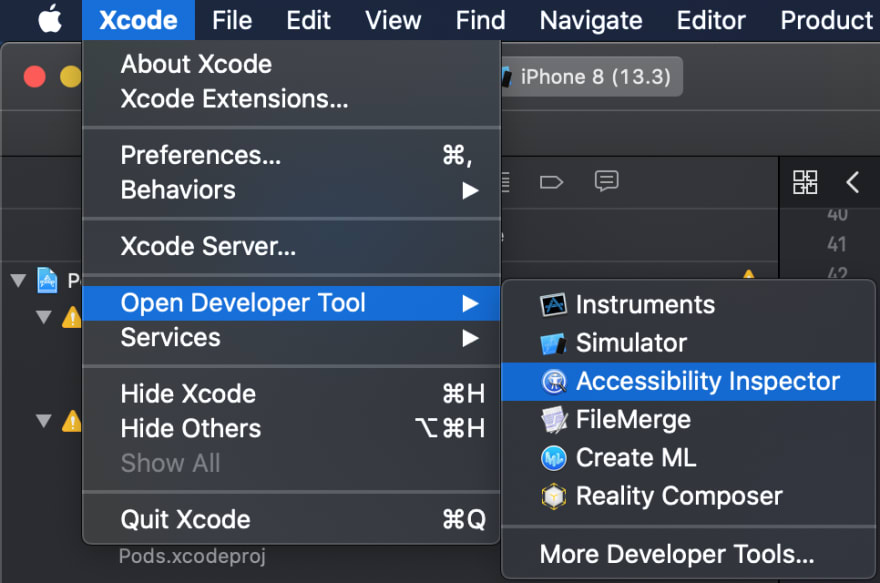
Go to Xcode -> Developer Tools -> Accessibility Inspector
Navigate to the view controller you want to check using your device or the simulator
Go to the inspector and hit the "Run Audit" button to start your fist analysis.
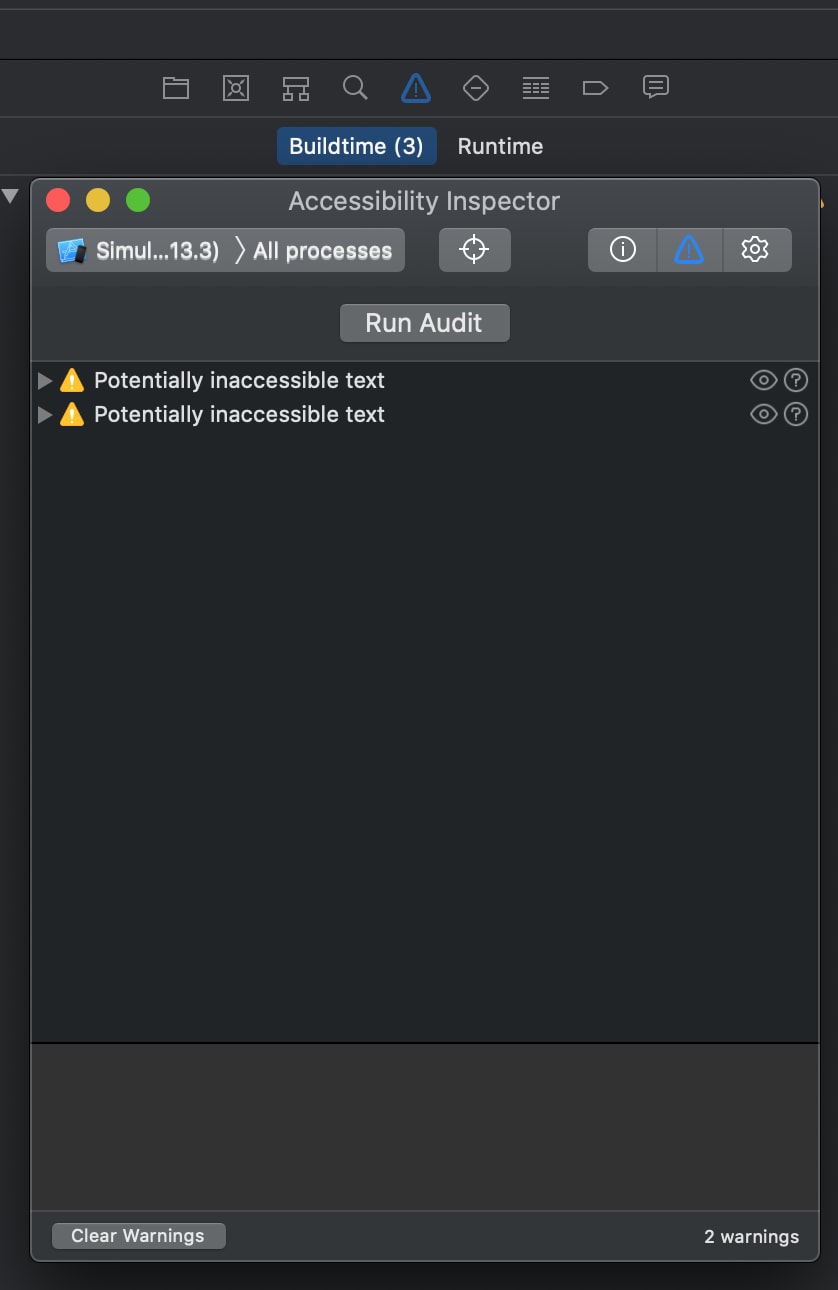
The inspector will show a list of warnings, each one with a description and even a recommendation to solve the issue.
Note: If you have a UICollectionView with 20 items and you have a warning in your cell's title, you will get 20 warnings, so don't freak out if you see a lot of warnings after running the first audit on your app.
Common accessibility warnings
Hit area is too small
Apple suggests that we need to try to maintain a minimum tappable area of 44pt x 44pt for all controls. If we have a button smaller than that, we will get an accessibility warning.
Dynamic font size
The Dynamic Type feature allows users to choose the size of textual content displayed on the screen. It helps users who need larger text for better readability. It also accommodates those who can read a smaller text, allowing more information to appear on the screen. Apps that support Dynamic Type also provide a more consistent reading experience.
To add support for Dynamic Type in your app, you use text styles. A text style describes the use of the text, such as headline or body or title1, and lets the system know how best to adjust its size. You can configure text styles in either Interface Builder or your source code.
If you set a fixed size for your texts, your users won't be able to adjust to their necessities.
More about scaling fonts here
Contrast in colors
A strong contrast between elements in your app makes your content easier to perceive. An online color contrast calculator can help you accurately analyze the color contrast in your app to ensure that it meets optimal standards.
You'll need to use a minimum contrast ratio of 4.5:1 to avoid accessibility warnings on this point.
More about contrast here


Top comments (0)