I want to demonstrate through a series of written and video tutorials, how ridiculously easy it is to build reactive applications using Stellify. I'll start by replicating the example used as an intro to VueJs, a simple button that displays a counter that will increment with every click of the button.
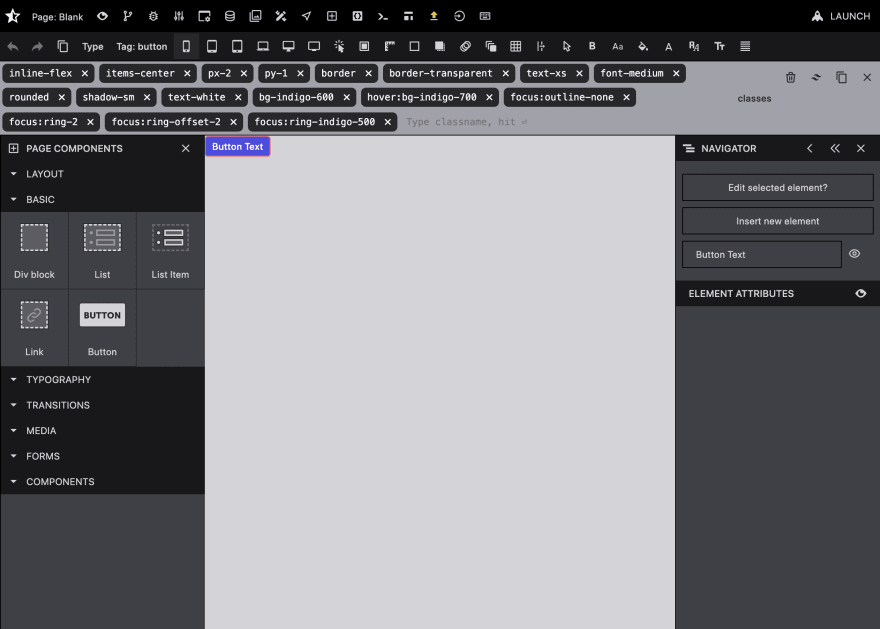
We'll begin by creating a new page and I'm going to add a button from the components menu.
The VueJS example initialises a variable to store the count, we'll do the same. Now, we store our application variables in what we call "state" or "application state" and there are multiple ways to create this variable:
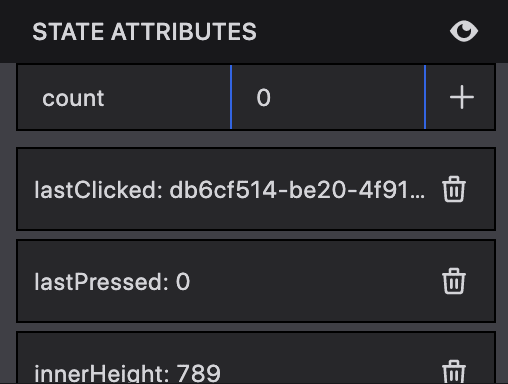
- Using the Navigator, we can dropdown the state inspector and add/ initialise the variable using the inputs provided.
- We can use the console, simply type
$state.count$ 0 - We can do the exact same thing as just described (in option 2) using the events tab within the page menu, only in this case, when you add the command
$state.count$ 0is executed when the chosen lifecycle hook is triggered i.e. mounted. If you choose "Mounted" the variable will be automatically initialised once the application is mounted or in layman's terms, upon page load.
I'll opt for option 1 in this case but I'd advise you give the other methods a try, especially if you're new to Stellify, as they will come in very handy when you're building your own functionality!
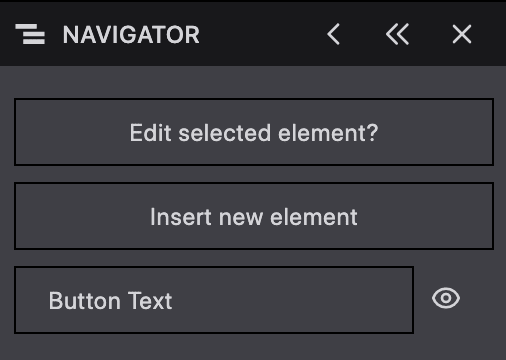
Next, we need to link the count variable to the button element, although what I'm actually going to do is insert a <span> as a child element of the button tag and link the count variable to its text property. Insert an element, change its tag, select it and click on the "eye" next to the text input box in the Navigator. We're now in "watch mode". This means we need to head back to the top level where we can view the state inspector. Locate the count variable, click on its "eye" icon and voila, we've created a link and your span should display 0.
Let's take stock, we have a button, we have a count variable set to zero and that variable is now on display within the button. Great work!
All that's left to do is to increment the count variable when the button is clicked. To do that, I select the button; I click on "Edit selected element" and then I navigate to the events tab. From the events dropdown I choose "On Click", and then I input a command that will increment the variable. We can't use count++ or even $state.count++ (there is in fact an increment method but I want to stick with using the command line here), what we can say is $state.count$ $state.count$+1. Notice there are no spaces in the expression, as with any command line, spaces represent parameters (important to remember!)
Click the add icon within the console bar and the command will be attached to the button.
There we have it, head back to your button, start clicking an watch that count variable increment right before your very eyes!
As with VueJS or any reactive framework, that my friends is just the tip of the iceberg, there's a lot more that can be achieved and Stellify takes reactivity to a whole new level. Before long you will be building complex apps at a speed of knots!
Stay tuned for more tutorials and in the meantime, check out the our You Tube channel for more news, tutorials, tips and tricks!


Top comments (0)