Hello there! :)
This is my first post here, i'm gonna talk about how i created a planet sandbox website where a universe is generated by the users with their own planets.
Day 1-2
At the first day of the development i was just trying to decide which technology i would learn or improve.
So after a long time, i've decided to choose Javascript, a powerful (and weird) language. Ok, i've decided the technology, but... where do i start?
Codewars is an educational community for computer programming. On the platform, software developers train on programming challenges known as kata.
I was reading that before i clicked at the link, that was a nostalgic feeling. I haven't visited Codewars for like... months, and then i was right there, staring the 2 kyu challenges that i gave up. Well, it's time to comeback.
I've passed day 1 and half of day 2 at codewars, remembering concepts from JS and learning new ones. After these 2 days i went from 8 kyu JS to 5 kyu, that was a HUGE change. That made me confident sufficiently to start one of my dream projects: A Planet Sandbox.
Day 2
Well, after completing the katas i've started to think how would i do (and start) the Planet Sandbox. And then i've remembered about a framework i saw a long time ago: Three.js.
Three.js is a cross-browser JavaScript library and application programming interface used to create and display animated 3D computer graphics in a web browser using WebGL.
Of course 3D wasn't my first option, since it's hard and requires a lot of math to work, but with Three.js it becomes understandable. That's it! I'm gonna use that.
After a few tests i've created a cube, a green... ugly... cube.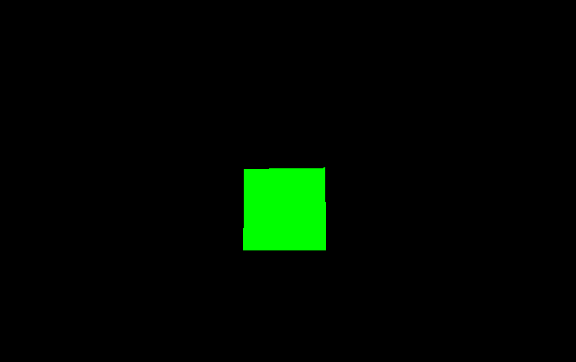
Yeah... that wasn't a planet for sure, but i was just messing with Three.js tools. That was Day 2 (a proof that not everyday of #100DaysOfCode is ultra productive).
Day 3
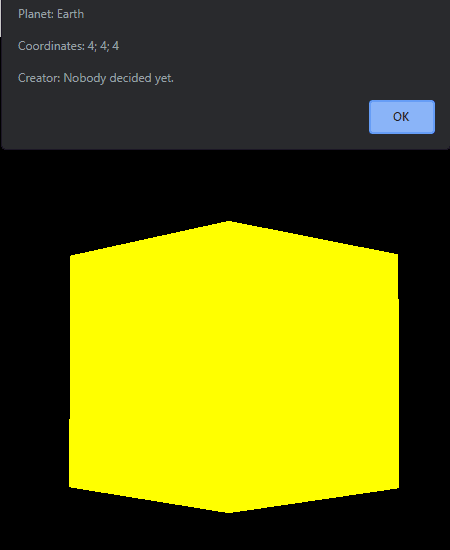
Specifically yesterday i've made a HUGE, ULTRA HUGE, advancement at my little Planet Sandbox. Basically, yesterday i've connected the project's DB, made the initial front-end and back-end. At this point you could see the planets at their own coordinates and also, you could add new planets to the DB. IN REAL TIME (i love Firebase, really), it means that, if User A is looking at the coordinate 2, 2, 2 and User B adds a planet at this coordinate, User A will see the scene updating instantly.
Well, at this moment the app just had the options to create a planet with a name and a creator, literally a yellow ugly mesh, and you could also search for a planet and the camera would instantly spawn at the planet location.
This was day 3, although it doesn't seem to be a huge change, it has a great impact on how the app works.
Day 4
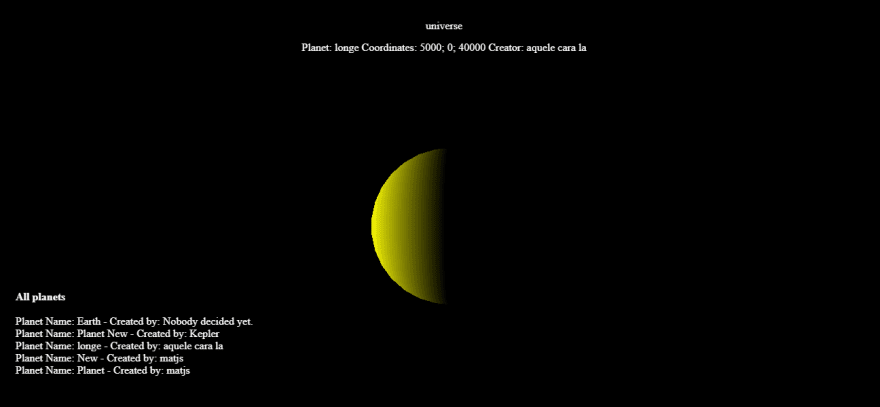
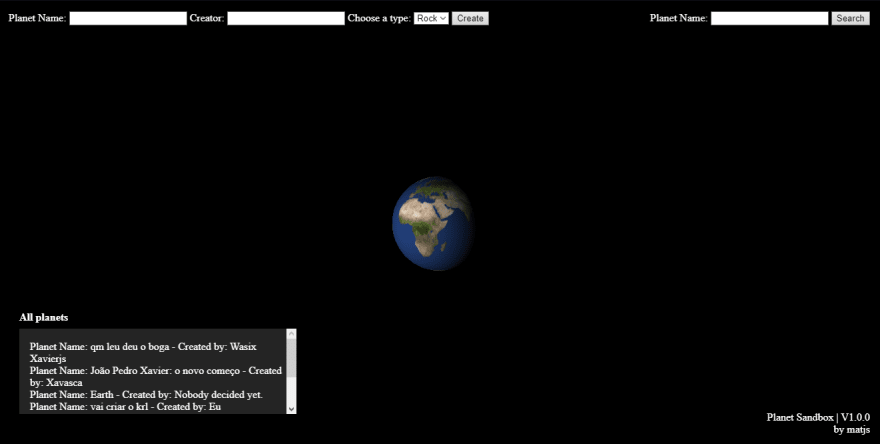
At the day 4 (or today), i've shaped up the final version of the project, this was a great improvement to the earlier state of the app. At the beginning of the day i've fixed up the shape of the planets (they don't seem like Minecraft planets anymore) and also, improved the UI, showing information about the planet and a list of planets (not scrollable yet).
It's much more beautiful now! But it isn't good enough yet. I've took a pause to eat something and then came back to work.
At the second turn of my infinite battle against WebGL, i've learned about Textures, a essential part of 3D models, and mostly important for planet models.
Well, after downloading some good textures for planets, i've managed to code a way to apply those textures at the flying balls of this strange universe. Well, it worked!
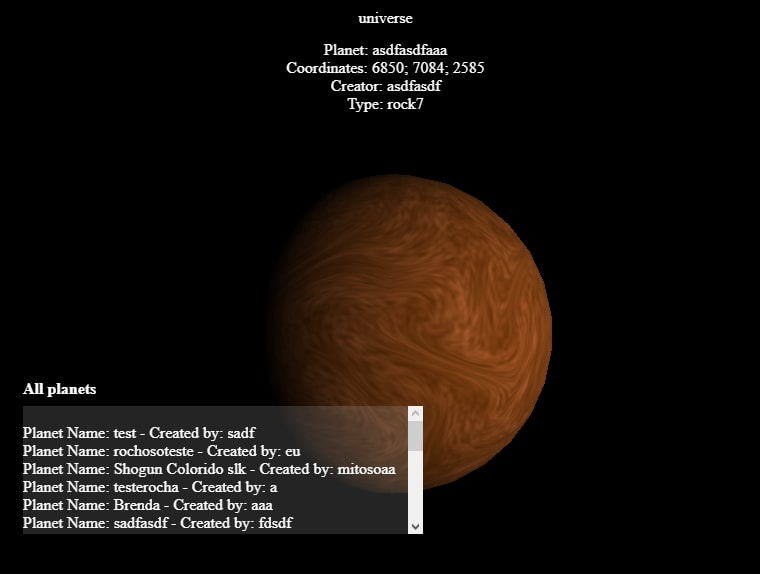
Now it does looks like a planet! Well, now we just have to decide which texture gonna be applied. Since there are 2 important types of planets (rock and gas) i splitted the images in 2 groups, one for each type of planet. Now the user can also choose the type of planet (you can see in the planet info at the image above).
This final addition have finished up all the things. Now, we have a Planet Sandbox! (You can visit the app right here => Planet Sandbox)
I still wanna add more things to this project, but for now, i'm going to continue my journey. See you in the next post! :)


Top comments (0)