
Hello everybody. My name is Mar, and today I want to guide you through the most important step of your Tech career, your first interaction with GitHub.
I started off as a Computer Science student not long ago, in 2016. However, it took me a whole year to give this Github thing a try. I was hesitant and confused at first, but it did not turn out to be as complex as my peers made it sounds when they were talking about it. All it takes is some motivation! Now let’s dive right into it.
First of all, you will need to make an account here. Once you get that over with and you sign in, go to “your profile” after clicking on your avatar icon in the top right corner and you will see something similar to this:
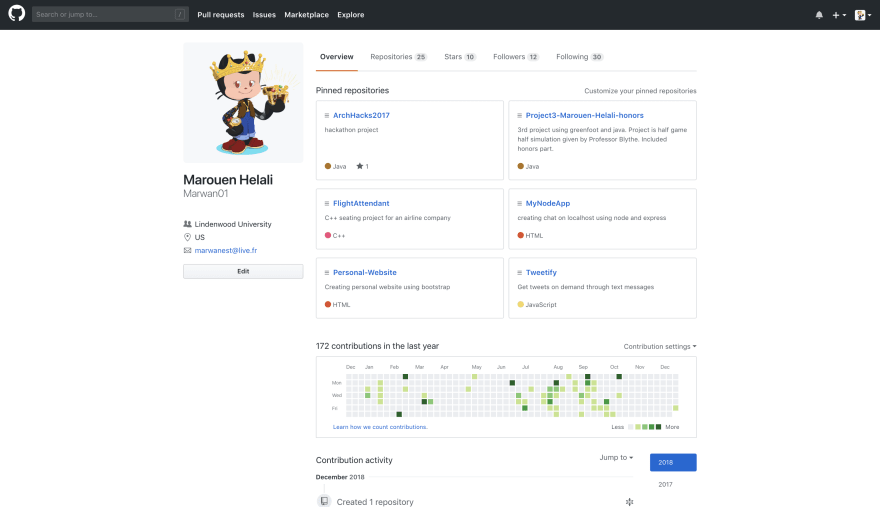
I have a few projects on there already that you can just disregard. Now let’s start by creating our first Repo. Repo is short for repository, and my personal explanation for it is that it is just a regular folder that will hold your project files. What is special about this folder is that it “watches” your files. And here is where the magic of version control comes, more on that to come later. To initialize a repo, Go to the repositories tab and click on the green button labeled “New”.

You can now give your new Repo a name (usually you project’s name), and a short description. Do not initialize with a README at this time as it might cause complications later. You can always go back and do it later.
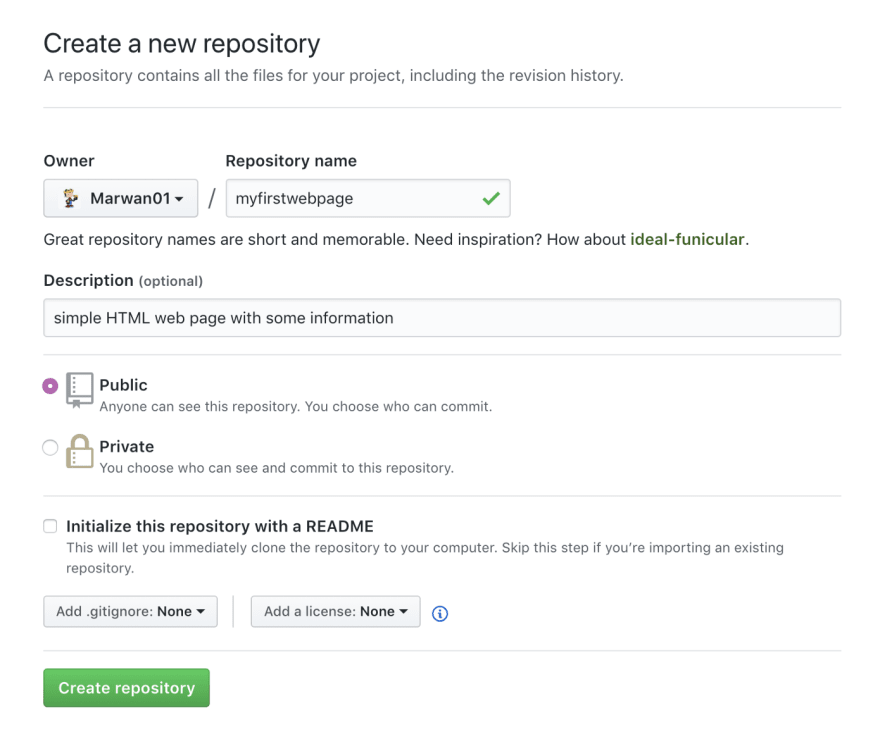
I have gone this far without frustration when I was starting up on Github but then I came at this screen and I was like: “Okay, what now”?

Now let’s forget about what is online, and let’s dive into the Git part of Github. If you have a windows or Linux machine, you will need to download and install git. If you are using a Mac, you should have Git installed by default as long as you have Xcode.Now make a folder in your preferred location, and open a terminal window (cmd for windows) and navigate to your folder on it. We want to initialize this folder as a Git Repo. Which means that we are now going to make this folder special, “watched for” as I said earlier. Here you can see me navigate to my folder called myfirstwebpage that I created on my desktop.
Note that cd stands for change directory and it is how you navigate from a folder to another.
Now make sure you are in the correct folder and type the command:
git init
Congratulation, you just created your first repo on your local machine! You can type git status into the terminal, to see all that is going on.
At this point, you can start adding whatever files you wish to work on! For this demo, I am going to create an HTML file and add some code to it on the code editor VSCode. You could use any editor to accomplish this. Make sure you are still working in the same folder.

It is about time for a commit. I wrote some code, I am satisfied with it, and I want to save this state of my project now. Let’s go back to the terminal window and make our first commit. Use the command git status. You will get a different output from the first time you ran the same command. This is because Git detected that something is up in the folder that it was not notified about. Remember, it is “watching” it.
You will need to run a couple of simple commands on the terminal.
First:
git add *
This command will add all the files in your repo to the staging area which means that Git now thinks “ah I’m asked to actually pay attention to the changes that happen to all these files now!” it is good to type git status every once in while to see what is going on at every step.
Then run:
git commit -m “<commit message>”
and replace with an actual message such as “initial commit”, or “server side hot-fix”, or whatever it might be. Make it short and descriptive!
Note that the commit message is required and if you omit it, you might open the terminal editor which is annoying to get out of (try :q if this happens).
CONGRATS! You just made your first commit!! This short video sums up the commit process in case you missed something:
The next step is to link the remote repo, that you created on your Github, to the one sitting on your desktop. To do so, you will need to get your remote repo’s “link”. This is found by clicking “clone or download” on your repository’s page.
You can click on the rightmost button next to the link to copy it.

Next, go back to the terminal, and type this command:
git remote add origin <paste link here>
you should only have to use the above command once to get the remote branch setup. Afterwards, you could repeatedly push to the remote branch whenever you want to publish your commits to Github using this command:
git push -u origin master
Now go up to Github and lo and behold, your files that were just on your local machine are in there too. You just uploaded some files to the cloud by only using the terminal! You should be proud of this accomplishment!
Honestly, if you made it this far, you are now set to success. You can continue exploring the power of version control hassle free. All you have to do is look up the commands, and google is your best friend! I personally took much longer to get to this point than to do anything after that. Some of the most powerful things you can do with Github are branching, reverting commits (or literally just going back to an older commit to copy some stuff you want to get back!), and most importantly, the ability to have multiple people working on a single project (instead of exchanging a flash drive, taking turns coding on one computer, or if you are brave, using google docs, haha).
Original Source: https://levelup.gitconnected.com/introduction-to-quantum-computing-using-qiskit-and-ibm-q-a4c4fead6344

Top comments (0)