The combination of HTML5 & JavaScript Programming language has already turned out to be the perfect blend for the game developers to make games which can reach as many users as possible.
All that left for developers is now the creative imagination to think of the perfect idea and implement it.
In this article, I suggest all the developers out there to create a game where the players have to click a maximum number of times in a limited time interval provided.
Doesn't this sound interesting to you?
This game can be called CPS Test Game, with simple rules and easy to play controls. Let's get to know how to develop this game in HTML5 and JavaScript.
But before that, we have to define a few general rules for the Click speed test game.
Defining Rules for Click Speed Game
As mentioned above, the rules for this game are going to be simple and quite easy. The only goal for the users will be to click the maximum number of times in a span of 10 Seconds. To implement the same, we would be needing the following things:
- A well defined area where user can click easily many number of times.
- Secondly, the scoreboard area & the timer, where we show the total clicks and the running timer for the user in real time.
- This step is optional, but if you are putting up this game for the general public, then you can put up a logo.
Let's Start creating the HTML Page Now!
Here we create an HTML page with the following elements mentioned below.
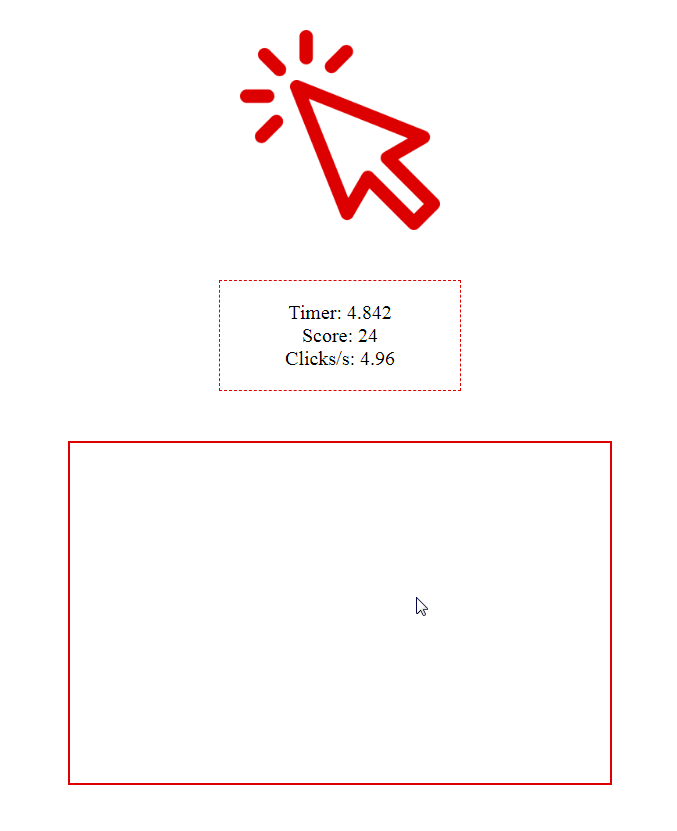
- Image with the branded logo for our game.
- One div for score area, including 3 span elements for the timer, score, and clicks by seconds.
- Div for click area. A button inside the div for the user to start the game.
Your game looks like this till now,
After you are done with writing the above code, the next step is writing the logic of the game in JavaScript.
And for the same, we define the following variables,
- Score: It is to store the number of clicks
- Duration: To define the time interval of the game.
- startTime: It is to save the starting time of the game.
- ended: it shows whether the game has ended or not.
Starting the Game
To start the game, we have to write the code for the startGame. This function will start the game when the user clicks on the start button. In this, we are going to hide the start button, initialize the score and then we show that the game has started by initializing the ended variable to false.
Timer is the most important element in the game. we setup a timer using the setinterval function provided by the JavaScript internally. And after that, we define the callback function in the setinterval function which will be called each 1 millisecond.
Finally, Ending the game
When the game ends, we will call the endGame function. Through that, we will show the end score to the users. Then, we again show the start button to the users to start the game once again.
The Last Step
Wait, it's not over yet, you have to add the Click event listeners.
One listener is for the start button which will call the startGame function when the user click on it.
Second is for the click area, for the update and showing of the score once the user clicks on the start button.
After all the coding, now is the time to see your hard work finally pays off. This is what you see at the end.


Top comments (0)