
AWS S3 bucket is one of the numerous services that Amazon Web Services offers in the cloud.
Its chiefly centered on providing storage space.Ideally anyone with an AWS account can just create a bucket and simply upload their files(objects) into the bucket.
By default, all object(files) are inaccessible to the public until the owner explicitly defines a policy(rule) to make them public.
In this article, we shall spin up an s3 bucket and upload our files it then obtain a link to access them.
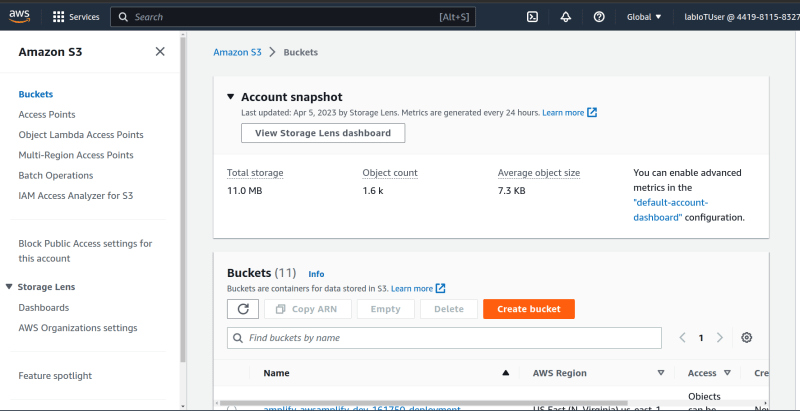
Step 1: Search for s3 service once logged in.

Step 2: In the s3 dashboard, look for the orange button "Create bucket".
Step 3: Fill in the bucket name.
Note:the bucket name has to be unique from all other bucket names on aws.e.g bucket3857590.

Step 4: Leave everything else as default and click the orange "create" button at the bottom.

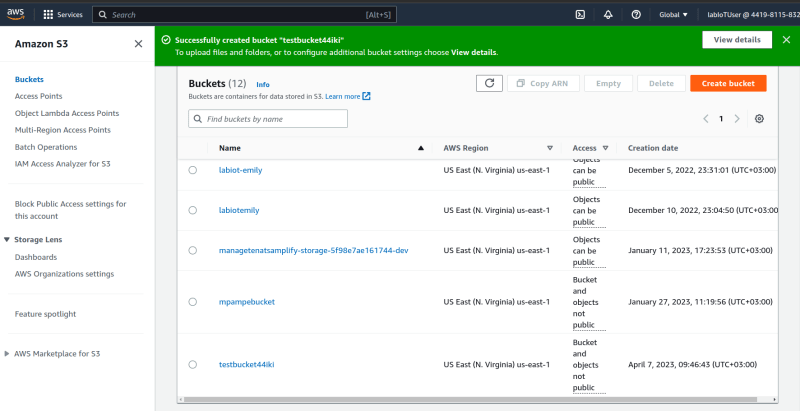
We shall see a success message that our bucket has been created and is available in the list of buckets probably at the bottom of the list.
Step 5: Next, we shall upload a simple file to the bucket.First we click on the bucket we created.And click upload.

Step 6: We will be presented with 3 options to upload.
upload a file
upload a folder
drug and drop
For this case i will choose a simple file, so i will either drug and drop it or click the add file button.
Step 7: Once the file is uploaded, click the "upload" button.
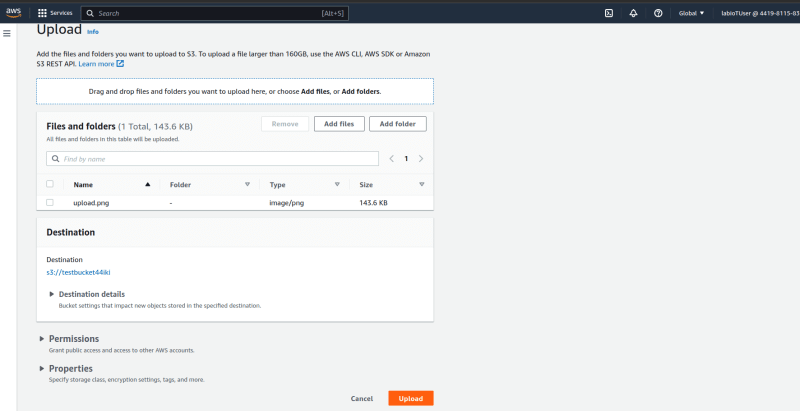
We should see a success message and be able to access a link to the uploaded file.

Step 8: Now if we click the bucket and try to click on the link to the file we get an access denied page.This is because by default , all items are by default

Inaccessible

Step 9: Next, we shall create a policy to make the link accessible.
- First, we need got to the bucket permissions.

- Next, we shall click the edit button.

- Then, we shall can uncheck the block all public access.

- Click confirm.

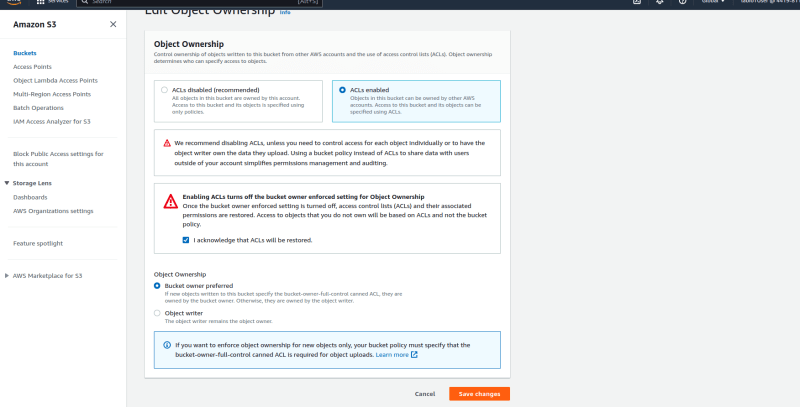
- Next, we shall edit the Object Ownership permissions to use Access Control Lists.Click the "Edit" button.

- Then, we can now enable ACls and tick checkbox "I acknowledge that ACLs will be restored".
Step 10: Now let us make the file public.Under the file page,hover to the top right corner of the file on the object actions dropdown and choose "Make Public".

- click the Make Public button.

- You should success message.
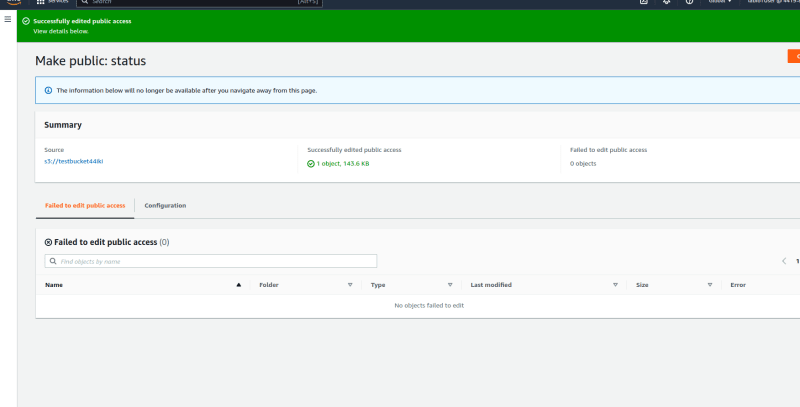
Now if we sheck the object/file url again , it should be accessible.

Note that this way od making objects public can be quite hectic to do for each item.So it combert this, we can use policies to set access rights on the files and the bucket.
Till Next time.


Top comments (0)