You believe it, or not - building a Keyboard is simple.
Building a split Keyboard is a little bit more complex, but if you understand the basics, it's still possible.
In this series, we are building a split mechanical keyboard with led lights. We will setup our firmware which is based on QMK, which is the most famous and customizable firmware for DIY keyboards. And we will create our keymaps and defining our layers on our will.
I build already a split keyboard and it was a fun experience, and it is my daily driver. But because it is fun to build one, I want to build my next keyboard, which will complete different in keys key positioning and look and feel.
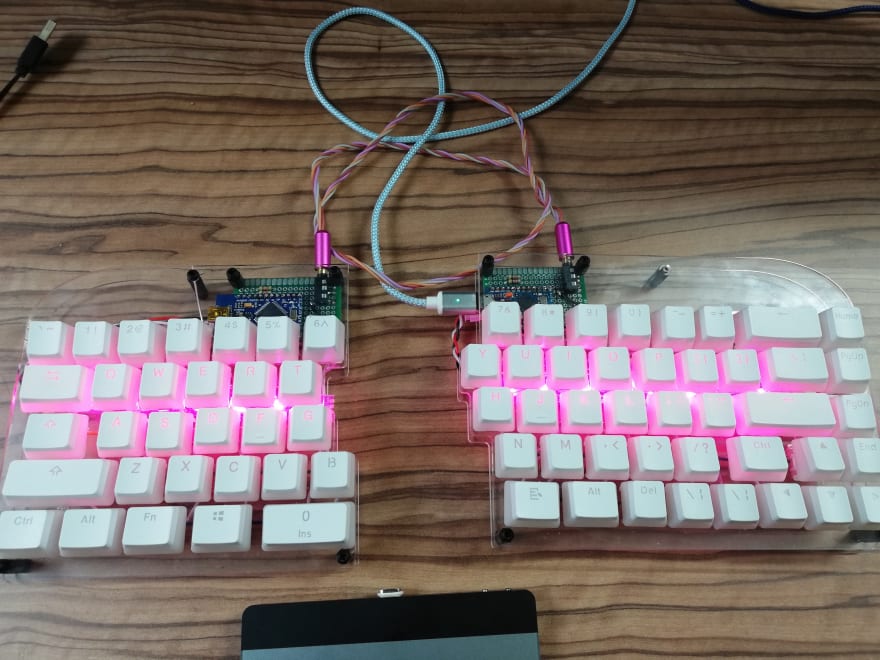
If I put my both half together, you will see, it is a standard US 60% keyboard. I have two additional layer for my F keys, and audio and light control as well.
But to build a Keyboard is not cheap.
This build has a price tag of something around 130 Euros (~159 USD), and that is just summarize the part cost. The hours of work is not included.
Of course its easier, and less time consuming and cheaper, to just buy a keyboard. And in comparison to a massmarket mechanical keyboard ,it is a expensive Keyboard.
But I enjoy to tinker, I love the process of making things and the outcome will be a keyboard which is fitting my needs.
This time I decide to build a keyboard which is quite different to a normal staged layout. This layout called columnar staged it will be similar to an redox. I want to use this templates from thingivers.
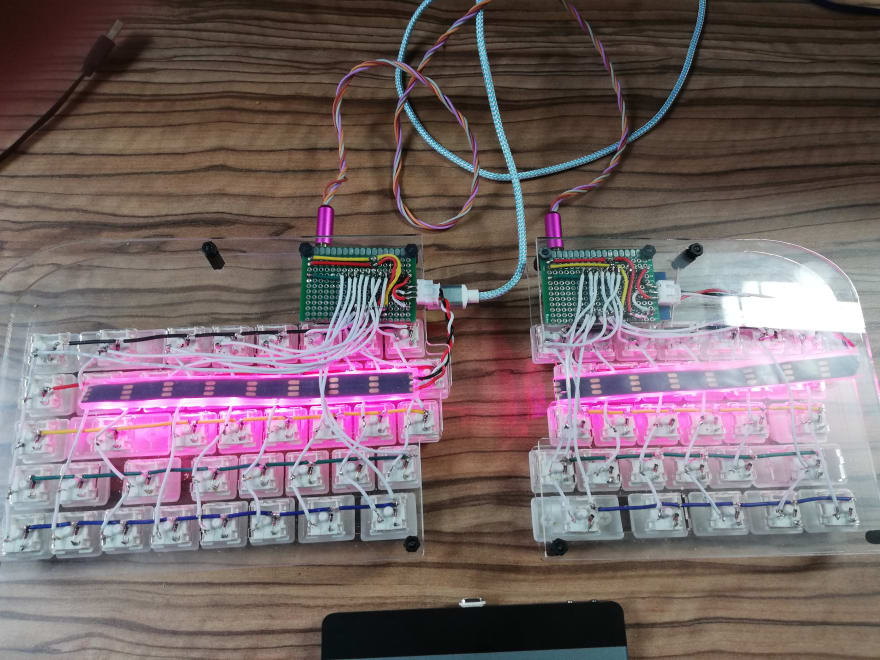
The top and bottom plate will be modified, so that the Arduinos are placed visible and beside the key areas. With my current keyboard I got used to it, that both part have quite a distance to each others, to have the Arduinos right to the center will be not a problem for me. My next goal is, to have it as flat as possible. My current setup is a little bit to high in my opinion. Also the reason why the Arduinos is on the side instead underneath the top plate. The top and bottom plate is again clear acrylic and I want to use LEDs as back-lights. I know its possible to have LEDs for each keys with the custom firmware, but don't know if its maybe again the wish of having it as flat as possible for a hardwired keyboard.
Partlist
- Switches Kailh Low Profile Red pro (Linear 35g) (70 PCS 50 EUR)
- top and bottom plate (49 EUR Lasercut services)
- arduino (Pro Micro) (3PCS 10 EUR)
- 3.5mm male and female jacks (5pcs 9 EUR)
- keycaps (17 EUR)
- diodes 1N4148 (100pcs 1.90 EUR)
Other stuff
- solderiron
- resistors
- cables
- usb cable with data line
- spacer for top and bottom plate
- perf board
You see, my next board will be also something around the 159 USD mark.
In my next part I will go deeper into Keyboard matrices, QMK firmware and how to create the keymaps.

Top comments (0)