Default a View in NavigationView with SwiftUI
I'm going to walk through the steps to create a default view in a NavigationView in a brand new project.
The finished GitHub project can be found here.
 maeganwilson
/
swiftui-examples
maeganwilson
/
swiftui-examples
Collection of SwiftUI Examples
SwiftUI Examples
This repo is collection of SwiftUI examples and blog posts explaining the examples.
All posts are on my Medium.com profile. I'd really appreciate it if you read the posts there! If you can't for some reason or another, feel free to read them from this repo.
| Post Title | Published Date | Published Post Link | Example Project or Code Link |
|---|---|---|---|
| Default Navigation in NavigationView | Nov 8, 2019 | Medium link | GitHub |
| How to call a function when a slider changes in SwiftUI | Jan 17, 2020 | Medium link | Gist |
| How to add a Context Menu to a view in SwiftUI | Mar 27, 2020 | Medium link | GitHub |
If you enjoy my posts, streams, and apps, consider encouraging my efforts.


1. Create a Single View App
Create a new XCode project using SwiftUI.
2. In ContentView.swift, add a NavigationView
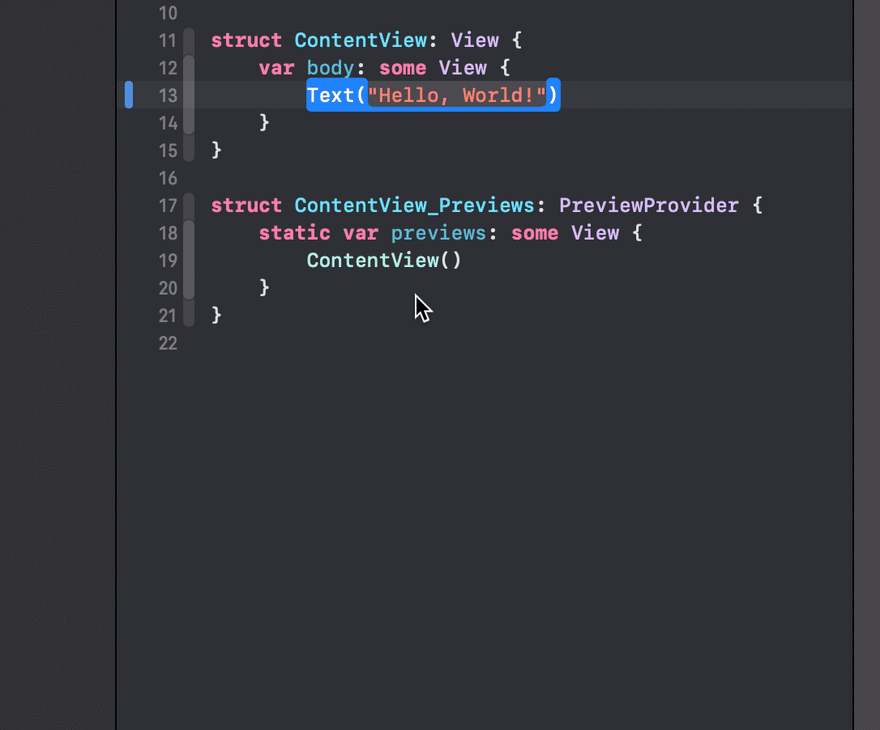
A fresh ContentView.swift looks like this:
import SwiftUI

struct ContentView: View {
        var body: some View {
        Text("Hello, World!")
    }
}

struct ContentView_Previews: PreviewProvider {
    static var previews: some View {
        ContentView()
    }
}
To add a NavigationView that looks like a list, we first need to embed the Text in a List. Embedding in a List can be done by CMD + Click on Text and choosing Embed in List from the menu.
You should then get the code sample below.
struct ContentView: View {
    var body: some View {
        List(0 ..< 5) { item in
            Text("Hello, World!")
        }
    }
}
Now, put the list inside the NavigationView. ContentView should now have the following code:
import SwiftUI

struct ContentView: View {
    var body: some View {
        NavigationView{
            List(0 ..< 5) { item in
                Text("Hello, World!")
            }
        }
    }
}

struct ContentView_Previews: PreviewProvider {
    static var previews: some View {
        ContentView()
    }
}
If using the Live Preview in Xcode, then the preview should look like the picture below.

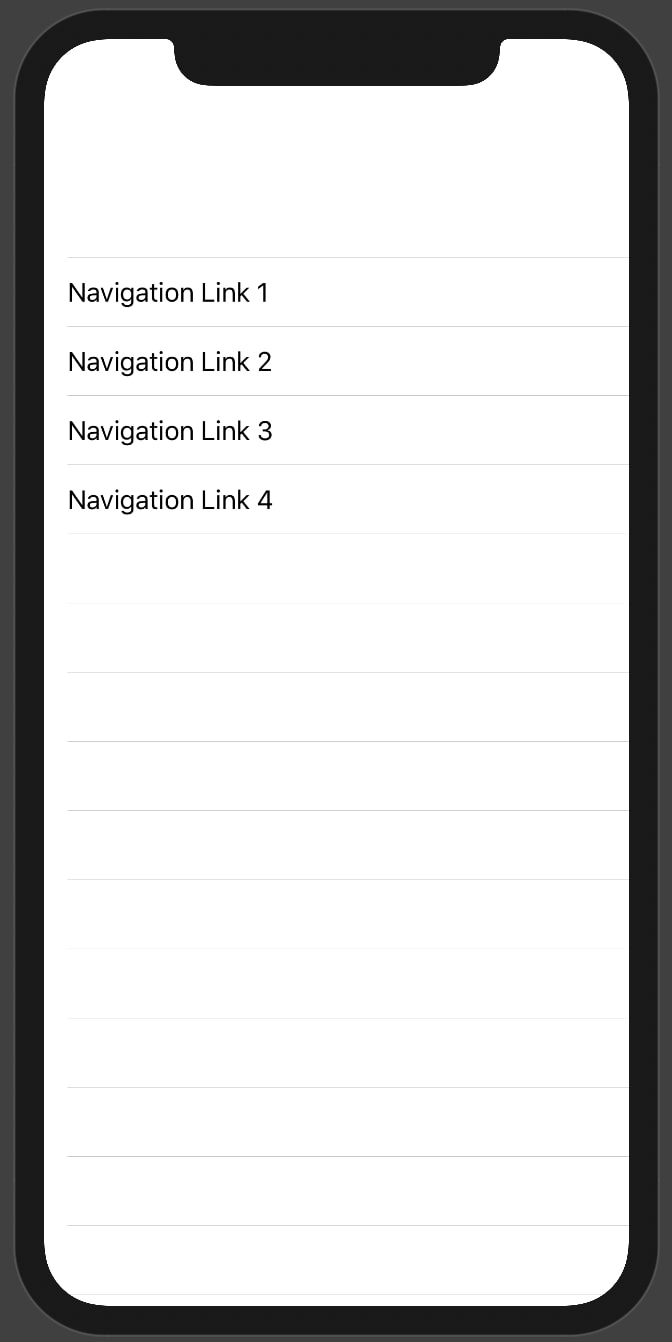
Let's also make the list different on each row. Change the string in the text to say "Navigation Link (item)" and make the list range 1 to 5 instead of 0 to 5.
This is what the code should look like.
List(1 ..< 5) { item in
    Text("Navigation Link \(item)")
}
Here is what the preview will look like
3. Add a NavigationLink
The Text needs to be inside a NavigationLink in order to navigate to a different view. We will use NavigationLink(destination: Destination, tag: Hashable, selection: Binding<Hashable?>, label: () -> Label).
Let's break this down a bit before implementing it.
destinationtheViewto present when the link is selected-
taga value that is of typeHashableto distinguish between which link is selected- To read more about Hashable click here. The link will take you to Apple's documentation about Hashable.
selectiona variable that is an optionalHashabletype that will change values to the taglabela closure that returns aViewwhich is what the user will see and be able to click on.
Now that all the parts are explained let's implement the NavigationLink.
List(1 ..< 5) { item in
    NavigationLink(destination: Text("Destination \(item)"), tag: item, selection: self.$selectedView) {
        Text("Navigation Link \(item)")
    }
}
Once it's implemented, you should get an error that says Use of unresolved identifier '$selectedView'. This error is expected since we do not have a Binding variable called selectedView in our code. Let's add it to the ContentView struct.
Place @State private var selectedView: Int? = 0 before declaring body. The error should go away now. When declaring selectedView, the type needs to be optional since NavigationLink wants an optional Hashable type.
As of right now, running the app, it will look like no default view is given. This is because there is no NavigationLink with a tag of 0. If selectedView is assigned a tag that doesn't exist, then the view will be the list of NavigationLinks.

If you change the initial value of selectedView to 1, then it will open to the destination of NavigationLink that has a tag of 1.

Basics are done!
Now the basic tutorial is finished of how to achieve this. I'm going to continue in the next section on how to improve the UX because on iOS this is not excellent behavior, but on iPadOS when in landscape, this behavior is excellent!
Bettering the UX
On iPhones, you don't usually want the total view to be taken over. You usually want the user to decide where to navigate. On iPads in landscape, the screen is so big that having a view selected is okay since the navigation links are always shown. This can be achieved by using onAppear() and figuring out which device is being used.
First, we need to add onAppear() to the List. Then, we need to get the device type.
NavigationView{
    List(1 ..< 5) { item in
        NavigationLink(destination: Text("Destination \(item)"), tag: item, selection: self.$selectedView) {
            Text("Navigation Link \(item)")
        }
    }
    // this is the part to add
    .onAppear{
        let device = UIDevice.current
    }
}
Now, we need to do something based on each device. We can get the device type by using .model. We can then use a simple if statement to determine if it's an iPhone or an iPad and set the selection based on that. We also need to check the orientation of the iPad.
.onAppear{
    let device = UIDevice.current
    if device.model == "iPad" && device.orientation.isLandscape{
        self.selectedView = 1
    } else {
        self.selectedView = 0
    }
}
That would be it! The view will change on device and orientation.
Here's a gif of the iPad:

Here's a gif of the iPhone's implementation:

If you enjoy my posts, please consider sharing it or Buying me a Coffee!


Top comments (7)
thanks this is really helpful for me
I'm glad it helped!
just a question, how are we supposed to show a default view in portrait mode. It doesn't work because the navigation view has not appeared yet
Hi Maegan, thanks for this helpful post. When the iPad is in landscape, is it possible to both open the first "detail" view and have the corresponding "master" row highlighted as it normally would be if someone were to have clicked on it?
It's probably possible, but I haven't dived in to figure out how to do it yet. This is on my list of todo's.
Hi in the iPad view I want to set the destination to a view rather than a Text element.
I just need help with the if then loop on how to call for that view.
I think you need to replace the
Textwith whichever View you want to call. That's how I do it in my apps. I just chose aTextview as an example