In this serie of articles, I will show you more than 9 ways of deploying your react application for free. For this tutorial, we are not going to dig far into the process of creating an application, rather, we will focus on the main topic which is the deployment. I will provide you with a GitHub link that you could clone from my repository and then follow along with me. But, you don't need to do that, if you have any react application on your local machine, open it in the editor and follow the different steps below:
Summary :
- Vercel 2.1 AWS Amplify 2.2 AWS S3 + CloudFront 3.3 AWS EC2
- Firebase
- Netlify
- GitHub Pages
- Heroku
- Surge
- Render
- GitLab Pages
Prerequisites:
- Node.js
- A react application (https://github.com/lubangi/React-simple-Product-list.git)
- A GitHub account
- Git
- A terminal
Let's get started
1 Vercel
Steps to follow:
- Open the project cloned in your IDE(VsCode),
- Open the terminal and install the dependencies:
npm install
- Start the project :
npm start
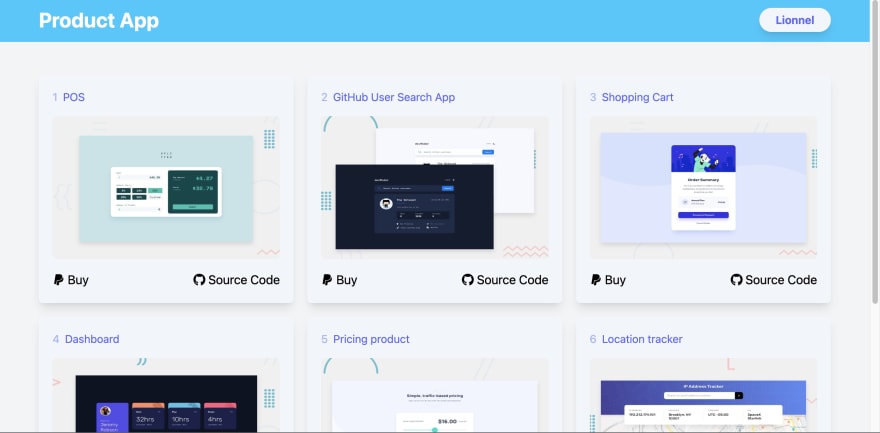
- You should see the app in your browser :
Vercel is a revolutionary serverless deployment service designed for React, Angular, Vue, and other JavaScript libraries. You can easily import projects from GitLab or Bitbucket with Vercel. Automatic SSL is one of the many cool features it offers.
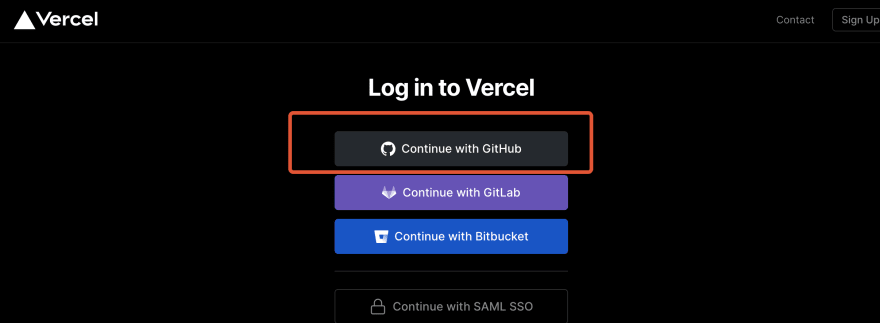
To deploy Vercel, create a new account. You can quickly log in using OAuth.
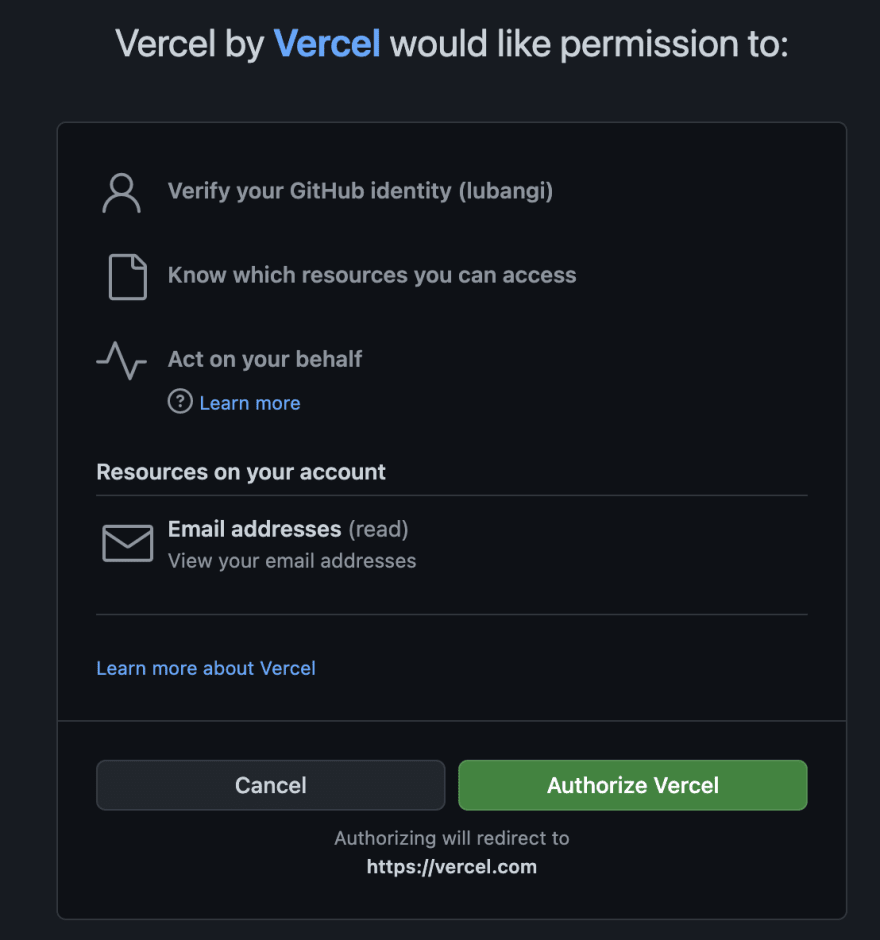
next click on authorize:
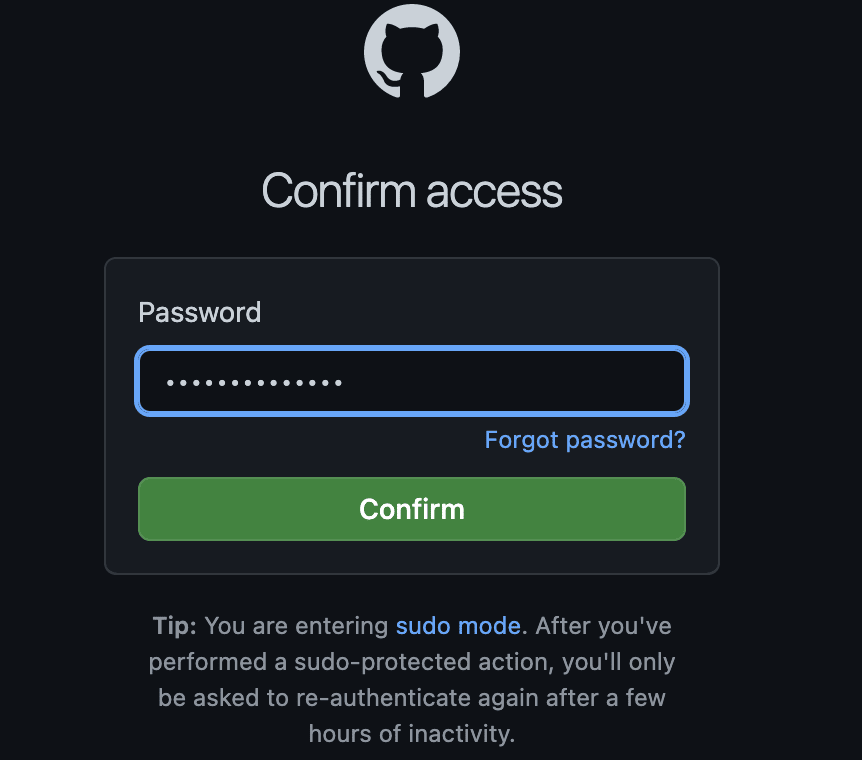
At this point, you should see a popup as shown in the image below:
Select your GitHub repository and click on install
In the next step, click on import to import your project :
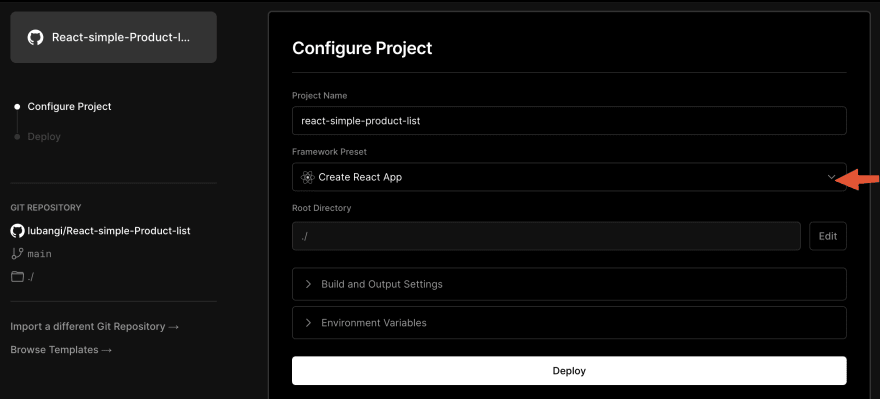
Here, you can leave the default selection, but if you created your app with a framework other than CRA, then choose the appropriate framework in the dropdown menu.
Then click on Deploy:
You will see that Vercel is processing, wait until it finishes:
And my application is ready :
Click on continue :
Now you should see your App with two links:
The first is your domain, the second is the link to your GitHub repository.
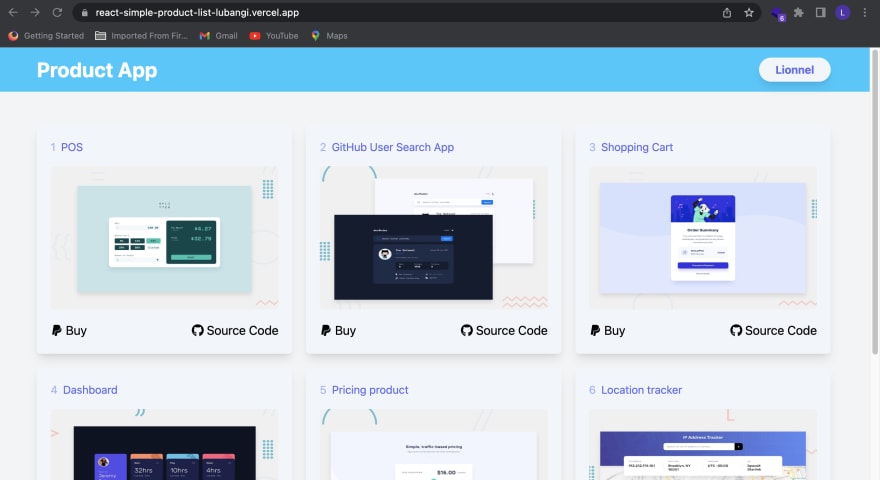
And if I click on the first link, my App will open in a new tab, here's the screenshot:
Congratulations, you have finished the first part of this Tutorial, i will continue tomorrow with AWS.
Thank you for reading!
Lionnel Lubangi Mohamed, Developer.
Firebase
Netlify
GitHub Pages
Heroku
Surge
Render
GitLab Pages

![Cover image for Learn different ways of deploying your React app in the cloud in 2023 [Part 1]](https://media2.dev.to/dynamic/image/width=1000,height=420,fit=cover,gravity=auto,format=auto/https%3A%2F%2Fdev-to-uploads.s3.amazonaws.com%2Fuploads%2Farticles%2Fhjip12qxbhaq1na8vpva.png)






Top comments (0)