
In my last post, I talked about how I began learning the Swift programming language. Since then, I've decided to hold off on that and learn a React Native instead. React is a framework that gives you the ability to write code for multiple platforms. Already knowing React makes React Native a no-brainer addition to my programming tool belt.
Diving in, I decided along the programming book route and purchased the book Practical React Native: Build Two Full Projects and One Full Game using React Native by Frank Zammetti. I got familiar with the basics of React Native reading through the first couple of chapters, but because technology evolves so rapidly and React Native is no exception, the examples in the book are outdated. I found myself unable to run any of the exercises. So I made my own!

I decided to make a tip calculator because I've already built one in Ruby. I started with making a Rails API that will handle all of the logic, so I can focus on the frontend and get used to fetching in React Native (this was a good idea, more on that later).
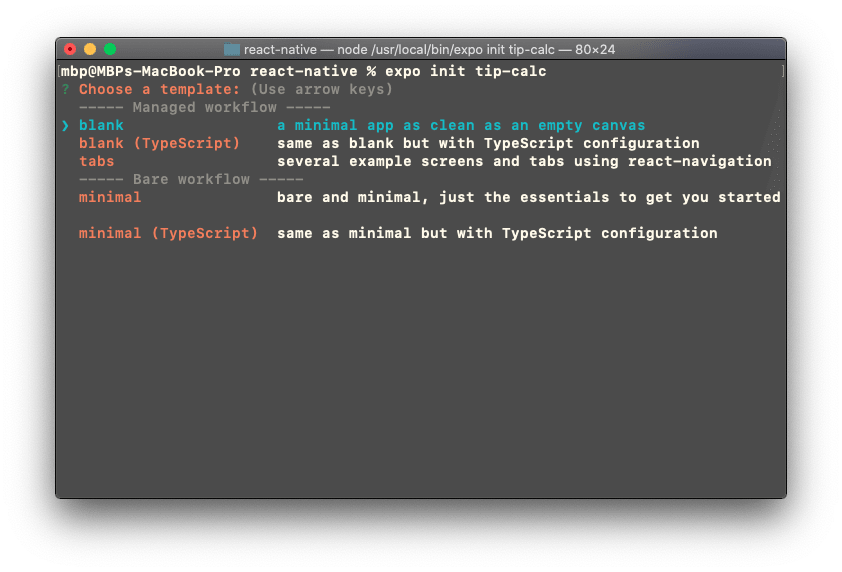
Because Frank Zammetti used Expo in his book, I decided to do the same. Expo is a framework and a platform for universal React applications. Expo is built on top of React Native, so consequently, it adds another layer of complexity. I like to think of it as the Ruby on rails of React Native. Convention over configuration. Expo has several templates for you to choose from. I chose the option with tabs to gain exposure to navigation.
Expo is quick and easy to set up. I found that getting my development code up and running on my devices was super easy. But that comes with some limitations. I experienced one while trying to debug my code. I wanted to post information to my database but kept getting an error. It turns out iOS and Android only allow HTTPS requests by default. Because I was running on a development server, the network request had to be HTTP. I found a workaround on StackOverflow, but it required access to an info.plist file, which Expo does not give you access. I ended up deploying my API on Heroku to use a secure URL. There are other limitations worth noting:
- Not all iOS and Andriod APIs are available. If you want to include things like Bluetooth or In-App Purchases
- Larger app size
Full list of limitations here.
For this application, Expo did the job wonderfully. Depending on the project, I might have to use create-react-app instead.
Here's a gif of the Tip Calculator.

One thing that stuck out to me was that the <ScrollView> component only works on iOS. When I boot the app on an Andriod device, any content that overflows is hidden and unreachable. That influenced most of the styling. Originally, You couldn't even see the 'Calculate Your Tip' button on the Android. The <FlatList> component is a better option when it comes to scrolling. Not only does it only load components once the element is scrolled into view, but both iOS and Android also support it.
In summary, I've learned a lot about React Native just by building this small app. There are some topics I didn't get a chance to deeper into, like debugging with Expo and the similarities and differences of React Native and React, but I'll save those for future posts. Thanks for reading!


Top comments (0)