
Today we're going to build a cross-platform (Windows, macOS, Linux) clipboard manager with Revery.
If you haven't heard about Revery it's a library which aims to bring you truly native React without sacrificing developer experience.
Revery is written in Reason, but for this article no previous knowledge of either technology is required.
We'll go over the basics as we move along and if you squint your eyes a bit, Reason looks quite a bit like JavaScript.
Getting started
I've prepared a minimal template for Revery to get us up and running, so let's start off by cloning that.
git clone git@github.com:lessp/revery-minimal-template.git revery-clipboard-manager
cd revery-clipboard-manager
Installing dependencies
When working with Reason Native, the package manager we'll use is called esy.
It has a workflow very similar to other great tools like yarn or npm and the easiest way to install it is from npm. So, let's go ahead and do that!
npm i -g esy@latest
Now that esy's in place, lets install the dependencies specified in package.json.
esy install
# and build them
esy build
# or we could simply do, `esy`, which would combine these steps
There are some things to note here.
First off, Revery depends on skia which is an open-source graphics engine powering Google Chrome, Android, Flutter and more. Skia is quite a big dependency, and since we're building it from scratch (among other dependencies), this may take a while, even 30 minutes or more. 😲 So, even though that might sound like an eternity, at this time, it's expected.
However, once built, subsequent builds will be almost instant.
Secondly, depending on your platform, additional packages may be required to be able to develop in Revery. For an up-to-date list, look for your particular platform here: Building & Installing Revery
With all that said, be ready to grab a drink and relax for a bit. 🙂
Editor Plugin
To save some time we're only going to cover VSCode in this tutorial (though personally I use vim, so if you're interested in setting that up feel free to comment and I'll try to help out as best as I can). The plugin we'll be using is OCaml Platform. Install that in VSCode and we should be good to go.
Setting up a basic application
So, hopefully we've reached this stage, to check that everything is working, lets use the start-script specified in package.json to run the application:
esy start
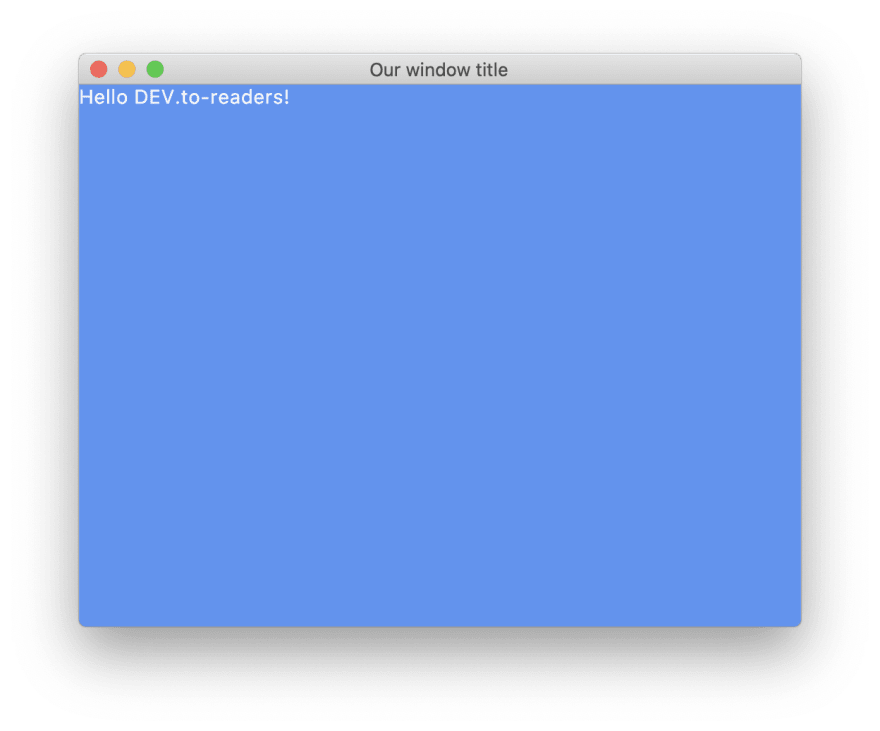
This should open up a window similar to this. Pretty cool!
Lets look at what's in the code.
In src you'll see that there's one file located, App.re, it should look something like this:
open Revery;
open Revery.UI;
open Revery.UI.Components;

let init = app => {
  let window =
    App.createWindow(
      app,
      "Our window title",
      ~createOptions=WindowCreateOptions.create(
        ~width=512,
        ~height=384,
        ()
      ),
    );

  let _update = UI.start(
    window,
    <Text text="Hello DEV.to-readers!" />
  );

  ();
};

App.start(init);
This is all that is needed to create a basic Revery-application. Let's go through it in more detail.
At the top we open some base-modules for Revery, they contain all the functions and modules we need in order to create this application. By opening a module, we make all symbol's available to us without having to refer to the module itself.
In JavaScript, this would basically be the equivalent of:
import * from Revery;
We then proceed to create a function named init. This function accepts a Revery.App.t which we later provide from the App.start-function.
Within our init-function we create a window to which we'll render our application while specifying a title, width and height.
Note: If you're wondering what the
~is for, it's a labeled argument. I find labeled arguments very handy as they allow us to pass arguments without worrying about order, and also have the benefit of documenting the meaning of the argument.
e.g.create(~width=100, ~height=200); create(100, 200);
We start our application by passing our created window to the UI.start-function.
Note: If you're wondering why we're prefixing the
update-variable with a_it's to let the compiler know that we'll not be using this variable to silent the warning the compiler would otherwise have given us.
Lastly, we then return () which is called unit, you can view it as void in other programming-languages.
Note: In Reason a function always needs a return-value even in this case where we're only doing side-effects.
In JavaScript for example, a function without an explicit return-value will return
undefined.
Creating our clipboard manager
So, at this point, we (hopefully) have something running. That's cool and all, but in all honesty, it doesn't do very much, so let's change that.
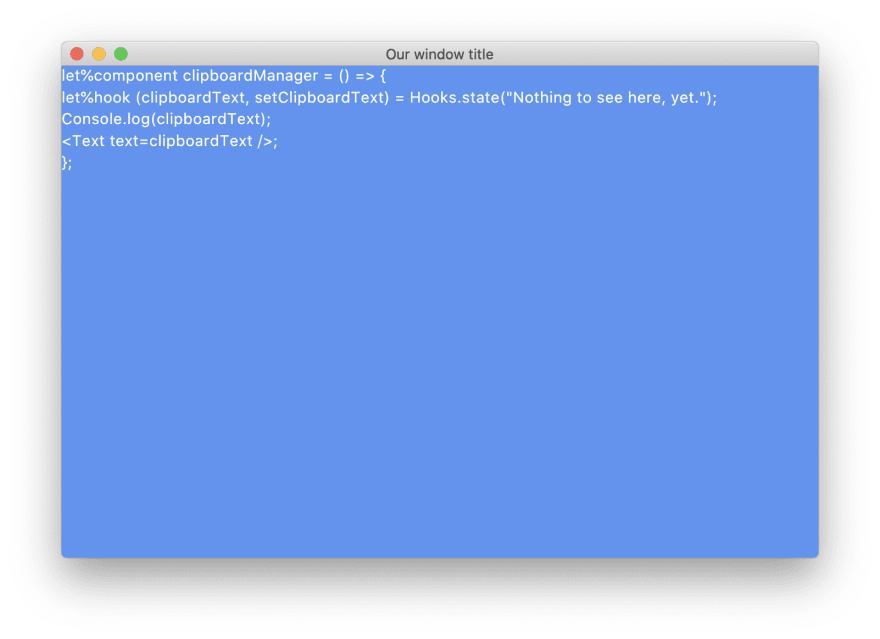
We'll start by creating a custom component. Above the let init-definition, lets add this:
let%component clipboardManager = () => {
  let%hook (clipboardText, setClipboardText) = Hooks.state("Nothing to see here, yet.");

  <Text text=clipboardText />;
}
and replace
let _update = UI.start(win, <Text text="Hello DEV.to-readers!" />);
with our custom component, like so:
let _update = UI.start(win, <clipboardManager />);
Let's walk through the code.
We begin by using let%component which means that this will be a stateful component. We then use the state-hook, available to us in the Revery.Hooks-module.
let%hook (clipboardText, setClipboardText) = Hooks.state("Nothing to see here, yet.");
This is similar to useState in React, but instead of an array, returns a tuple with the value and a setter.
We pass the value of clipboardText to our Text-element, which currently will always just render our hard-coded value (despair not, we'll change that in a minute)!
Anyway, if we run this now, we should be looking at something like this:
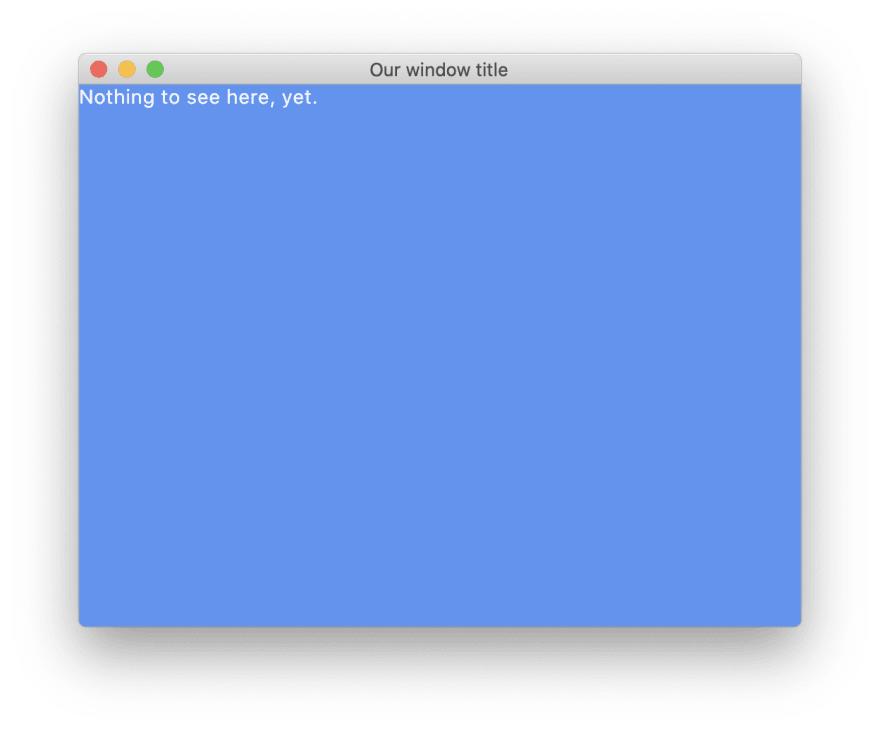
That's not a lot different than what we had before – visually. The good news though, is that we've created a custom component with hooks.
Grabbing what's in the clipboard
To access what's in our clipboard we'll use a nifty library called SDL.
SDL provides a cross-platform API for accessing quite a few system API's like keyboard, mouse and audio.
Revery exposes bindings to the SDL-library. With auto-complete, we can see that we have three methods related to the clipboard.

We can see that getText takes a unit, in other words no arguments, and returns an option(string).
In Reason, there's no such thing as null, but since we often have to represent that something can be either Some(thing) or None, we use the option-type which will force us to handle both cases.
Let's update our example to call getText.
let%component clipboardManager = () => {
  let%hook (clipboardText, setClipboardText) = Hooks.state("");

  switch (Sdl2.Clipboard.getText()) {
  | Some(clipboardText) =>
    setClipboardText(_previousText => clipboardText);
  | None => ()
  };

  <Text text=clipboardText />;
};
If we re-run the example now, for me, quite unsurprisingly, I get something related to this article:
If you'd try copying something else, you should be able to see the changes reflected immediately in the application. That's because we're continuously calling setClipboardText. Probably at something like 60 fps. Had this been in the browser, we'd probably see "maximum call stack exceeded".
Using a timer
So, our current approach isn't great. We're grabbing the value from the clipboard as fast as Revery can render which is probably a bit over the top.
For doing something continuously in Revery, we have a few options. In this case we'll use the tick-hook.

Looking at the the two first arguments of the tick-hook we can see that it takes a labeled argument ~tickRate of Time.t and a callback which gives us a Time.t and expects unit as the return type.
Here's an example on how we'd use it:
Hooks.tick(
  ~tickRate=Time.ms(100),
  (time: Time.t) => Console.log(Time.toString(time))
);
Let's update our code to use the tick-hook to call our getText-code once every second.
let%component clipboardManager = () => {
  let%hook (clipboardText, setClipboardText) = Hooks.state("");

  let handleTick = _time => {
    switch (Sdl2.Clipboard.getText()) {
    | Some(clipboardText) =>
      setClipboardText(_previousText => clipboardText);
    | None => ()
    };
  };

  let%hook () = Hooks.tick(~tickRate=Time.ms(1000), handleTick);

  <Text text=clipboardText />;
};
Showing multiple values
Cool! We have most things in place now. However, a clipboard manager truly only becomes valuable if we can see our previous values as well, so let's fix that!
First we'll switch the state-hook to instead of holding a string of text, store a list of strings with the initial value set to an empty list.
let%hook (clipboardItems, setClipboardItems) = Hooks.state([]);
Secondly, we'll need to change things up a bit in our handleTick-function.
let handleTick = _time => {
  switch (Sdl2.Clipboard.getText()) {
  | Some(clipboardText) =>
    let alreadyExists =
      clipboardItems
      |> List.find(~f=storedClipboardText =>
            storedClipboardText == clipboardText
          )
      |> Option.isSome;

    alreadyExists
      ? ()
      : setClipboardItems(currentItems => [clipboardText, ...currentItems]);
  | None => ()
  };
};
So, what changed here?
Well, since we're only interested in adding values that aren't already in the list (or we'd end up continuously adding values every second) we're using some functions from the List-module.
We start off using List.find which returns an option(string). Again, because there may not be a matching value in our items this function returns an option.
In our case though, since we're not interested in the value, but only the fact that there is a value, we'll use a utility-function from the Option-module to turn that option(string) into a bool, ultimately turning our List.find + Option.isSome into a List.exists-function (time for a PR to Tablecloth, perhaps!).
- If it exists, we simply do nothing, returning
unit. - If it does not exist, we add the text currently in the clipboard to our existing items.
Note: The
|>here is called the "pipe last-operator" because it "pipes"/passes the value into the last argument of the receiving function.
Lastly, we update our component to render a list of items.
The complete component now looks like this:
let%component clipboardManager = () => {
  let%hook (clipboardItems, setClipboardItems) = Hooks.state([]);

  let handleTick = _time => {
    switch (Sdl2.Clipboard.getText()) {
    | Some(clipboardText) =>
      let alreadyExists =
        clipboardItems
        |> List.find(~f=storedClipboardText =>
              storedClipboardText == clipboardText
            )
        |> Option.isSome;

      alreadyExists
        ? ()
        : setClipboardItems(currentItems => [clipboardText, ...currentItems]);
    | None => ()
    };
  };

  let%hook () = Hooks.tick(~tickRate=Time.ms(1000), handleTick);

  let clipBoardElements =
    clipboardItems
    |> List.map(~f=text => <Text text />)
    |> React.listToElement;

  <Column> clipboardElements </Column>;
};
And if we run it, this is what I get after copying a couple of items:

Setting the current clipboard text
Okay, we've come a long way. Let's add one last important thing.
Clicking on an item should change the current clipboard-value to that text.
Remember how we had three functions in the Clipboard-module?
hasText, getText and setText.
setText sounds just like what we're after.
In the line where we're mapping over the clipboardItems, let's add a Clickable component, making our code look like this:
let clipboardElements =
  clipboardItems
  |> List.map(~f=text =>
       <Clickable onClick={() => Sdl2.Clipboard.setText(text)}>
         <Text text />
       </Clickable>
     )
  |> React.listToElement;
Now, when clicking on an item in the list, your clipboard should be updated with the value that was clicked.
And that's all there is to it!
Final code
Here's what we ended up with.
let%component clipboardManager = () => {
  let%hook (clipboardItems, setClipboardItems) = Hooks.state([]);

  let handleTick = _time => {
    switch (Sdl2.Clipboard.getText()) {
    | Some(clipboardText) =>
      let alreadyExists =
        clipboardItems
        |> List.find(~f=storedClipboardText =>
             storedClipboardText == clipboardText
           )
        |> Option.isSome;

      alreadyExists
        ? ()
        : setClipboardItems(currentItems => [clipboardText, ...currentItems]);
    | None => ()
    };
  };

  let%hook () = Hooks.tick(~tickRate=Time.ms(1000), handleTick);

  let clipboardElements =
    clipboardItems
    |> List.map(~f=text =>
         <Clickable onClick={() => Sdl2.Clipboard.setText(text)}>
           <Text text />
         </Clickable>
       )
    |> React.listToElement;

  <Column> clipboardElements </Column>;
};
Final words
Many thanks if you managed to get this far, hopefully you found this interesting!
Revery is quite a cool project, and even though it's pretty new I think it has a lot of potential.
If there's an interest, we could make a part two and try to make it more product-like.
Needless to say, if you're feeling adventurous and feel like adding your own touch, I'd love to see what you come up with!
Happy coding!
Tom
PS. Special thanks to Glenn and Bryan for feedback on the article.
PSS. If you have questions, issues or would simply like to hang out there's a Discord for Revery (https://discord.gg/UvQ2cFn) which you're of course more than welcome to join!

Top comments (9)
I'm even more excited for playing with revery now that I've read your article. Nice choice in project! It gave you a chance to point out SDL which seems important for x-platform dev. All around well executed article!
Appreciate it Brad. SDL is quite a treat for cross-platform development!
Beautiful article Tom! I think I need to start testing Revery myself soon 😃
Thanks a lot Rickard! Yes, it's definitely a project worth checking out! 🙂
Thank you for writing this article! I was planning on making a clipboard manager app for Linux and I stumbled upon this. Luck is on my side.
Thanks and good luck Martin!
There's a Discord for Revery if you'd run into any issues: discord.gg/UvQ2cFn
Happy to try to answer here as well, of course! 🙂
Amazing article
Thanks Gabriel, glad you liked it!
Really good read, super interesting project