An Overview Of The Tutorial!
Introduction

Database Design

API Design

Demo overview

Signup

Dealing with the Android Application

Our Intention

Requirements

Dependencies

Permissions

Creating Models

Updating the API

Creating Activities

The Main Page

Signing Up Users

Signing In Users

Constructing the Dashboard

Running the Application

Resources
Introduction
This is a series of tutorials we are building to demonstrate how to build an E-Commerce App, one component at a time.
We are going to implement a basic authentication which will be extended to role-based access i.e. Admin can change anything, add new Users, a manager can only add/update Category and Products, users can only see the products and Category.
When users/admin sign in, we will generate an authentication token, which will be used to verify the users, when they are going to access an API later.
Database Design

We will have a user table and tokens table. For every user, when they signUp and sign in, we will generate a token, which will have an expiry date. After the expiry day has passed, we should generate a new token, although we will not cover it in the tutorial.
API Design
UserController will have two methods, Signup and SignIn, which will be POST requests.
Demo Overview
SignUp
Let's look at signUp API. It takes SignupDto as Input and returns True or False as output depending upon if SignUp succeeds.
We follow these steps for signup
1.Encrypt the password
2.Save the User
3.Generate auth token and save it in database
4.Return Success
We will now look at models that are mapped as a table in the database
User and Tokens are linked by user_id field in tokens table, which has one to one relationship, i.e one user can have one token and vice versa.
Start building the Android Application
Next, we are going to use the same REST API to perform the user authentication process in the same android application that we have created and deployed in the last tutorial. If you have not followed up, please check out the tutorial using the link given below.

Our Intention
In our last tutorial above, we have created ways in our application to view, add, and update our products by communicating with our REST API service.
Now we are going to limit the access of adding and updating products only to the authenticated users. Non-authenticated users can simply checkout all products we have, but they are not permitted to edit.
Our intention is to achieve such functionality mentioned above in our application. Get ready to explore!
Requirements
Though we have no new requirements for the application to achieve basic authentication, let’s revise them for the new readers’ convenience.
Android Studio (Completely Setup with SDK)
Android Virtual Device
Cloud Hosted E-Commerce Backend API
Retrofit- to interact with the API
Glide- to load images
Steps to set up your work environment in Android Studio can be found here.
Dependencies
No new dependencies are needed for extending the user authentication functionality in our application. Anyway, I’ll showcase all dependencies we have used in our application.
Recycler View
Card View
Retrofit
Gson converter
Glide
Permissions
Same as dependencies, we don’t need any extra permissions to extend the required functionality to our application.
We only need internet permissions to communicate with the RESTful service. It was added during the last-mentioned tutorial.
You can check out the app/src/main/AndroidManifest.xml file of our application below-
Creating Models
We already have a model for the Product to send and receive through the API. Likewise, we need to create a model for the user to pass their credentials through our API.
Our user model accepts the credentials first name, last name, email id, and a password to save a user to the backend and the respective user’s email id and password to sign in them into the application.
Therefore, create a class User, that has four fields firstName, lastName, email, and password, as shown below-
And now we have all the required models to interact with our API. Let’s go ahead with making the user objects interact with our RESTful service.
Updating the API
We need to update the interface API that we have created so that it also interacts with the Users API in our backend.
We already have the interaction with the products API. Without disturbing that, we need to establish interaction with the Users API in our RESTful service. For the same, we are gonna update the API.java in our project.
You can update the same as below-
Now we can interact with the Users API of our backend. Let’s move further!
Creating Activities
We all know that activities are the basic building blocks of the application. An activity consists of a layout file and a java class to control the same.
We are provided with the pre-built activity called Main Activity. And also, we have added the following working activities to our application.
ListProducts Activity
AddProduct Activity
UpdateProduct Activity
For this tutorial, we need three more activities to sign up a user, sign in a user, and show the dashboard to the users respectively. Go ahead and create the following activities by following the steps: Right-click on the MainActivity residing package -> New -> Activity -> Empty Activity
SignupActivity

SigninActivity

DashboardActivity
The Main Page
The previous main page consisted mainly of buttons that navigate to add or update products and list products. But the functionalities of adding and updating products should be available only after the user is signing in. So, we are removing it from the main activity’s layout file.
Instead of that, we are adding two buttons that navigate to the user signup and user sign-in activity. The respective layout file is as below-
Now, we need to make those newly created buttons to navigate to respective activities. For that, add on click listeners to the buttons in the MainActivity.java as below-
Now, let’s concentrate on signing up and signing in users through our application.


Signing Up Users
We need mainly four edit texts — one for getting the first name, one for getting the last name, one for getting the email id and the last one for getting the password.
The input data has to be trimmed, validated and verified before we pass it to the backend. All these are done in the SignupActivity.java.
An On Click Listener is added to the button that submit the data. Once the data is submitted, it is validated. After validation, a user object is created with the data and the object is passed through the API to Signup.
Once the signup is completed successfully, the application navigates to the signin activity. The controlling file of the signup activity as below-
And finally, we need a button to submit these data. The layout for the signup activity is modified as follows-

We have the sign up part all ready. Let’s move to the sign in part of our application!
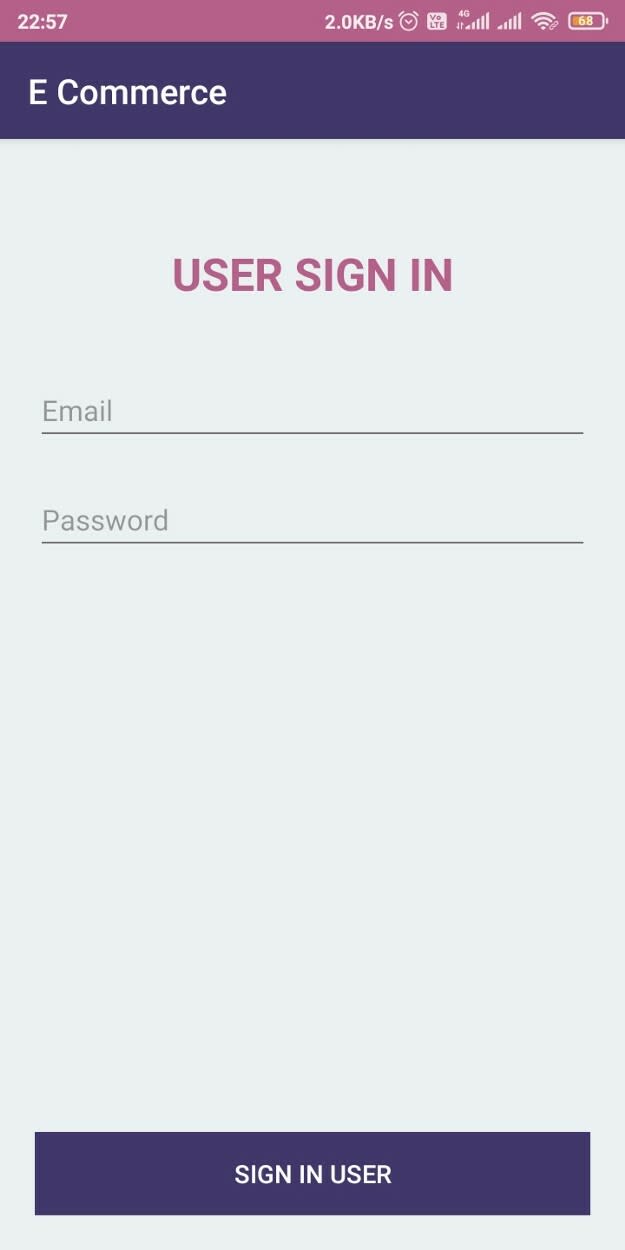
Signing In Users
For signing in users, we need just the user’s email to identify them and their password to verify them. To get them, we need two edit text views.
And also, a button is needed to submit the data. Below given is the layout file for sign-in activity.
The data from this layout is fetched, processed and verified with the backend API by the SigninActivity.java. It also should contain the on click listener for the button to submit the data.
Through the on click listener added, we receive the data from the fields and process it to create a user object. The object is then passed to the REST API, which verifies it and sends us a response to authenticate the user.
After successful authentication of the user, they are directed to the dashboard activity of the application.

The only remaining task before us is to make the dashboard activity. Without any delay, let’s do that!
Constructing the Dashboard
The dashboard activity seems similar to that of our main activity. It can also be called the main activity for authenticated users.
Authenticated users must be able to edit the products or add new products. For that sake, add the buttons for adding and updating the products. Also, add a button for viewing the products.
The layout file of the dashboard activity should be constructed as follows-
Let’s make these buttons in the dashboard activity functional! Go to the file DashboardActivity.java that controls the functioning of the activity. Add on click listeners to the buttons that we have added previously.
Set up the navigation correctly so that the user is navigated to the respective activities from the buttons.
The corresponding DashboardActivity.java file is as follows-

Hurray! we have completed the coding section! Let’s run the application now!
Running the Application
Now, it’s time for running the application, after adding the required functionalities. Select the required Android Virtual Device from the toolbar and click on the run button on the same(Green triangle icon)
After a certain amount of time, your android virtual device will get the application installed and opened. You can completely use it now!
Some of its screenshots are as below —


Yahoo! That’s it! Hope you have learned many things from this tutorial. Stay tuned for such an awesome series of tutorials!
Happy Learning!


Top comments (0)