As a beginner to programming, I’ve struggled to understand the complexities of GitHub. While I appreciate the basic concept of Git, the actual workflow can feel overwhelming at times.
My purpose here is not to give a deep or theoretical understanding of GitHub, but rather to document the commands you need to merge a branch into the master on a shared repository. (Note: this is different from making a Pull Request from a forked repository.)
If you do want a deeper understanding, I’ve linked to some good resources at the bottom of the post.
Steps
1. Create your branch
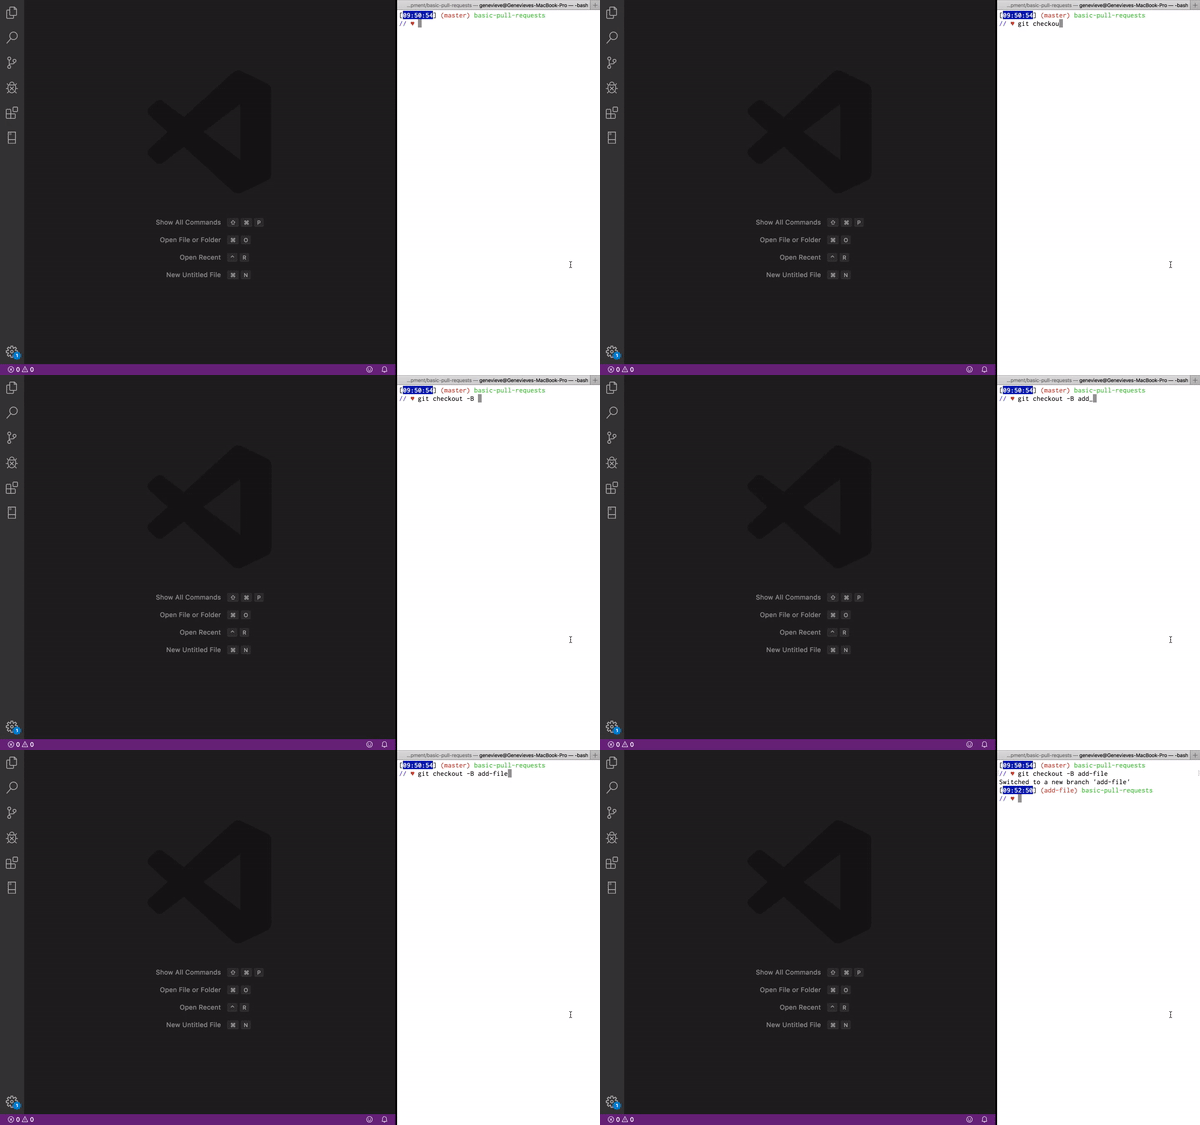
git checkout -B your-branch-name
This command will both create and move you to a new branch.
2. Push your branch to GitHub
Your branch will not automatically show up on GitHub. To push it up, run:
git push origin [name_of_your_new_branch]
4. Push your changes up to your branch on GitHub
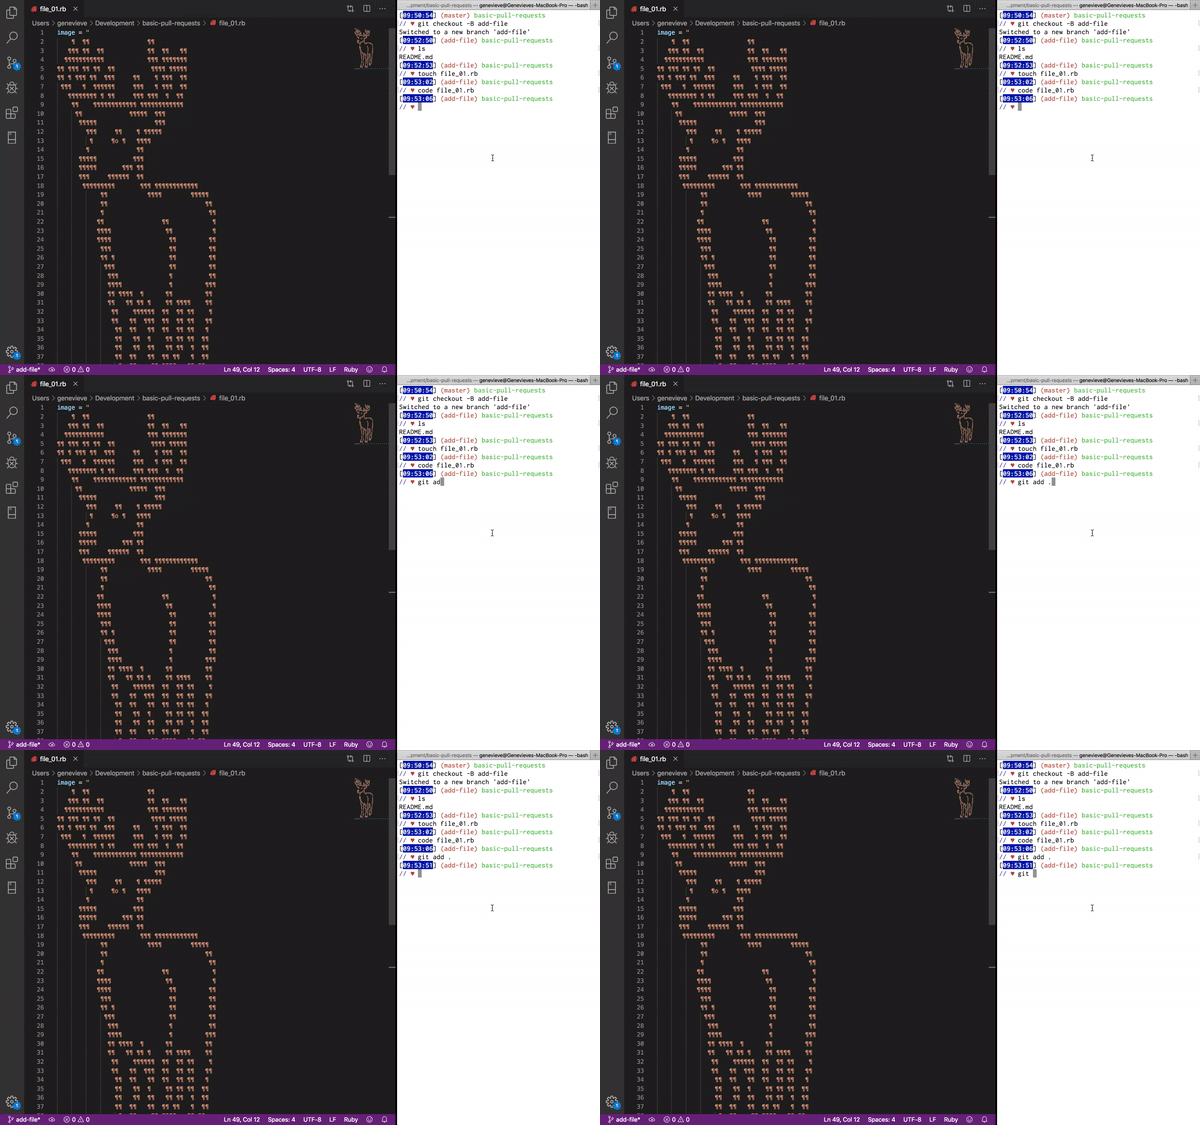
   git add .
   git commit -m “Message”
   git push
5. Open a Pull Request
Opening a pull request is you asking the repository’s maintainer, “Please pull my changes to master.”
- On GitHub, make sure you’re on the branch you were working on.
- Click “New Pull Request”
- Make sure the “base” is what you want to merge into; in this case, I want to merge into master.
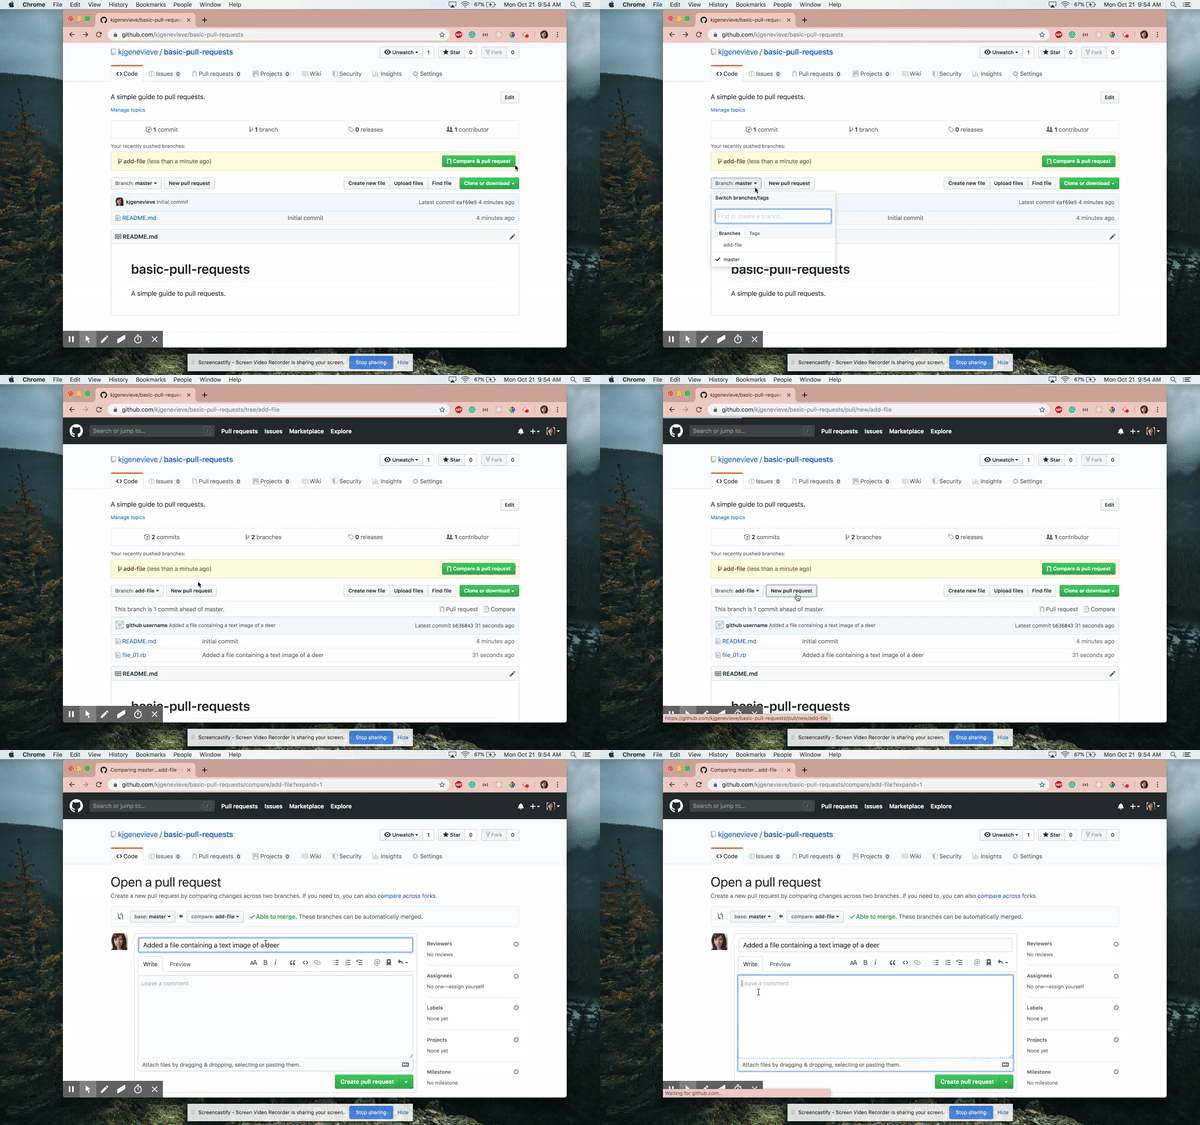
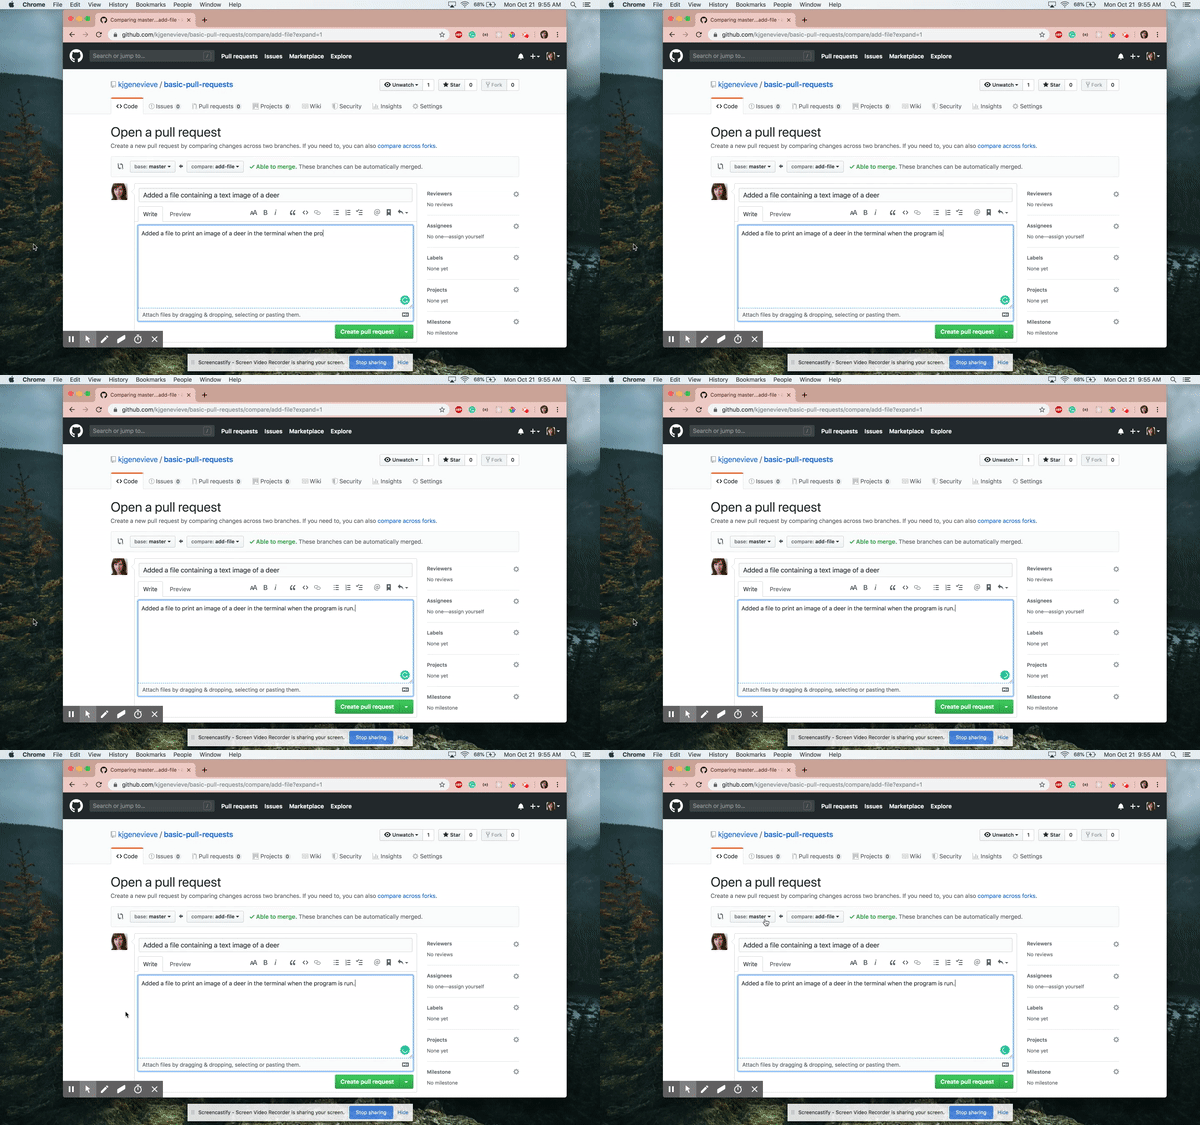
- Write a title and description.
- Click “Create Pull Request”
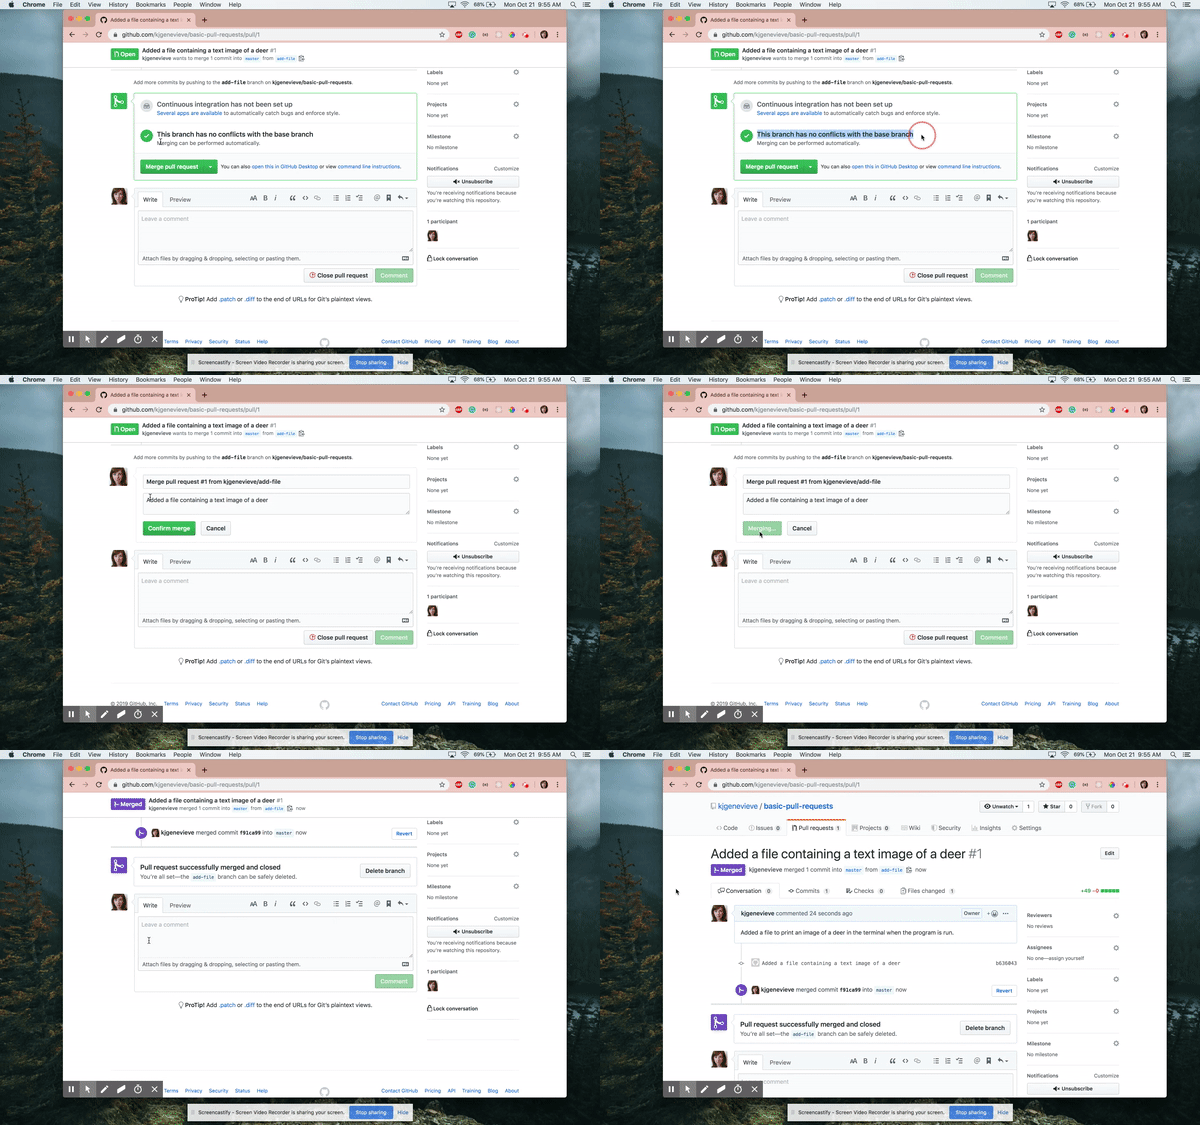
6. Approve a Pull Request
Approving the Pull Request will probably be done by someone else on the team.
- Click “Merge Pull Request”
- Add a comment if desired.
- Click “Confirm Merge”
What if there are conflicts?
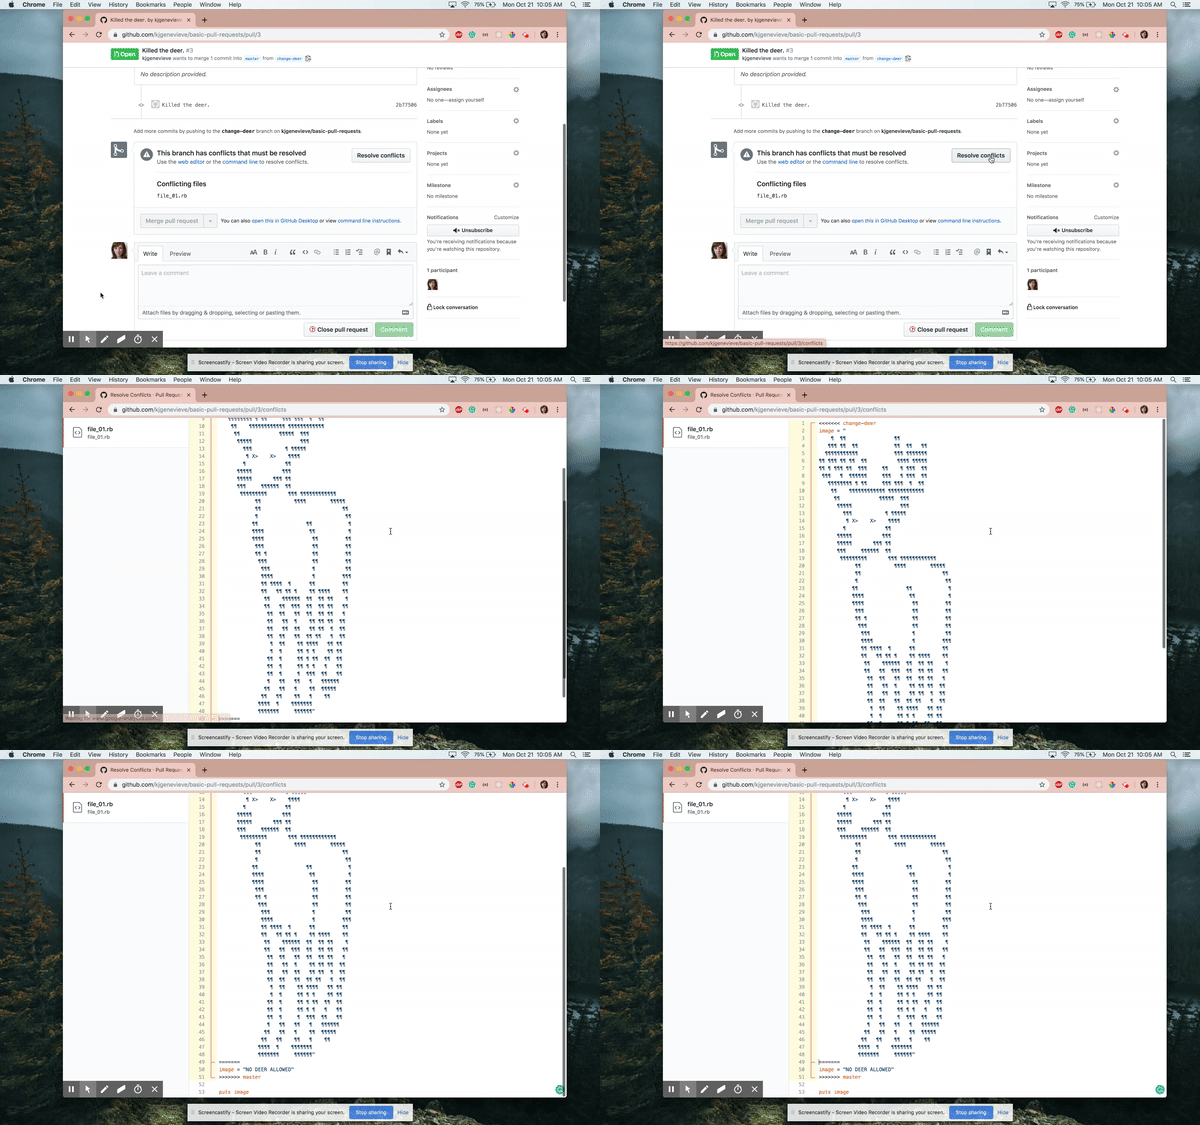
When you open the pull request, it will let you know. You may continue to make the request anyway.
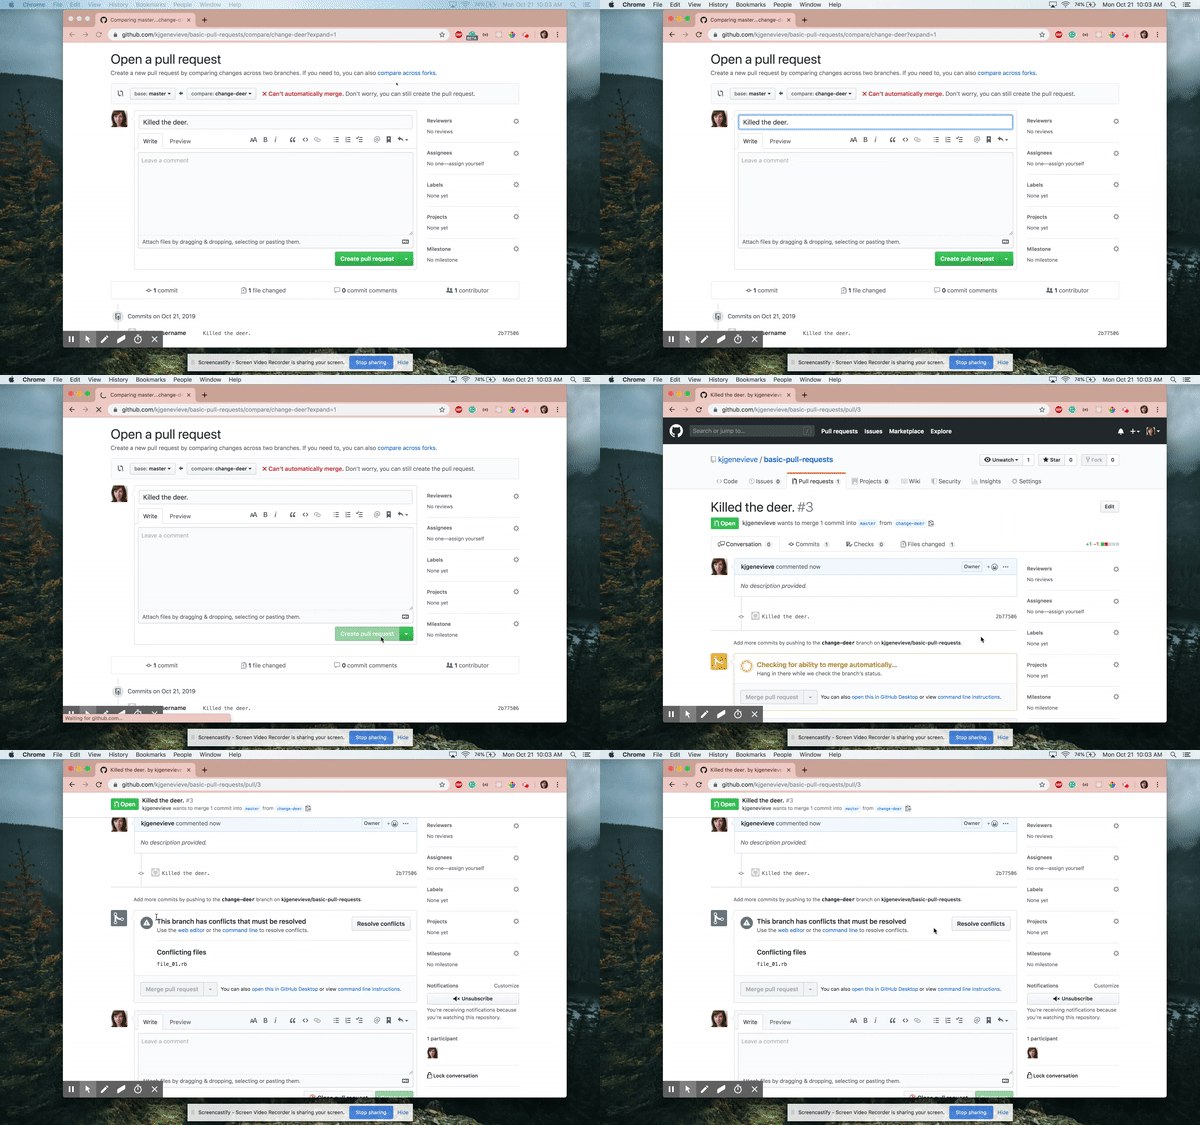
- Click “Resolve Conflicts”
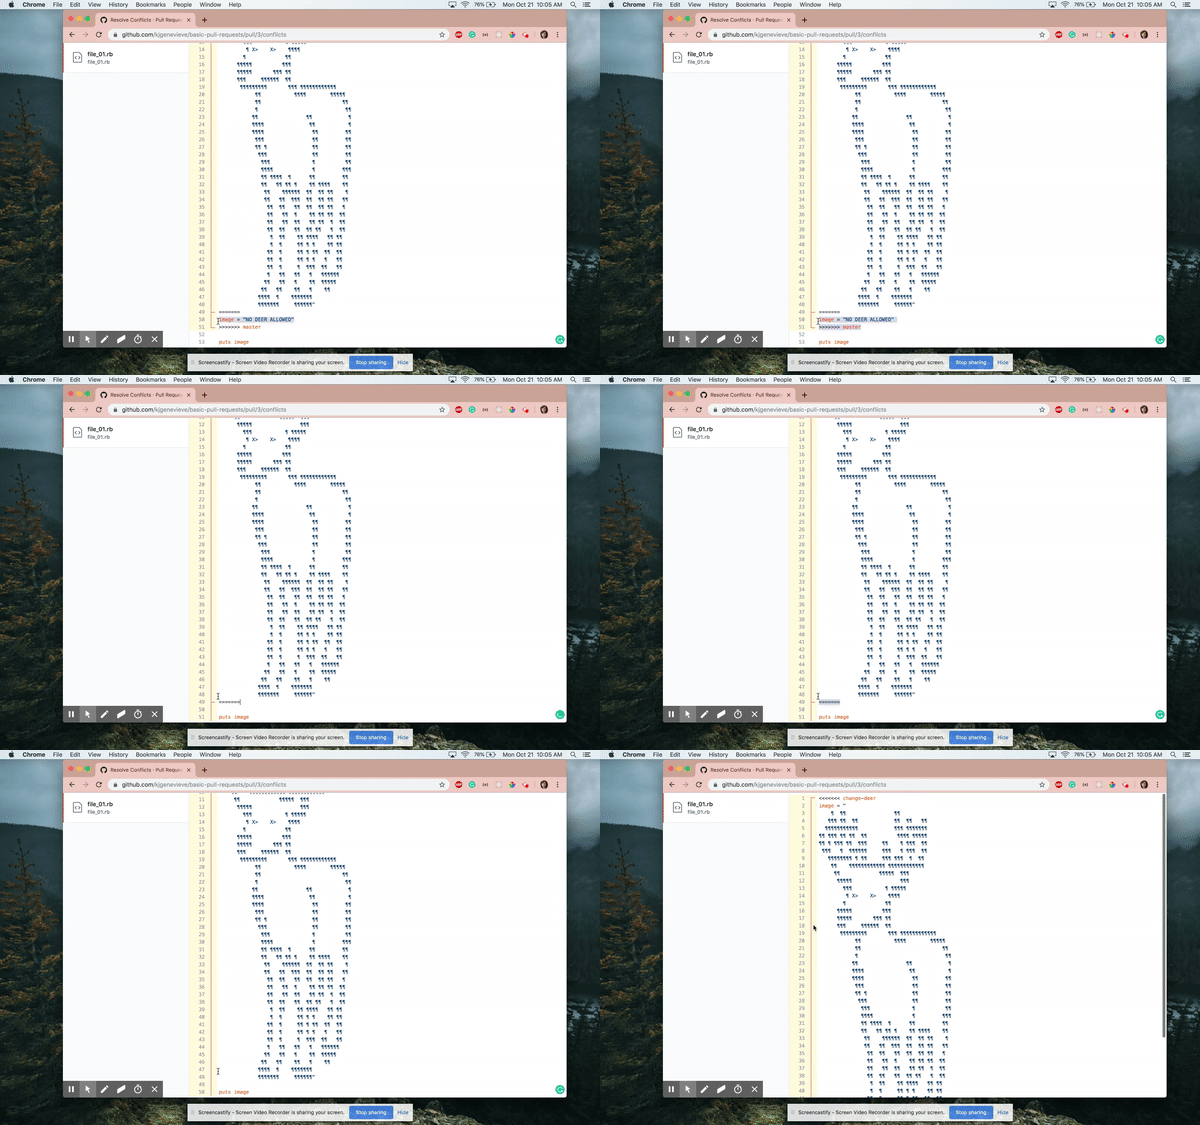
This will show you the conflicts in the document. Edit whatever needs to be edited.
- Click “Mark as Resolved”
- Click “Commit Merge”




Top comments (0)