
In this article, I explain how you can deploy your dotnet core web application to Azure and GCP as C# developer.
.NET support
It's quite obvious that Azure supports .NET. But GCP starts supporting .NET at least core version. Now, I can run my C# application in both cloud environment. But which one I should use? Rather than answering this question, I show you the developer experience as hand-on format.
Prerequisites
- Azure and GCP subscription.
- Windows 10 and Visual Studio 2017 with Azure Development workload.
- dotnet core SDK.
- Basic Understanding of either cloud platform.
Visual Studio 2017 support
When I develop C# application, I use Visual Studio 2017. Both Azure and GCP provides IDE integration.
Azure Tools for Visual Studio
It's included as part of Azure Development workload. In you missed it, add it via Visual Studio Installer.
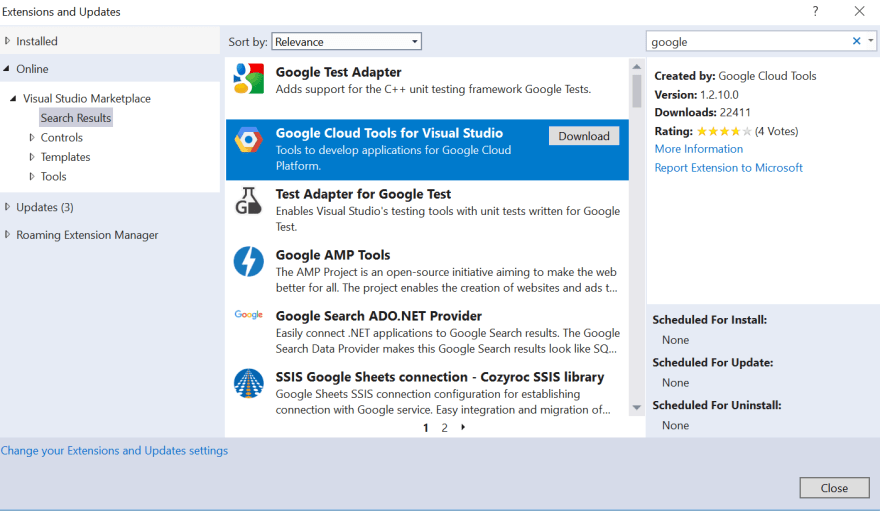
Google Cloud Tools for Visual Studio
1. Install the extension to your Visual Studio from Tools | Extensions and Updates and search for "google".
2. Once installation completed, open Visual Studio 2017 and go to Tools | Google Cloud Tools | Show Google Cloud Explorer.
3. Then configure your account by following the wizard.
4. Next, install Google Cloud SDK from here which is used by the extension.
5. At the end of installation, make sure you checked "Run 'gcloud init' to configure the Cloud SDK.
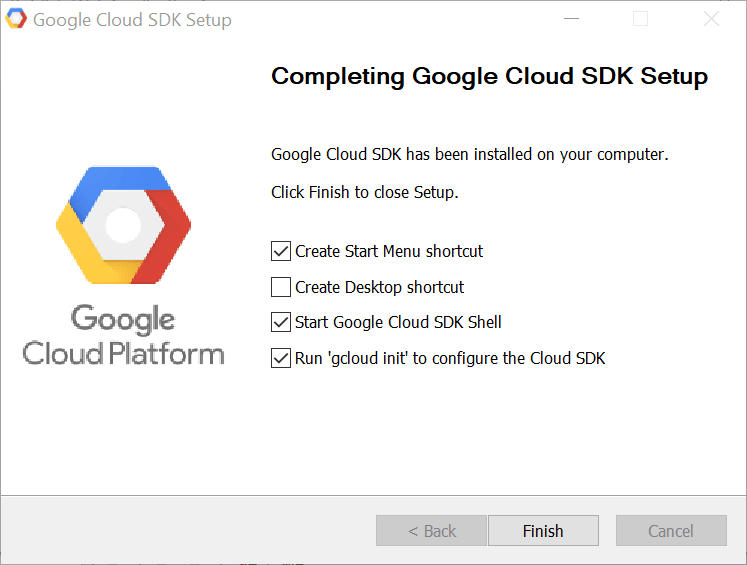
6. Follow the instruction to complete the initialization.
7. Create a project in advance. Run the following command. Change the project value to make it unique.
gcloud projects create cloud-compare-2018 --name "cloud compare"
gcloud config set project cloud-compare-2018
8. Once project completed, go to Google Cloud Platform Console and assign billing information to the project.
Create dotnet core project
1. Open Visual Studio 2017 and create new project.
2. Select "ASP.NET Core Web Application.
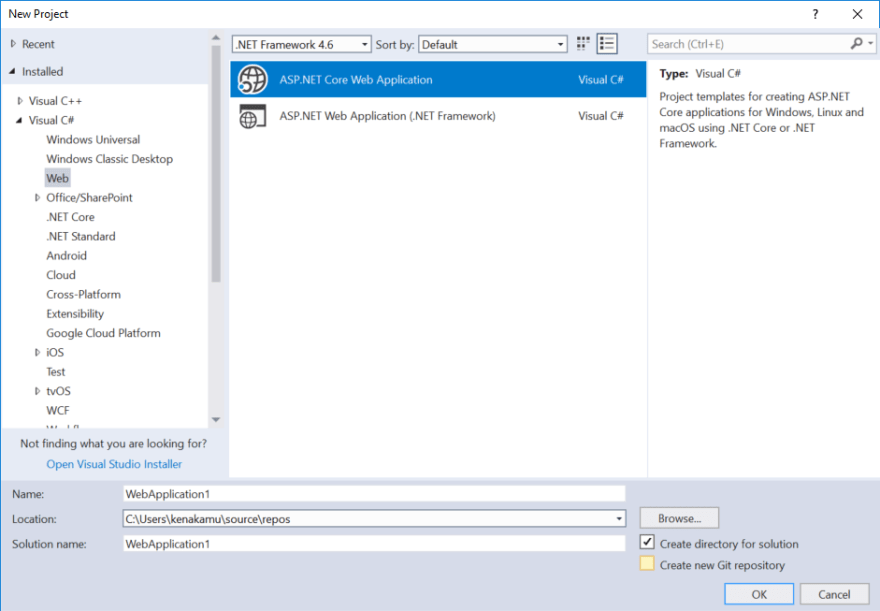
3. Select MVC applicaiton, or any template you want, and click OK. Azure already support Authentication Integration capability here, but keep "No Authentication" at the moment. VS also let us select "docker support", but as both cloud supports dotnet core runtime, go ahead to click "OK".

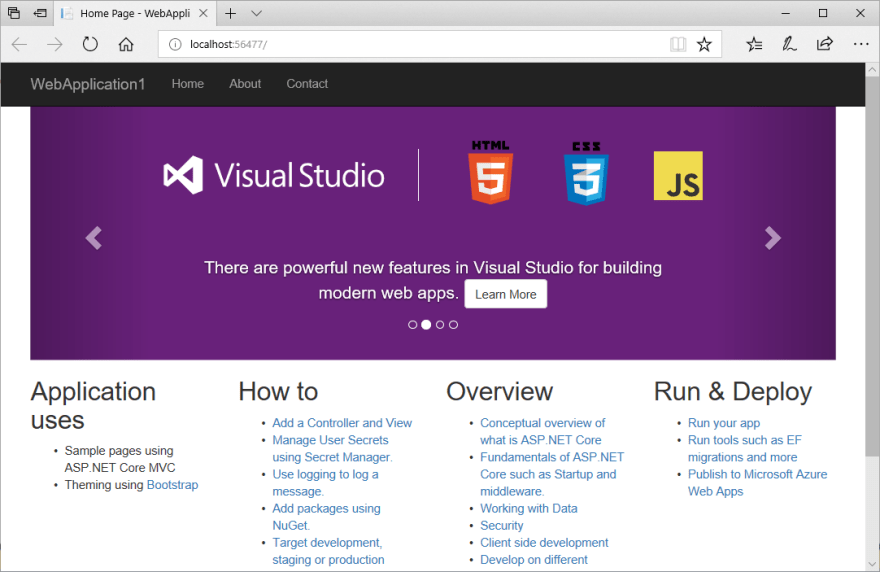
4. Press F5 to run the application locally.
Deploy
Now the application is created, let's deploy to each cloud platform.
Azure
There are several ways to deploy the app, but let's do the simplest one.
1. Right click the project and select "Publish".

2. Click "Publish" button by select "Azure" and "Create New".

3. Sign In to Azure if you didn't yet, which loads subscriptions and related information.
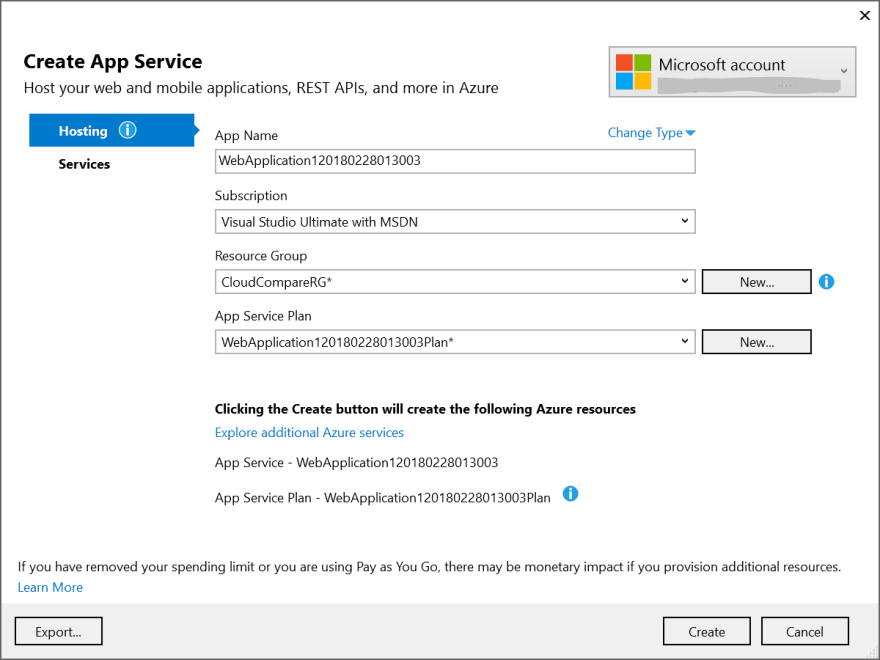
4. Enter the application name, and select Subscription. You can create new "Resource Group" and "App Service Plan" or select existing. I added new resource group and free plan. Click "Create".
- Resource Group: It's a logical grouping where you can put all your resources such as WebApps, VM, Storage, etc. It's almost equals to project in GCP.
- App Service Plan: It stores information such as CPU and memory size, supported features, and pricing. Each web app is linked to one app service plan.
5. That's it. It automatically launches the application once published.

GCP App Engine Flex
steps are very similar to Azure.
1. If this is your first time to deploy any application, you need to create App Engine application first. Open command prompt and run the following. You can change region if you want.
gcloud app create --region=us-central
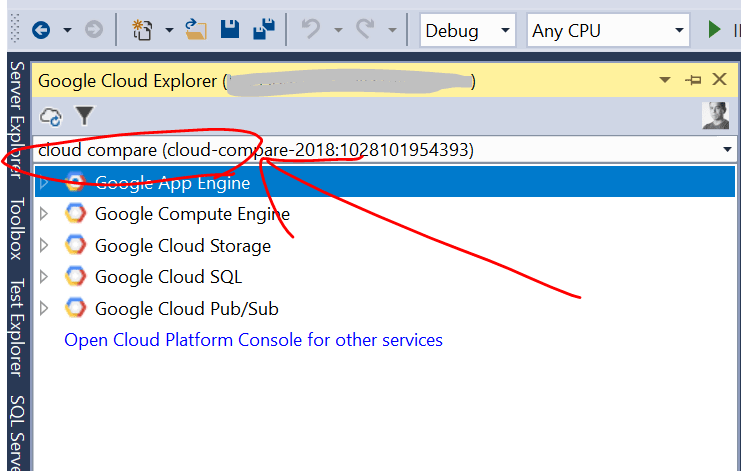
2. Once the application is created, select the project in Google Cloud Explorer.
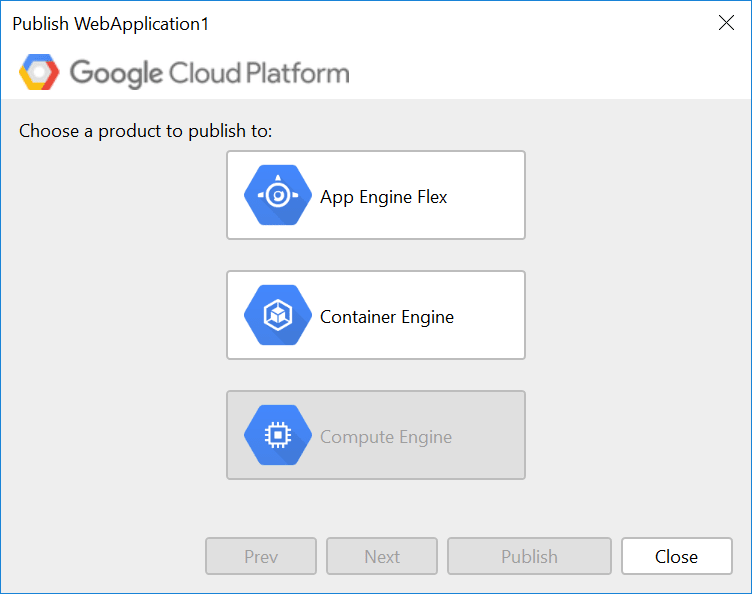
3. Right click the project and select "Publish to Google Cloud".

4. Click "App Engine Flex". We test container later.
5. Enter Version Name and click "Publish". It takes more time than Azure as it creates and register container in the background, I believe.
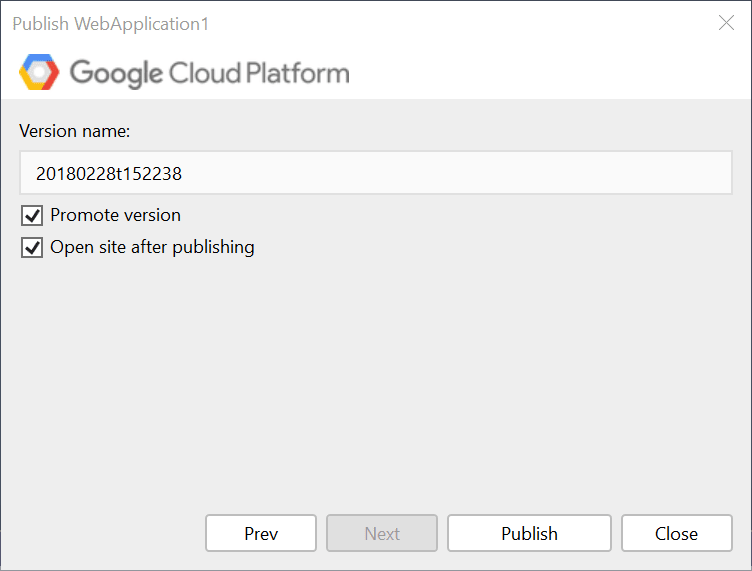
6. That's it. It automatically launch the application.
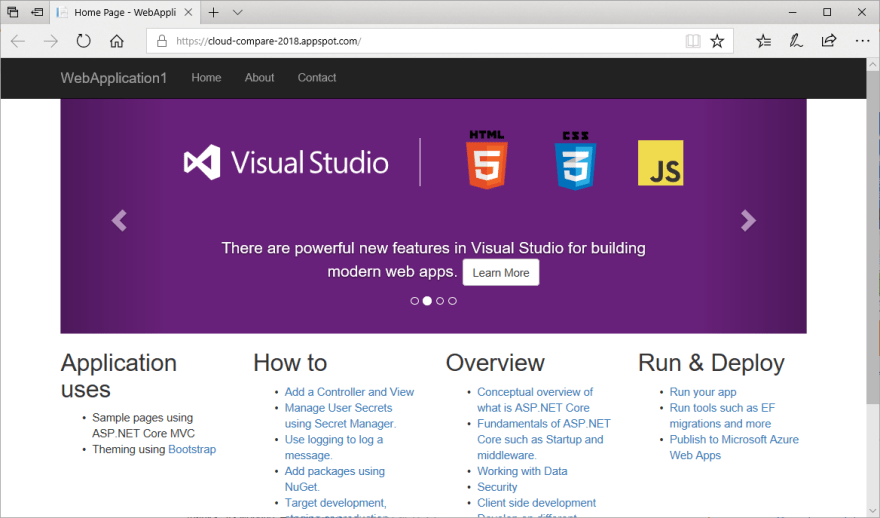
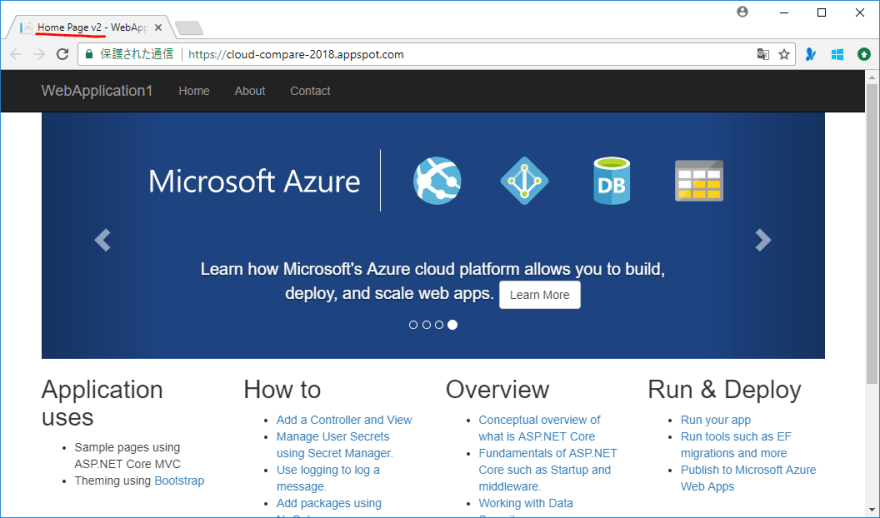
Oh, wait. The application name becomes https://cloud-compare-2018.appspot.com/, and I didn't specify any.
App Engine takes project name as it's URL.
Versioning
Okay, the first version is deployed. Let's update the application to see how the versioning works in each cloud.
Update the application
You can change anything. I just changed the title the index.cshtml.
Azure
Azure provides "slots" to host different versions and let you "swap" the application to switch versions.
Add slot
The thing is, "Free" version doesn't offer this capability, so lets change it.
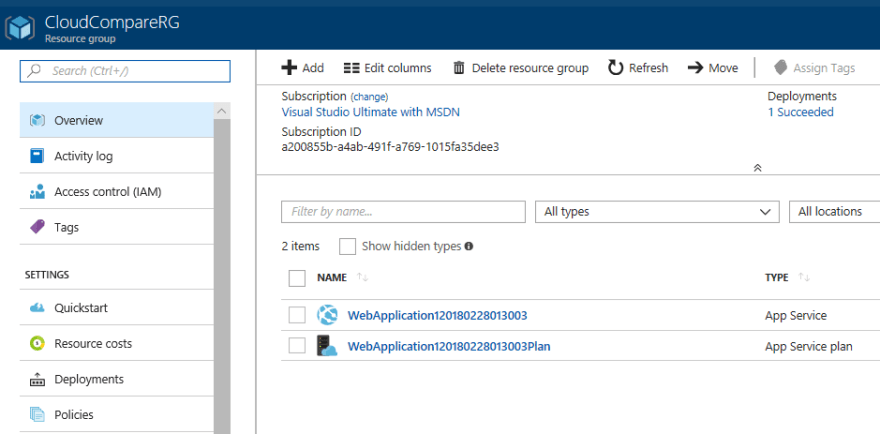
1. Go to Azure Portal and select "Resource groups".

2. Select the resource you created and select "App Service Plan".
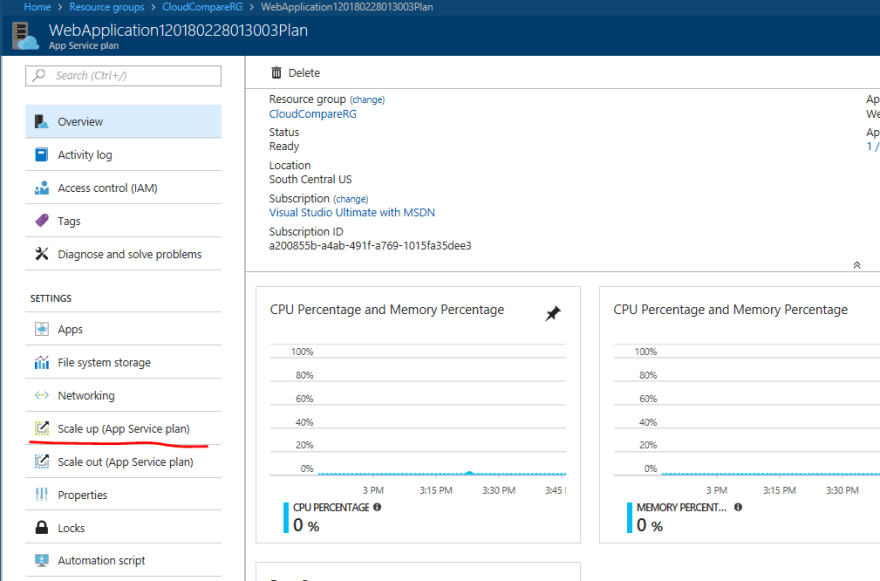
3. From the menu, click "Scale up (App Service plan)".
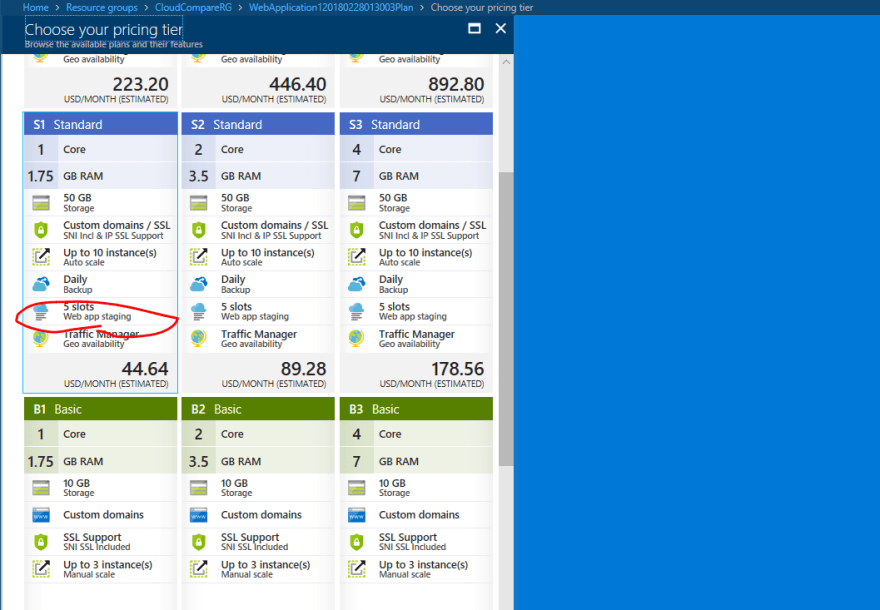
4. Select "S1 Standard" which has slotting capability and click "select".
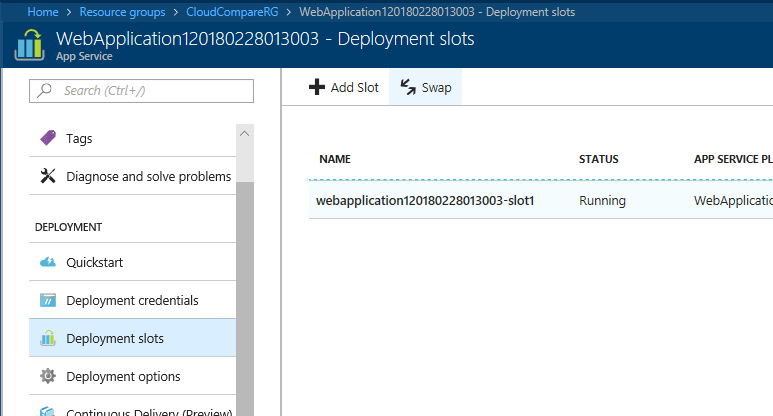
5. Then, go to Web Application from Resource Group, and select "Deployment slots".
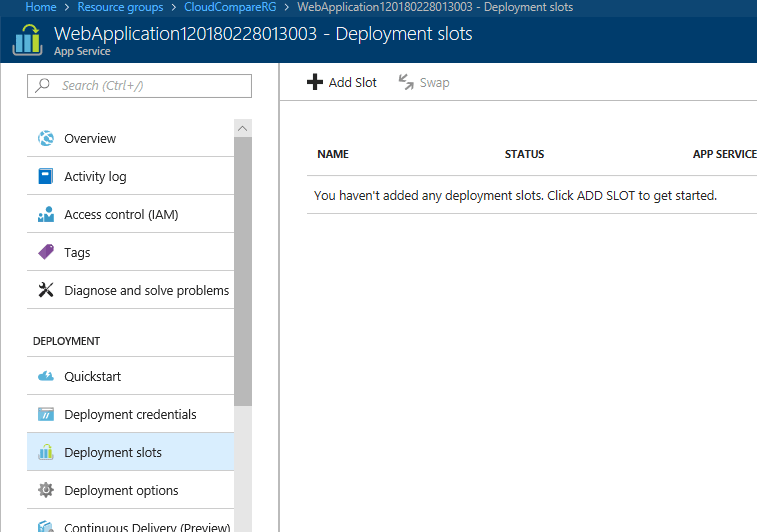
6. Click "Add slot", then name it. You can select if you want to copy configuration, too. Click "OK" once you configured. keep this window as you use it again later.

Deploy
Now we have new slot, let's deploy it.
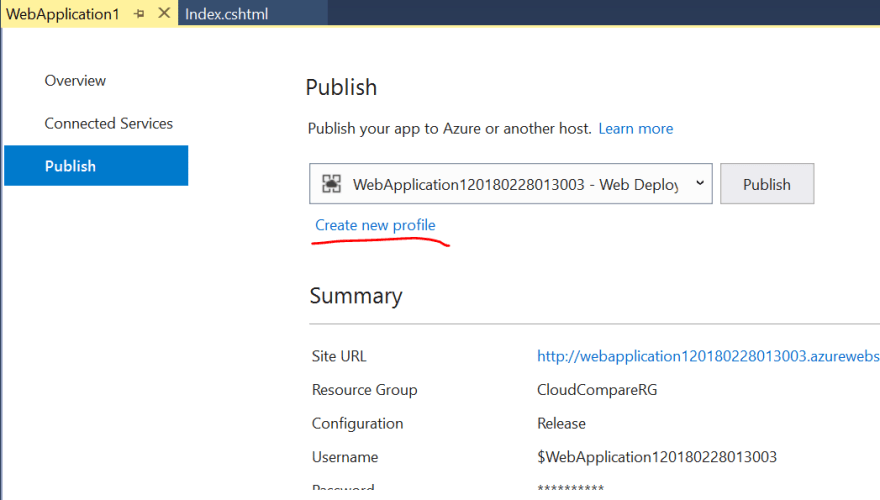
1. Right click the project and click "Publish".
2. As I already publish it once, the "profile" already exist. Click "Create new profile".
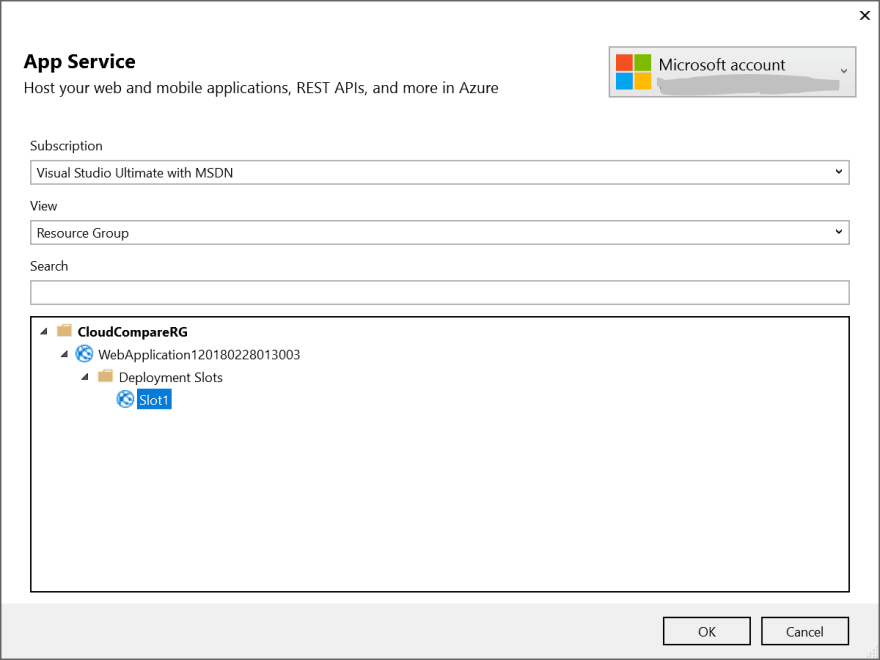
3. Check "Select Existing" and click "OK".

4. Expand the existing resource group, down to slot and select newly created slot, and click "OK".
5. Click "Publish".
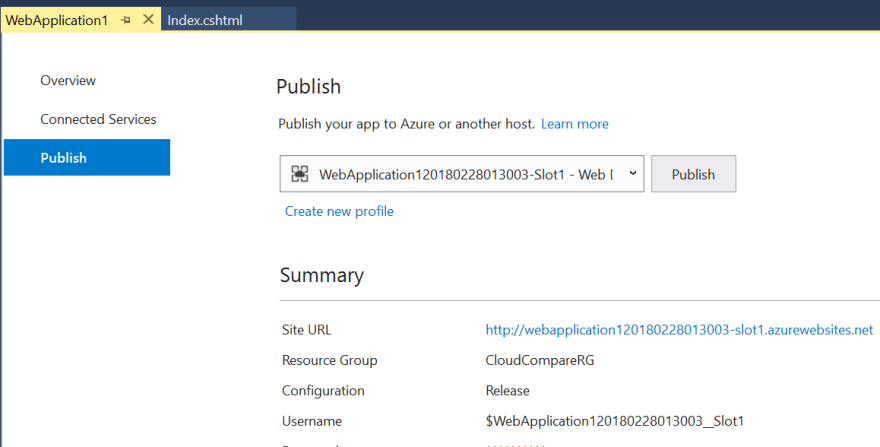
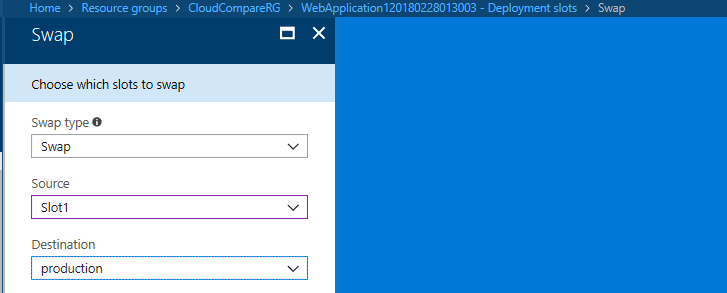
6. Once publish completed, we have two versions at the moment. On production slot and "slot1" slot. Go back to portal again, select the slot and click "Swap".
7. Select "Slot1" for source and "production" to destination and click "OK".
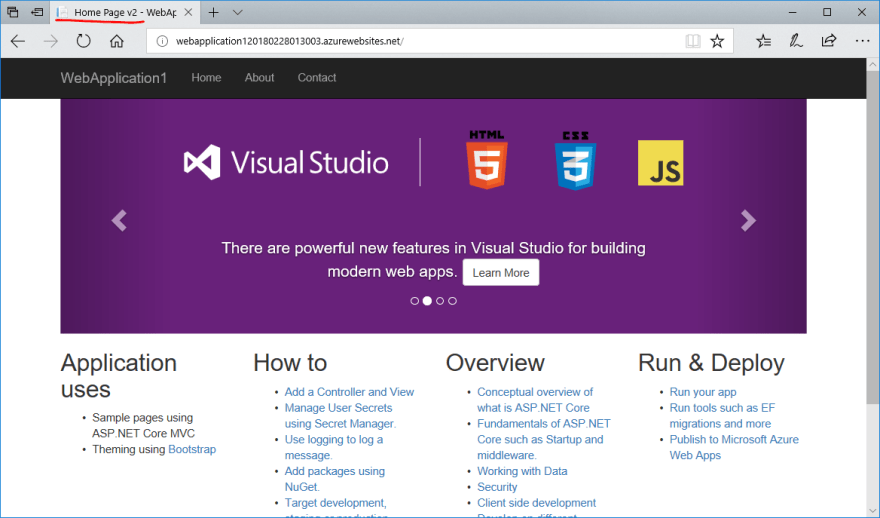
8. Once swap done, open the page to confirm it has newer version.
GCP
GCP has versioning feature by default.
1. Right click project and click "Publish to Google Cloud", and select "App Engine Flex".
2. Confirm you have different version, check "Promote version" and uncheck "Publish".

3. Once publish completed, go to Google Cloud Platform Console and select "App Engine" from menu.
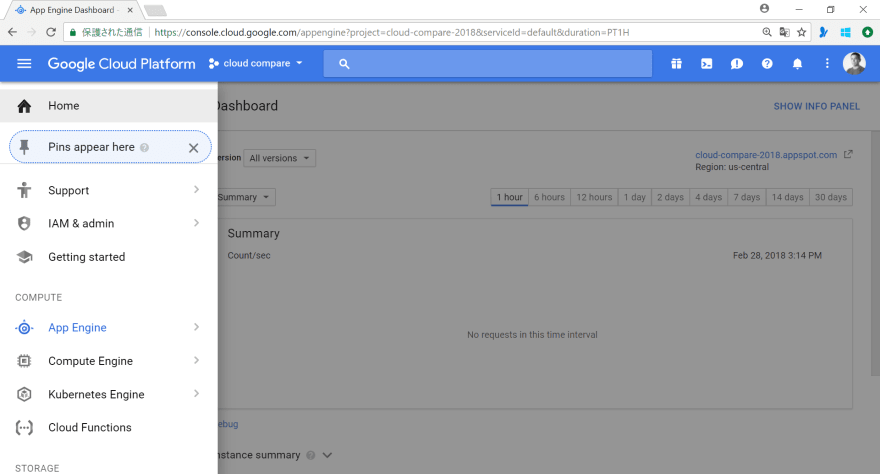
4. Select "Versions" and confirm there are two versions.
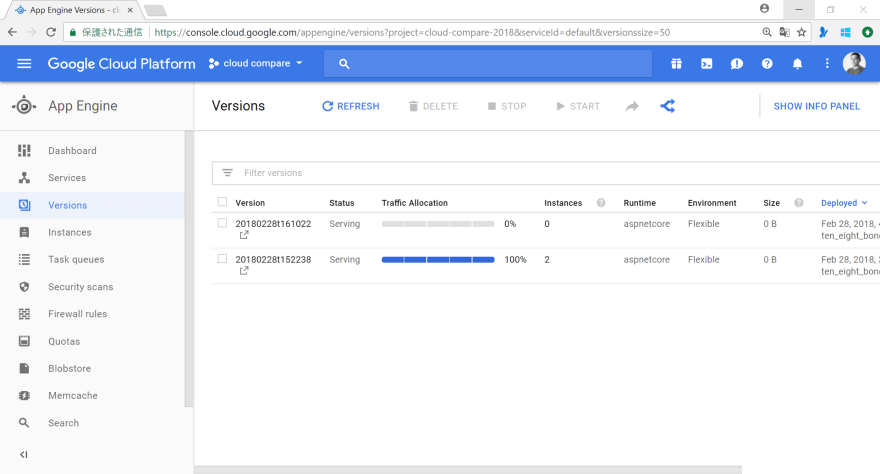
5. Select newer version and click "Split traffic".
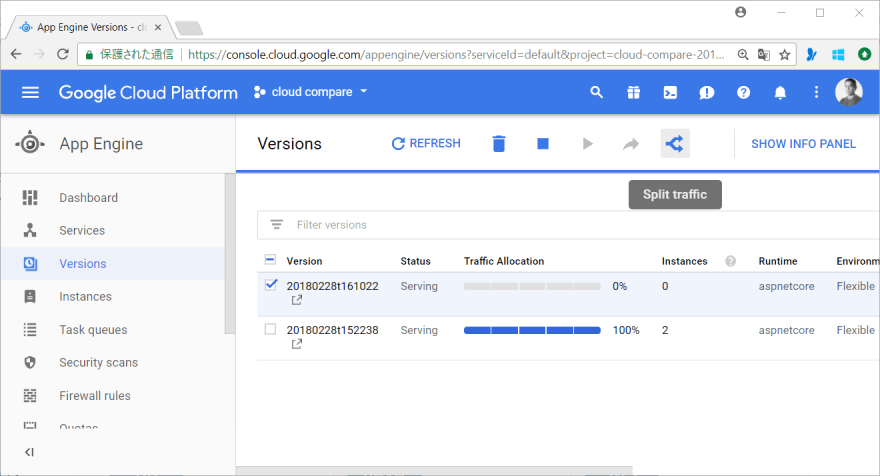
6. Specify 100% for newer version and "Save".
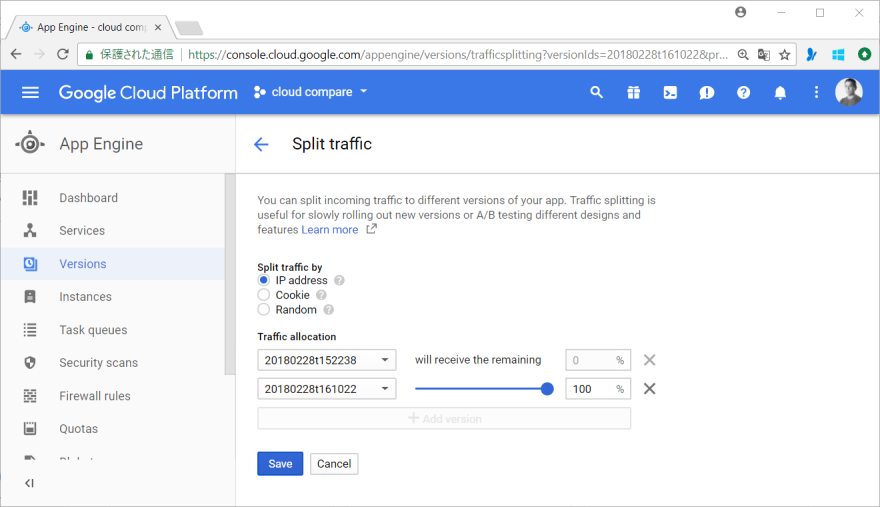
7. Open the application to confirm new version is available.
As you may realize, GCP let us run multiple versions at same time by splitting traffic so that we can do A/B test.
Summary
Both cloud platforms provide similar experience and features. So which is better? I don't have the answer by looking into deployment experience, therefore I look into both platform deeper in the next article.


Top comments (1)
A great article like the whole series, I enjoy reading it.
Nice that you've mentioned about Slots in App Services in Azure and its equivalent on GCP. I think it's a very useful feature. I'm using it at my daily work.
Cheers.