Unraveling the Magic of Zero-Knowledge Apps: A Step-By-Step Guide.
In the grand tapestry of blockchain technology, there's an intriguing concept that's been gaining momentum: Zero-Knowledge Proofs.
Are you fascinated by the idea, yet unsure what these 'ZK' proofs actually mean? Does the notion of building and deploying a ZK app feel daunting? Well, you're in luck! This guide is designed specifically to walk you through the process with step-by-step instructions.
From understanding smart contracts to deploying a ZK app using TypeScript and the Mina network, we've got you covered. Even if you're just dipping your toes into the world of blockchain technology, this comprehensive guide will take you from curious bystander to confident developer.
Let's embark on this journey together, beginning with the installation of the CLI using the command below:
npm i -g zkapp-cli
Upon confirmation, your adventure into the world of ZK apps begins.
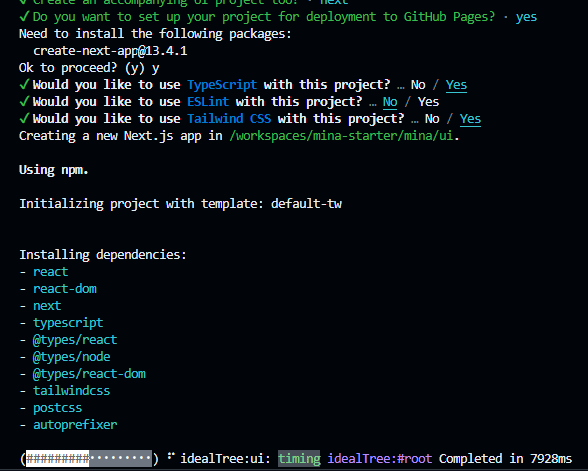
You can choose any but here we will choose Nextjs as Its our fav ❤️
choose the subsequent options and soon we will have our App ready 🔰
Soon we will see two folders generated, one is for ui and the other for contract.
Let's take a quick look at one of the contracts 🕵🏻
The Contracts mostly lie in the src/ folder
The "Add.ts" file represents the default smart contract that is generated. It contains TypeScript code and describes a simple smart contract that initializes a value (in this case, 1) and provides a method to update that value by adding 2 to it. The "interact.ts" file is a sample script that shows how to interact with the smart contract and generate zero-knowledge proofs.
Lets take in a quick code look at it 👁️👁️
L63 says await Add.compile(); which means its compiling our Add contract.
try {
  // call update() and send transaction
  console.log('build transaction and create proof...');
  let tx = await Mina.transaction({ sender: feepayerAddress, fee }, () => {
    zkApp.update();
  });
  await tx.prove();
  console.log('send transaction...');
  sentTx = await tx.sign([feepayerKey]).send();
} catch (err) {
  console.log(err);
}
if (sentTx?.hash() !== undefined) {
  console.log(`
Success! Update transaction sent.
Above code is simple Typescript but essentially what it does is it executes a transaction by calling the update() function of the zkApp object. It then builds a transaction, creates a proof, and sends the transaction using the Mina blockchain network.
The code first logs a message indicating that it is building the transaction and creating a proof. It then calls the update() function within the transaction context.
If the transaction and proof creation are successful, the code signs the transaction with the feepayerKey and sends it.
Any errors that occur during the process are caught and logged to the console.
After sending the transaction, the code checks if the transaction hash exists (sentTx?.hash() !== undefined). If it does, it logs a success message indicating that the update transaction was sent successfully.
Thats it 😄 We are now good to go and deploy our zk-app
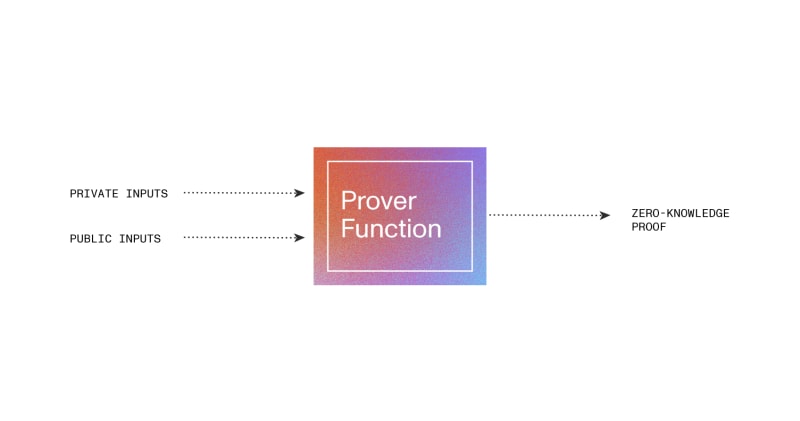
Zero-knowledge proofs consist of two parts: the prover and the verifier. The prover generates the proof, and the verifier checks the validity of the proof. In the context of blockchain, zero-knowledge proofs are used to verify computations in a decentralized way. Mina's zero-knowledge proof system relies on the Mina cryptocurrency.🤯
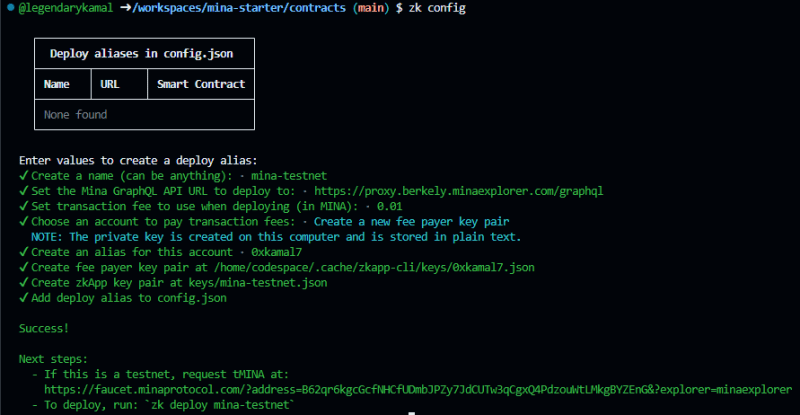
To deploy the ZK app, you need to set up a network configuration using the ZK command.
You can set the config like me, we would be using the berkley testnet for deploying our contract.
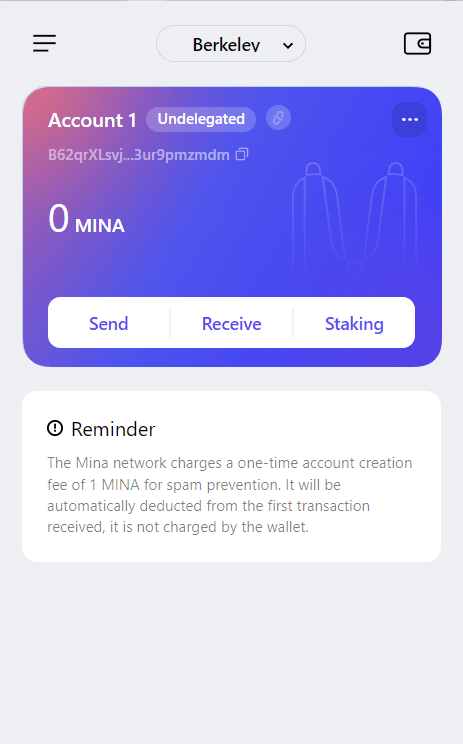
Open your Aura Wallet and set the network to Berkeley
To obtain test Mina coins by visiting a faucet URL which will provide you with a transaction that confirms your address and gives you some test Mina.
You will obtain a transaction hash like this - https://berkeley.minaexplorer.com/transaction/5JtZVHUWNvTDkWcwMjSMdUsKKYhvKrhE46Sm24HDDSzgWUJYYRBd
Once your network configuration is set up, you can deploy your ZK app by using the ZK deploy command and specifying the name of the configuration.
zk deploy mina-testnet
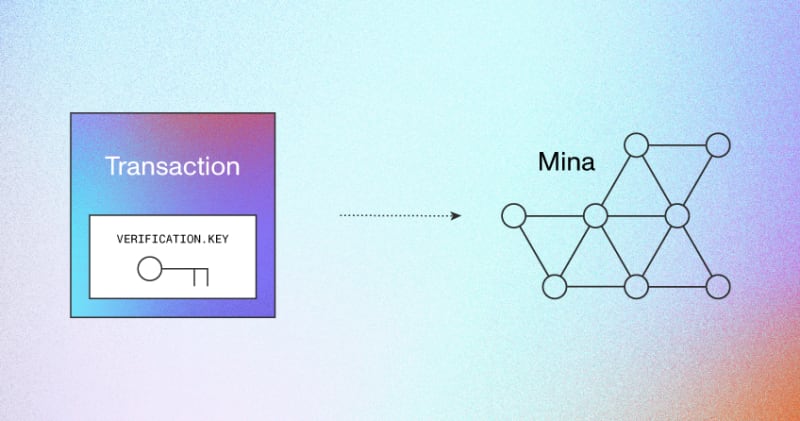
As you would notice that a verification key would be generated ,
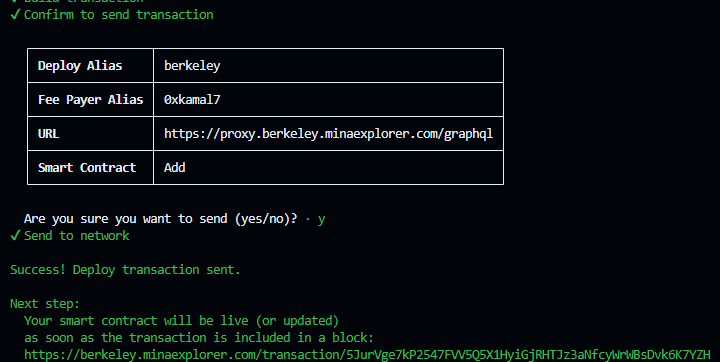
It would ask you to confirm the txn similar to below
After a successful deployment, you will receive a transaction hash and a verification key hash.
The verification key is used to identify the deployed account as a ZK app verifier. This key is crucial for verifying zero-knowledge proofs.
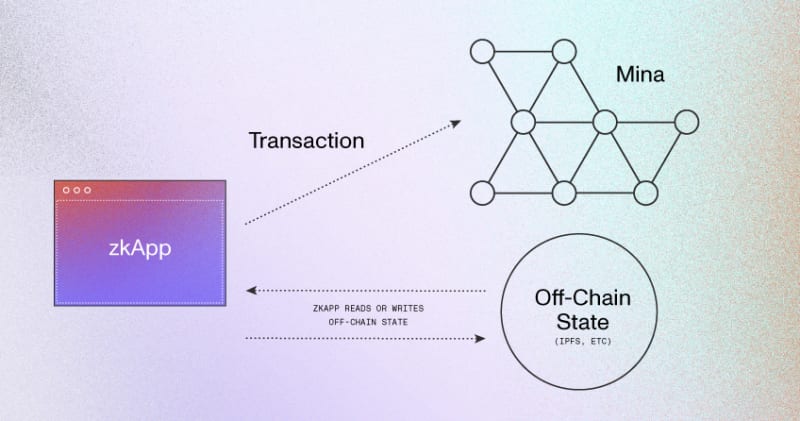
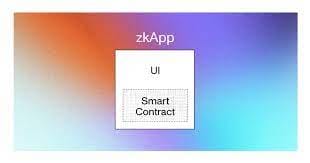
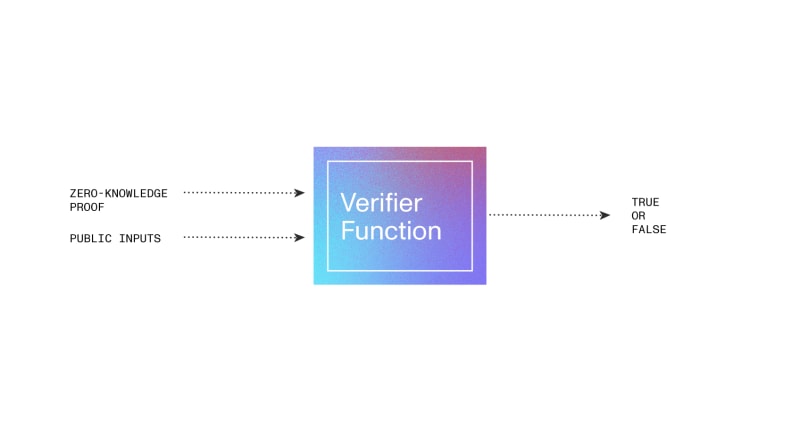
I have taken 2 images from MINA Docs representing the Verifier and Prover Function Working 🕵🏻
The prover takes inputs and produces zero-knowledge proofs, which can be sent to the verifier on the blockchain network.
And there you have it! 🎉🎉
You've walked through the winding paths of blockchain technology and emerged with a deeper understanding of zero-knowledge proofs and the power they hold. Remember, every expert was once a beginner, and you've just taken significant strides on your journey to mastery. Keep experimenting, keep learning, and most importantly, keep building amazing ZK apps !!







Top comments (0)