I have a blog based on the Gatsby Starter Blog without any modifications.
The Problem
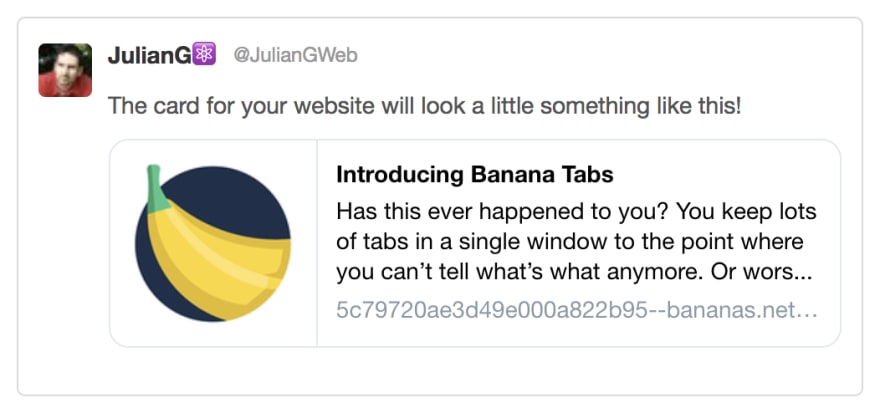
I want my posts to have a nice image when sharing them on social media.
A simple inspection of the generated HTML reveals that the Gatsby Blog renders (amongst others) the following meta tags:
<meta property="description" ... />
<meta property="og:title" ... />
<meta property="og:description" ... />
<meta property="og:type " ... />
<meta property="twitter:title" ... />
<meta property="twitter:description" ... />
It doesn't render og:image, image nor twitter:image, which are needed to properly share the articles on Twitter, Facebook, and other websites using Open Graph.
To see what our blog post link will look like on social media we can use Twitter Card Validator, Facebook Sharing Debugger, or we can simply read the Open Graph metadata using Open Graph Check.
The Requirement
We want to have a default (or fallback image) for the blog's home page and have the option to specify a custom image (even if it's not in the article's body).
The Solution
First let's add an ogimage property in the top section (frontmatter) of one of the blog posts.
--------
 title: Hello!
 date: '2018-12-01'
+ogimage: './opengraph-default.png'
--------
After restarting gatsby deveop, we now can add ogimage to the GraphQL query in src/templates/blog-post.js.
 markdownRemark(fields: { slug: { eq: $slug } }) {
   id
   excerpt(pruneLength: 160)
   html
   frontmatter {
     title
     date(formatString: "MMMM DD, YYYY")
+    ogimage {
+      childImageSharp {
+        fixed {
+          src
+        }
+      }
+    }
   }
 }
The next step is obtaining a file path for the ogimage property in a blog post, and then passing it to the SEO component. Still in src/templates/blog-post.js:
 class BlogPostTemplate extends React.Component {
   render() {
     const post = this.props.data.markdownRemark
     const siteTitle = this.props.data.site.siteMetadata.title
     const { previous, next } = this.props.pageContext
+    const { ogimage } = post.frontmatter
+    const ogImagePath = ogimage && ogimage.childImageSharp.fixed.src

    return (
      <Layout location={this.props.location} title={siteTitle}>
        <SEO
          title={post.frontmatter.title}
          description={post.excerpt}
+          image={ogImagePath}
        />
The SEO component (in src/components/seo.js) now needs to accept an image prop.
- function SEO({ description, lang, meta, keywords, title }) {
+ function SEO({ description, lang, meta, keywords, title, image }) {
If the image prop is undefined SEO will use a default value, which we need to import as a static image:
+ import defaultOpenGraphImage from '../../content/assets/opengraph-default.png'
...and then we use that as a fallback value.
 <StaticQuery
   query={detailsQuery}
   render={data => {
     const metaDescription =
       description || data.site.siteMetadata.description
+    const ogImageUrl =
+      data.site.siteMetadata.siteUrl +
+      ( image || defaultOpenGraphImage )
     return (
       <Helmet
The data.site.siteMetadata.siteUrl expression above is needed to prefix the file path with the website's URL, but it will be undefined until we add siteUrl to the GraphQL query at the bottom of seo.js:
const detailsQuery = graphql`
  query DefaultSEOQuery {
    site {
      siteMetadata {
         title
         description
         author
+        siteUrl
      }
    }
  }
`
Now we can use ogImageUrl in the metadata:
  {
    property: `og:title`,
    content: title,
  },
  {
    property: `og:description`,
    content: metaDescription,
  },
+ {
+   property: `og:image`,
+   content: ogImageUrl,
+ },
+ {
+   property: `twitter:image`,
+   content: ogImageUrl,
+ },
+ {
+   property: `image`,
+   content: ogImageUrl,
+ },
And that's it!
We added a property to the frontmatter of blog posts. We then modified the GraphQL query in blog-post.js to read the property and passed it to the SEO component in seo.js. The SEO uses an imported image as fallback and then it renders the necessary meta tags using the post's image or the fallback one.
You can see a Pull Request with all the changes I did for my blog: https://github.com/JulianG/juliang-blog/pull/3/files

Top comments (3)
Hi there! Nice post and approach, thanks for sharing it!
I checked your site and looks awesome!
By the way, I was wondering why did you move from Gatsby to Next.js was there any reason in particular?
Hi! Thank you! I'm glad my post was useful.
The main reason was that in recent years I started posting more on dev.to and then copying articles over to my blog. That was extra work, and I don't have a lot of free time. Also every new post, every typo fix, required a new commit, push, and then CI/CD would build and deploy.
My new Next.js blog I pulls articles from the dev.to API, and automatically generates pages. Every time a user visits a page, the static page is served, but also it's regenerated with the latest data for the next user. This means that I don't need to re-deploy when I make changes to my dev.to articles.
I think it's called Incremental Static Regeneration. I blogged about it here: dev.to/juliang/using-dev-to-as-cms...
Thank you again for reading!
Hi again!
Thank you so much for the explanation and the info provided!
And congrats on the implementation, it seems very efficient