
When working on a new project, you may want a simple website to share your game with friends and something that can, later on, support many thousands of active users. AWS offers a great storage solution called “Simple Storage Service” or “S3” that can do just that! For those unaware, AWS is Amazon’s cloud hosting platform. S3 is one of AWS’s core services that provides a simple key file store that users can access over the web or AWS’s easy-to-use API.
Below is a guide on how to get started with S3 with Godot HTML5. I also added a section on how to automate HTML5 builds with GitHub Actions.
Start by logging in to your AWS, if you need to create an AWS account, you can see the latest what to there that here. Once you are logged in to your AWS account, click the “Services” drop down and select “S3".

From here, you can create a new bucket. A bucket is a file store that.

Set a bucket name, region, and be sure that “Block all public access” is unchecked. If it’s checked you will not be able to access it from the internet in later steps.

Once you’ve finished creating your bucket, click on it’s name to open it up and go to the “Properties” tab.

Scroll all the way until you see the section titled “Static website hosting” and click “Edit”

Enable static website hosting and configure your paths. Later, I will export my game project as index.html , so I am going to use that for my index and error document.

After saving, if you scroll back to the “Static website hosting” portion of “Properties”, you should see your bucket’s new web address!

But, if you open it up right now, you will get a 403 error. This is because you need to give the pubic read access to the bucket.

To do this, go to “Permissions”. Then, scroll down to “Bucket policy” and click “Edit.”


For your policy, you can use this template where [YOUR-BUCKET-NAME-HERE] is the name of your bucket.
{
    "Version": "2012-10-17",
    "Statement": [
        {
            "Sid": "PublicReadGetObject",
            "Effect": "Allow",
            "Principal": "*",
            "Action": [
                "s3:GetObject"
            ],
            "Resource": [
                "arn:aws:s3:::[YOUR-BUCKET-NAME-HERE]/*"
            ]
        }
    ]
}
For me, it looks something like this:

After saving, if you refresh your web endpoint and tada, you have a static website! All that’s left is to export and upload your project!

Manually Exporting and Uploading
Open up your Godot project and export your project for HTML5. Be sure, your export name is the same as your index document name in your S3 configuration. If you have any issues see the Godot documentation.

After exporting, here is my directory:
.
├── favicon.png
├── favicon.png.import
├── index.html
├── index.js
├── index.pck
├── index.png
├── index.png.import
└── index.wasm
Now back in the S3 console, you need to go to “Objects” then click “Upload”

Then select “Add Files” and select all the files in your build directory.
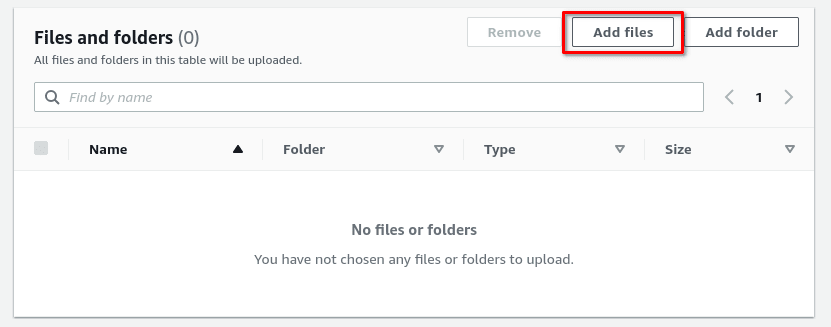
Here is what I have:

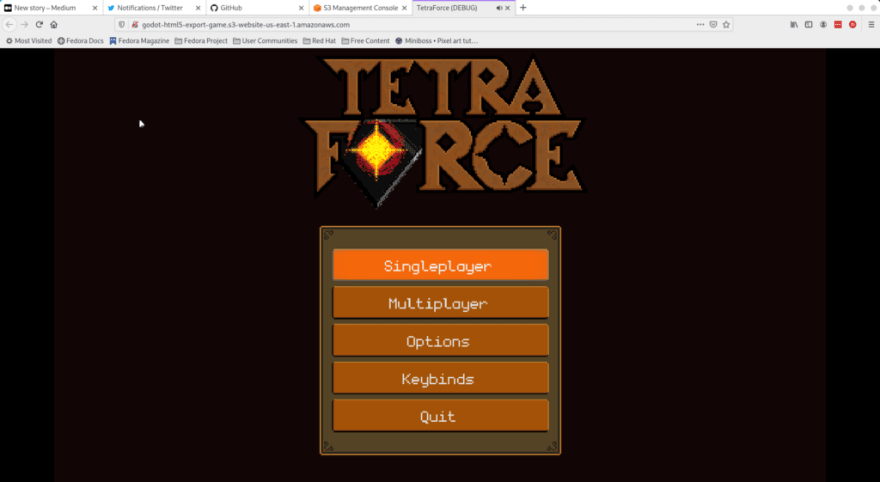
After you click “Upload”, you can refresh your site and there is your game!
Automating with GitHub Actions
First, your game project code is required to be hosted on GitHub. If you don’t know how to do that, here is a guide on getting started with GitHub: https://guides.github.com/activities/hello-world/
Create a new file in your repo .github/workflows/build.yaml from this snippet (https://gist.github.com/josephbmanley/36c2d47cc94e7a83a430285f301963e5) and update the AWS_S3_BUCKET and AWS_REGION fields.

This file represents your workflow. Your workflow gives a list of steps for GitHub to do when there is a new event. In this case, on push (upload to GitHub), it will download your project, build it with the latest version of Godot, and upload the result to S3.
Though, if you notice it has secrets.AWS_ACCESS_KEY_ID and secrets.AWS_SECRET_ACCESS_KEY . Both of these, you need to feed to GitHub, so it have access to your S3 bucket.
To do this, go to the AWS console, then “Services”, and select “IAM”.

Then go to “Users” and “Add user”

Use a user name of your choice and make sure that “Programmatic access” is checked.

On the next page, click the “Attach existing policies directly” tab and search for S3. Then, select the “AmazonS3FullAccess” policy. If you are more familiar with AWS and IAM, I would instead suggest creating your own policy for minimal access.

Now, click through the next few prompts until your user is created. Here you’ll see your new access key ID and secret access key. Save those values because these are the values that will be put into GitHub.

In your GitHub repo, go to “Settings”, “Secrets”, and then “New repository secret”

In here put AWS_ACCESS_KEY_ID with the value being the access key id you saved earlier. Then, repeat the process for AWS_SECRET_ACCESS_KEY with your secret access key.

Now, the next time you push to GitHub. Your S3 bucket should be updated and your game accessible!
Where to go from here?
Congratulations, you now have a simple website that you can use to share your project anywhere! If you want to improve your website, I suggest looking into to use CloudFront to enable caching and HTTPS for your website: https://aws.amazon.com/premiumsupport/knowledge-center/cloudfront-https-requests-s3/
Related Links
GitHub Workflow Gist: https://gist.github.com/josephbmanley/36c2d47cc94e7a83a430285f301963e5
GitHub Build Godot Action: https://github.com/josephbmanley/build-godot-action

Top comments (0)