Row Level Security in Microsoft Fabric — Update: No need for Tabular Editor!

Introduction
In March, I wrote about How to setup RLS in Microsoft Fabric / Power BI without breaking DirectLake functionality — Downhill Data (downhill-data.com)
Back then, RLS was not possible to edit through the Web Authoring experience of Semantic Models in Fabric. Instead, you had to go the roundabout way of using Tabular Edit to add RLS rules to your model.
However, just a few weeks after my post, an update to the Web Authoring experience was added, which now adds the missing RLS functionality, eliminating the need for Tabular Editor in the solution.
Therefore, I have revamped the RLS guide to leverage the new interface. Check it out below!
Creating a Semantic Model with an RLS Table
The first step is to create a new Semantic Model on top of your Data Lakehouse or Data Warehouse, in order to have a Semantic Model that uses Direct Lake.
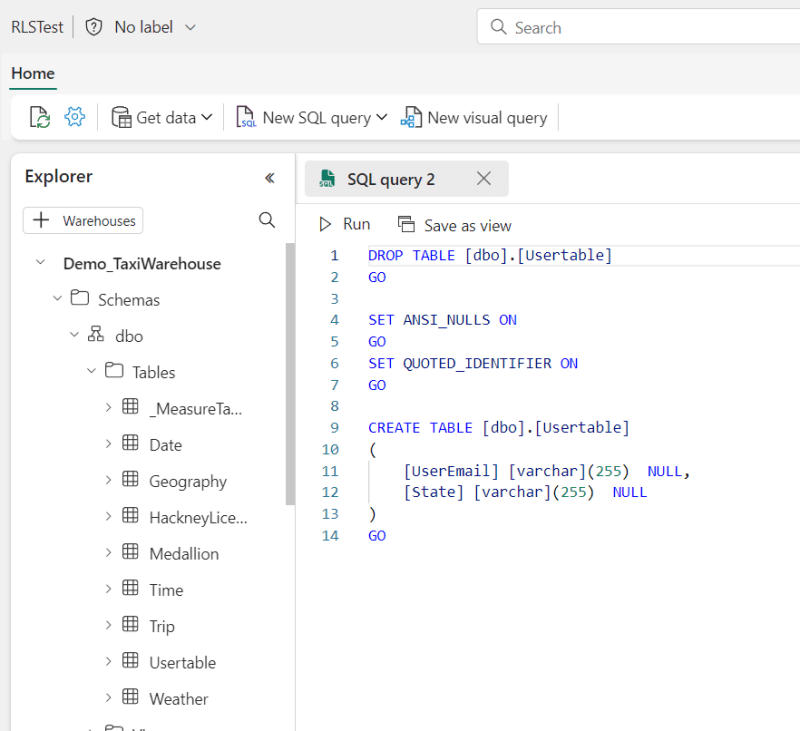
Below I have done just that, on top of some dummy Taxi data. First I created a Data Warehouse, then I imported the Taxi Data Sample, and finally I created a Usertable with a SQL statement, populating it with a few rows of data to use in RLS:
Subsequently, I created a new Semantic Model, including all the tables:

Notice how the “Manage Roles” button is no longer greyed out at the top? That is the recent addition to the web authoring experience that makes setting up RLS easier.
But before we get that far, we need an additional step.
Setting up the Fixed Identity
Before setting up RLS rules, we need to set up a Fixed Identity to be used instead of the end-users credentials, when authenticating against the data model.
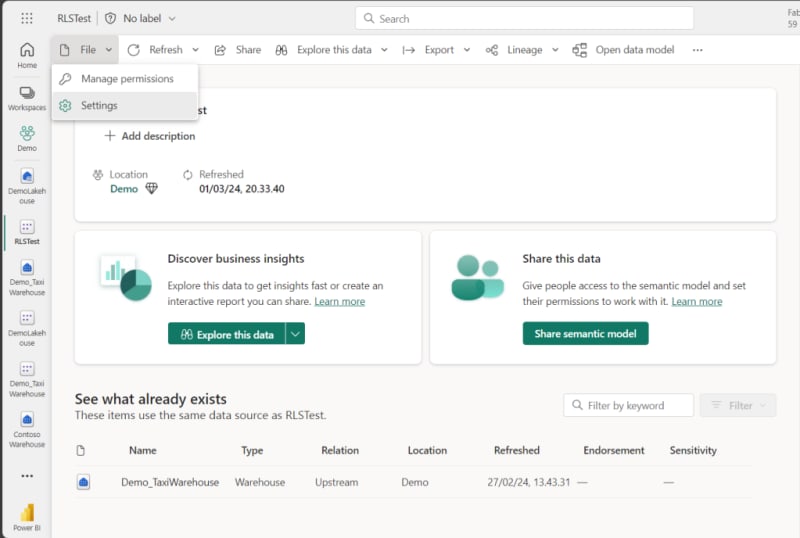
Open the settings of your newly created Semantic Model:
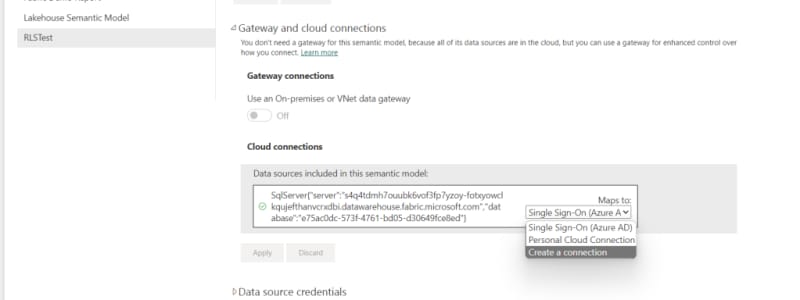
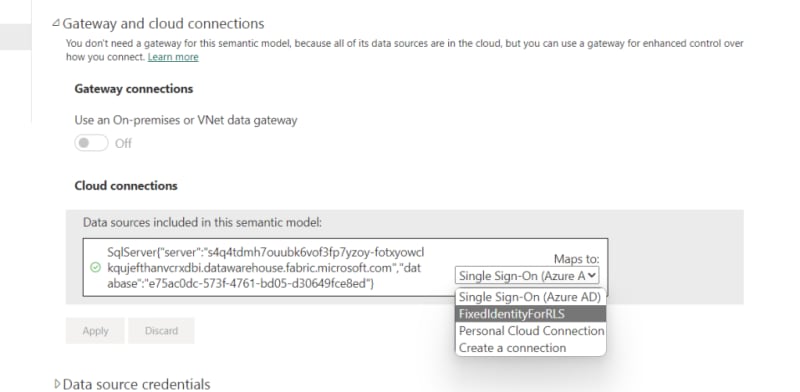
Find the Gateway and cloud connections tab, and create a new connection for your data source:
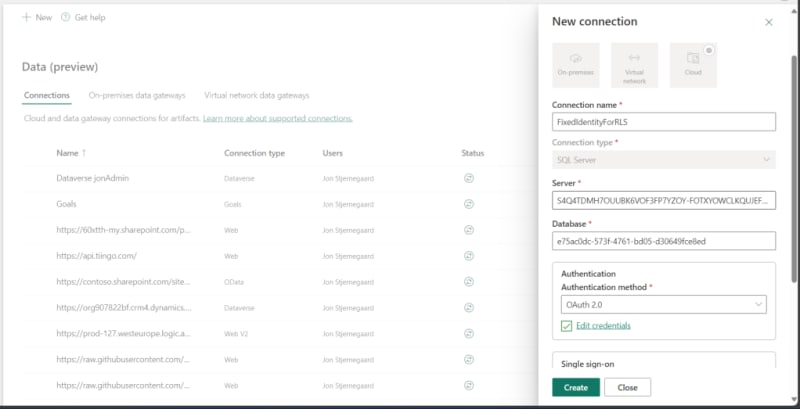
Create the cloud connection (the Server and Database should be filled out automatically), and select OAuth 2.0 as authentication method:
Back in the semantic model settings, map the data source to the newly created connection:
Congratulations! You have mapped your semantic model to a fixed identity, which will now be used when users access reports built on your model!
However… This Fixed Identity, using your OAuth credentials, will have access to all of the data in your model that you have access to. Hence, we need to setup our RLS rules.
Setting up RLS on the Semantic Model
Once again, open up your data model in the web authoring experience, and this time, select the “Manage Roles” button at the top. This brings out an interface familiar to any Power BI Desktop user:
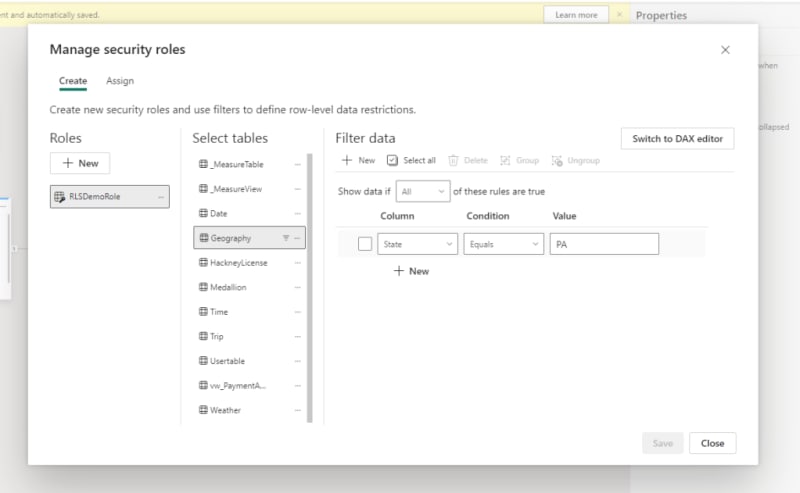
Simply use this interface to setup your Security Roles, adding any filters to the Tables required. If you prefer the old DAX editor in place of the modern conditional data filtering interface, it is easy to swap between the two.
After adding your Roles, you can further go to the ‘Assign’ tab at the top, to add users and AD groups to your roles:

Press the Save button, and you’re done! That’s all there is to it! No more need for Tabular Editor for this case.
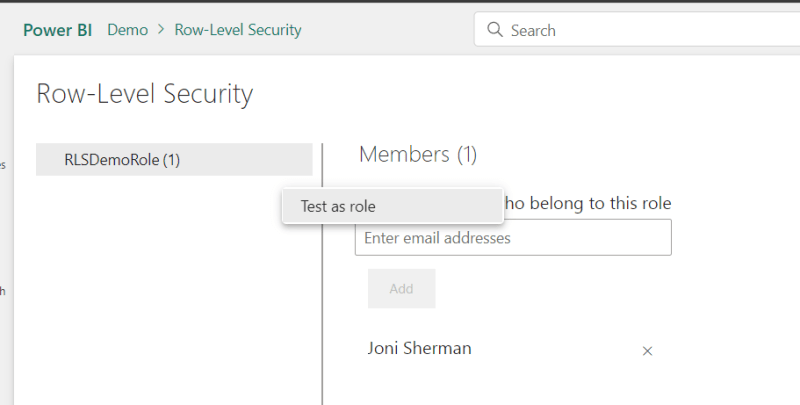
If you wish to, you can still open the Security Settings of your Semantic Model to test the rules you’ve made. Just right click on the role in the menu, and select Test As Role, to test if you set up everything correctly:
And in my case, my report went from this:
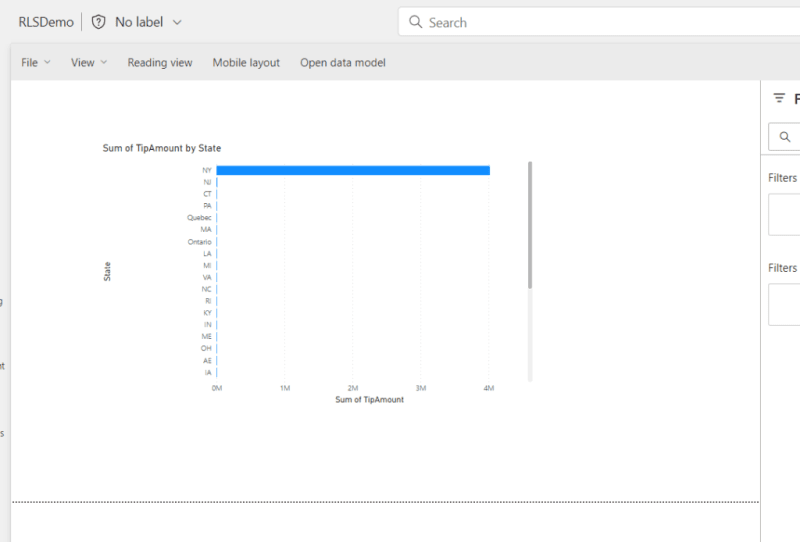
To a filter only showing data for Pennsylvania:

I hope you enjoyed this small update. I for one welcome any implementation that makes development in the browser easier.


Top comments (0)