
Why GitLab?
Unlike GitHub, GitLab is more optimized for setting up controlled environments. It's similar to GitHub Enterprise. This includes organizational sign-in, more customization capabilities, and better CI/CD.
GitHub is great for personal projects and even team collaboration. GitHub thrives on its amazing community. But if you're looking for something with better change tracking and management tools, GitLab is the way to go.
Getting Started
I used Reclaim Cloud for this tutorial. This is not the only option, but Reclaim is a good choice for hosting since they only charge you for what you use.

First Things First
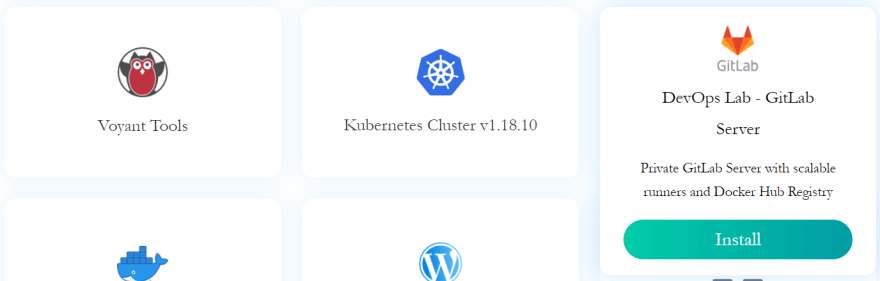
- Head over to the Reclaim Cloud applications page
- Scroll down until you see DevOps Lab - GitLab Server
- Click Install and enter your email. Make sure to check your junk folder just in case the confirmation email goes there.
- Click on the DEPLOY NOW button in the email. This will take you to the environment setup.
- Feel free to change your Environment name, Display Name, and Region if needed. Then click Install
Note: You will need to provide payment information as they are providing the server hosting.
This will take a while - but you can let that get set up and check your email to be notified whenever it's finished.
Configuration
Once your environment is set up and ready to go, you can hover over it and click the Change Environment Topology button. It's the green cog with squares underneath:


This page allows you to allocate resources to your server. I bumped mine up to 10 cloudlets minimum just go give myself a little more breathing room. Depending on the size of your organization, you may need more or less.

Start Using
After you deploy, you'll get an email with the username and password for the root user, which allows you to configure the instance even further.
If you want to import your existing GitHub repos, first sign in. Then on the main page at the top right you can choose New project which will take you to this screen:

- Select Import project
- Choose GitHub
Now you'll need to go to your GitHub profile settings and generate a new token.
Be sure to check the box that gives the token full access to your repos:

- Generate the token, copy it
- Switch back to your GitLab Authentication page to use it
- Click Authenticate
- Import your GitHub repos
Now all of your projects are backed up on your very own GitLab instance!
As a recap, check out this video:


Top comments (1)
Hey there!
While we appreciate you sharing posts here, please see DEV's Content Policy available in our Terms and be careful not to share content that is too promotional. The terms state:
Going forward, be careful to avoid sharing articles that are too promotional in nature. While it's generally okay to promote your product, business, personal brand, etc., just make sure that the posts you share have value beyond promotion.
If promotion is your primary goal, then consider signing up for Pro Tools which gives you access to:
Hope you understand our reason for limiting promotional content and that you continue to enjoy DEV!