
Intro
On the last post, we defined the build using Cake, including publishing the resulting artifacts to NuGet and Coveralls (although we'll see more detail on Coveralls later). In this post we'll use AppVeyor and Travis CI, which provide free continuous integration hosting for open source projects.
Adding the project to AppVeyor
AppVeyor is one of the main CI cloud providers used with .NET projects, particularly before the multiplatform .NET Core arrived, but still plenty useful, if not for anything else, to build on Windows.
Setting up the project on the AppVeyor site
After creating an account, adding a project is really simple.
On the home page, create new project:

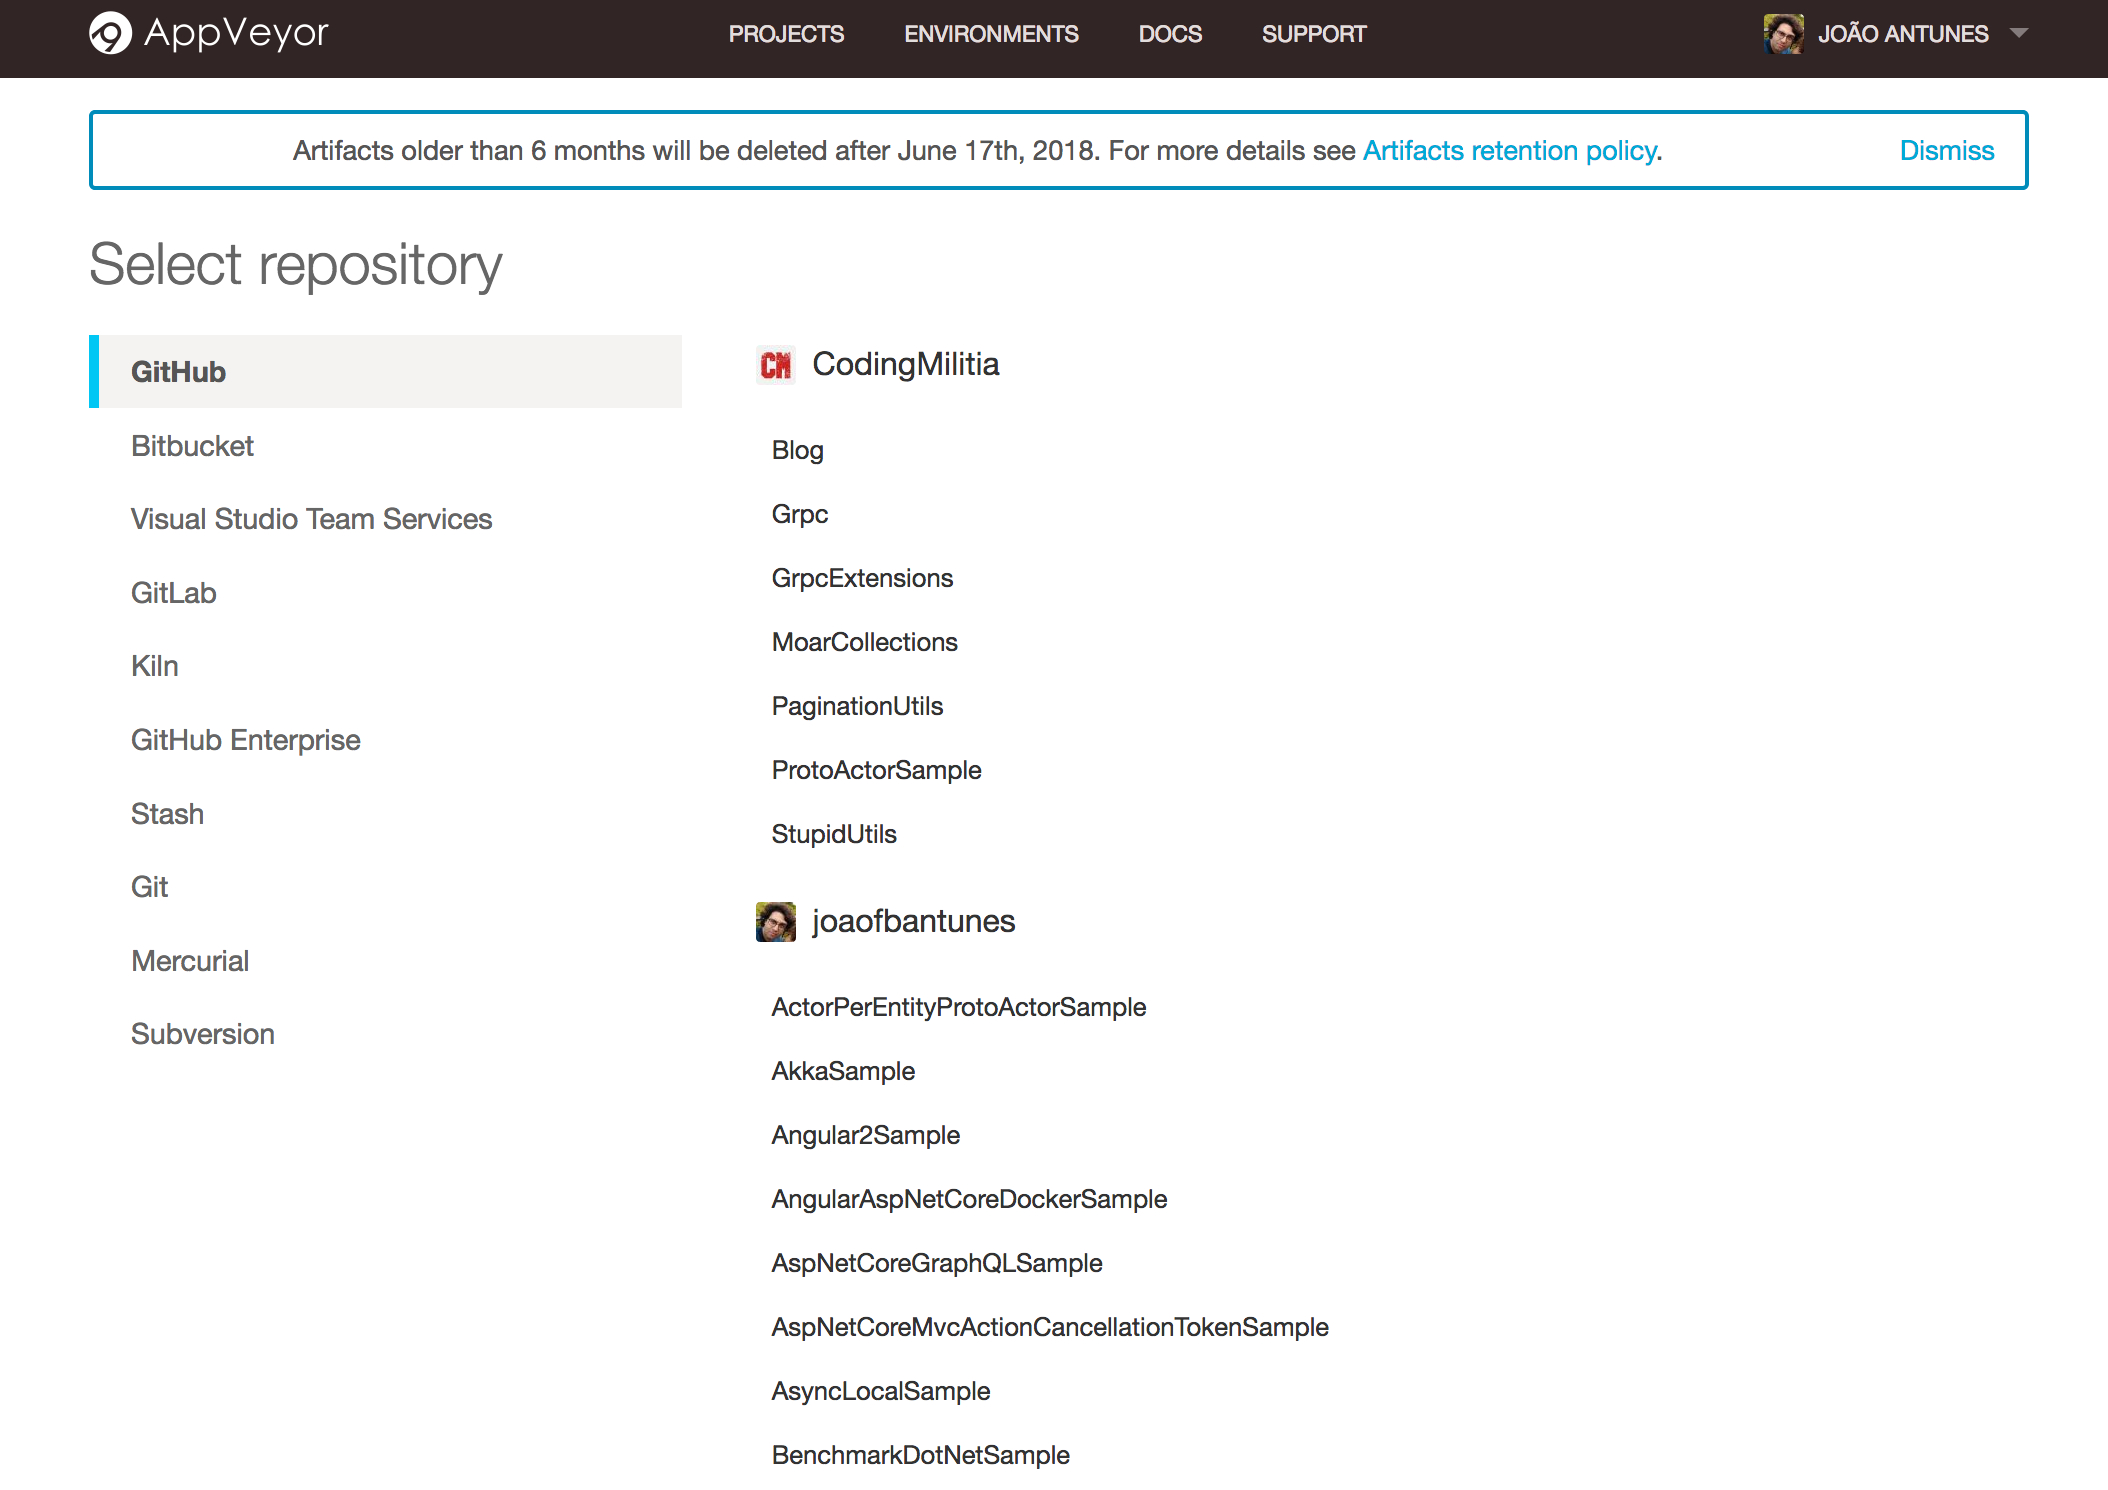
Then choose a source. In my case GitHub, making sure to authorize AppVeyor to access the GitHub repositories:
The next screen will be empty, in my case there’s already some information on previous builds (including the logs):

The next step would be to go into the settings section and set everything up, but I didn’t change anything because I’m using the Cake build script and an appveyor.yml configuration file in the project repository to configure everything.
Configure using appveyor.yml
Like mentioned in the previous section, the configuration of the build could be done on the AppVeyor website, but using the appveyor.yml file we can do the same things and keep everything together in source control.
Considering the bulk of the work is done in Cake, the AppVeyor configuration is really simple - I’ll just insert it here and then go through it.
Starting with the version. I don’t use this at all, as I’m defining the version manually in the library’s csproj file, but the default is 1.0.{build} and it is shown when we are looking at the latest builds, I preferred changing it to {build} to just map directly to the build number.
The image is the base virtual machine image that’ll be used to execute the build. We can configure more than one, including Linux, but as I’m delegating the other operating systems to Travis CI, I’m just using a Windows image with Visual Studio 2017.
The branches configuration part is where we can define the branches we want to trigger a build. This can be a whitelist, like in this example, or a blacklist.
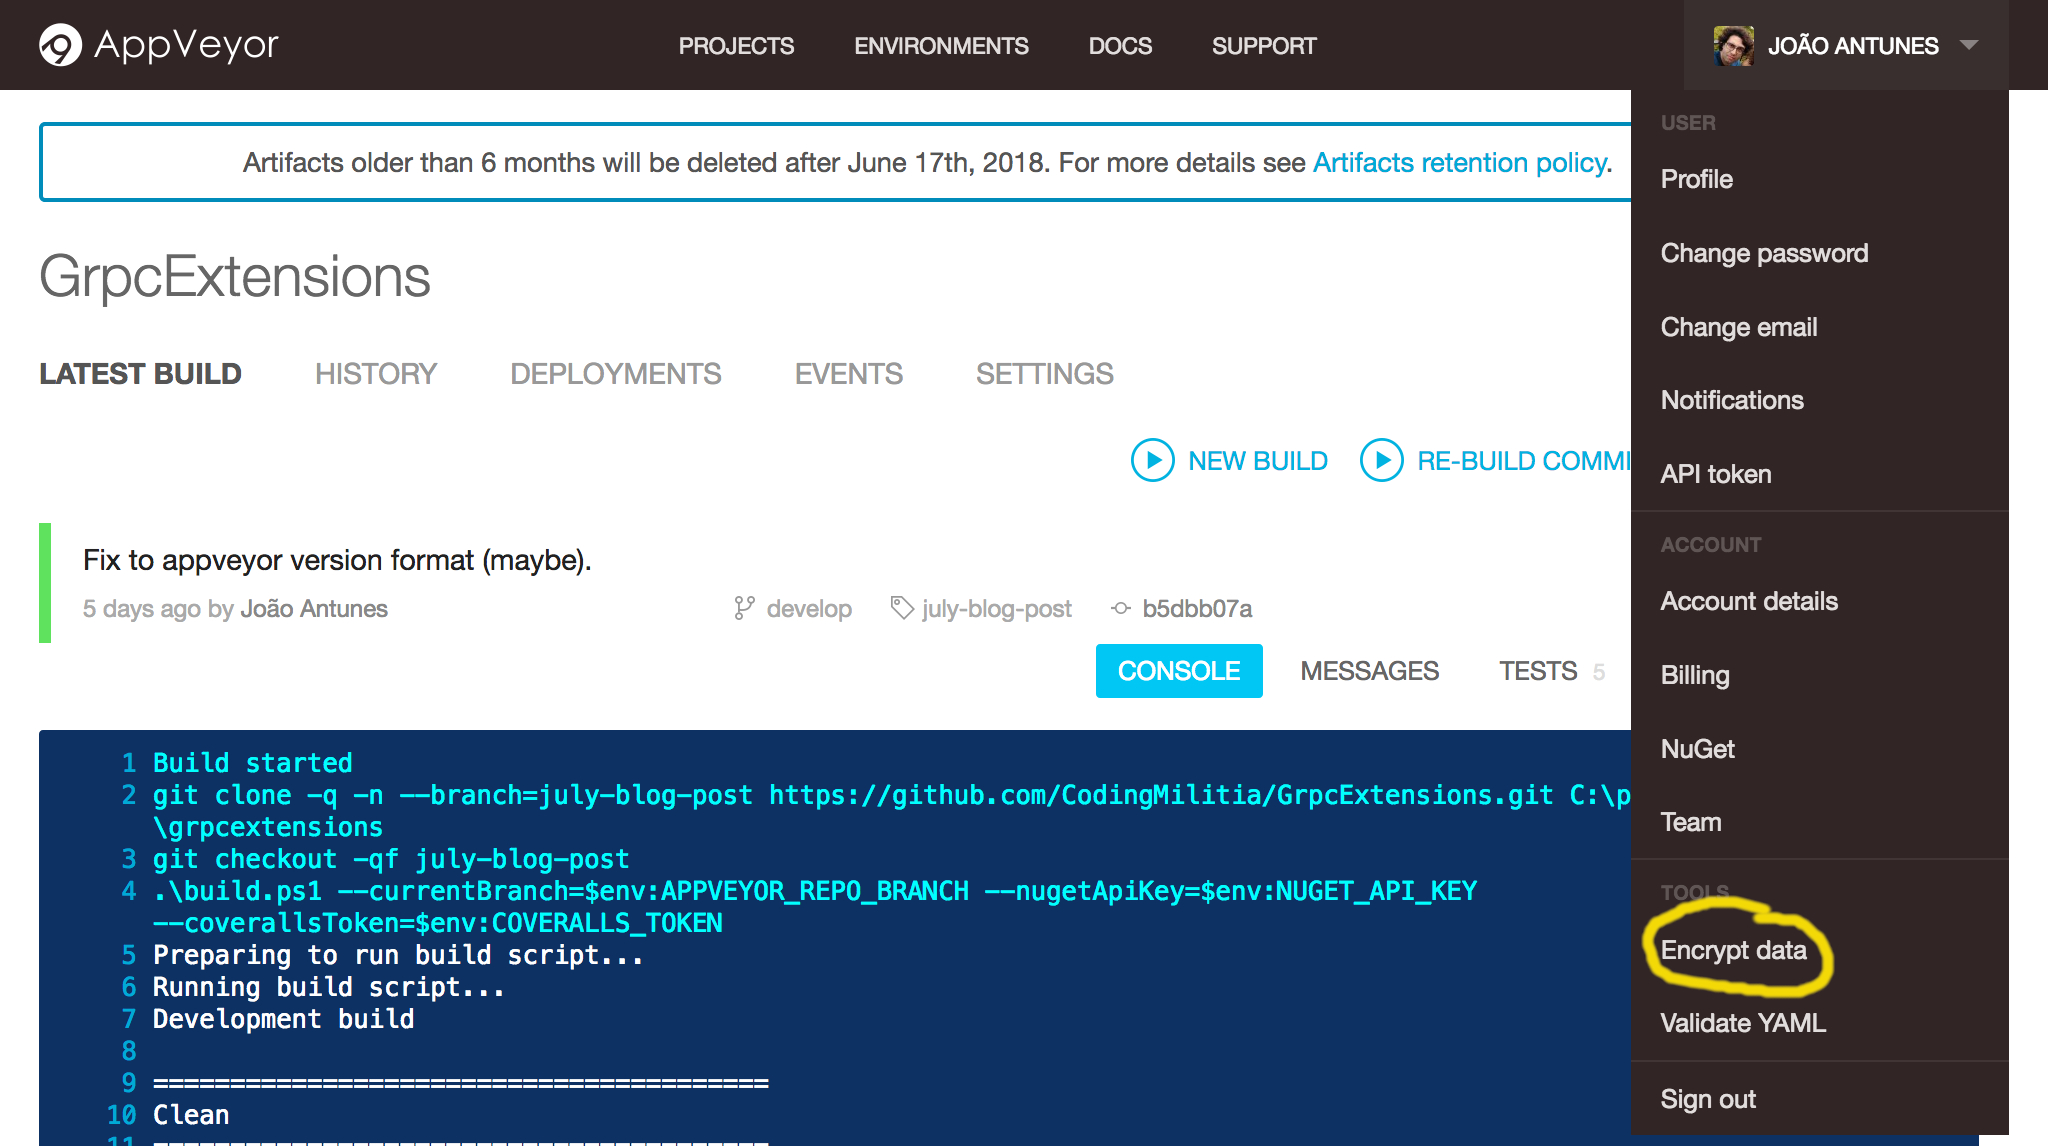
Then, in the environment section we can define required environment variables. The first two are just to skip some .NET unneeded steps, to minimize build time. The latter two are the API keys for publishing the package to NuGet and to publish the code coverage report to Coveralls. Notice the API keys are not in plain text - that wouldn’t end well - they’re encrypted using a tool provided by AppVeyor (over here) so they can be safely stored in source control.

Finally we have the build “definition” in build_script, that’s just calling the Cake build script, providing it with the required arguments. As AppVeyor is already very .NET focused, it has some default behaviors that we don’t need as they’re being taken care of by the Cake script, so we must disable the test and deploy stages.
There is a lot more we can configure, but this is all I need for this project. More info about appveyor.yml here.
With all of this configured, the next time we push changes to the repository (as long as it’s either on the development or master branch) a new build is triggered automatically. In the project page we can see the build history and the logs for the builds, among other things.
Adding the project to Travis CI
The setup for Travis is similar to AppVeyor.
Setting up the project on the Travis CI site
On the initial page we can click to create a new project, and also see the other existing projects and information about them.
When creating a new project, the GitHub projects appear front and center to choose from.

On the project page we can see the information about the project, like previous build results and logs, project settings and other things. This is the same page as the initial one, just focused on the selected project.
Regarding the configuration, I’m using the same approach as with AppVeyor, a .travis.yml checked into source control.
Configure using .travis.yml
As you’ll see, the logic is very similar to AppVeyor, just using a different file format. Again, I’ll be focusing on the things I needed in this case, more info about .travis.yml file here.
Using the same approach, complete file, then walk through its parts.
Starting with the language, this basically defines some default steps.
Then we define a matrix that will correspond to a build job per entry. In this case I’m only using this for building in different operating systems, but it could also be used for building with different dependency versions, OS versions and other things you may think of.
The branches section is exactly the same as in AppVeyor, I’m defining a whitelist of branches I want to trigger the builds.
The env section provides the required environment variables. In this case the API keys are not needed as I’m only publishing stuff from AppVeyor, so no need to have them here.
mono tells Travis we need Mono installed (Cake requires Mono to run when not in Windows) and dotnet tells Travis we need the .NET Core SDK.
Finally the script is just passing the ball to Cake to do it’s thing, passing it a different target, as we only need to build and test, publishing of code coverage and packages is done elsewhere.
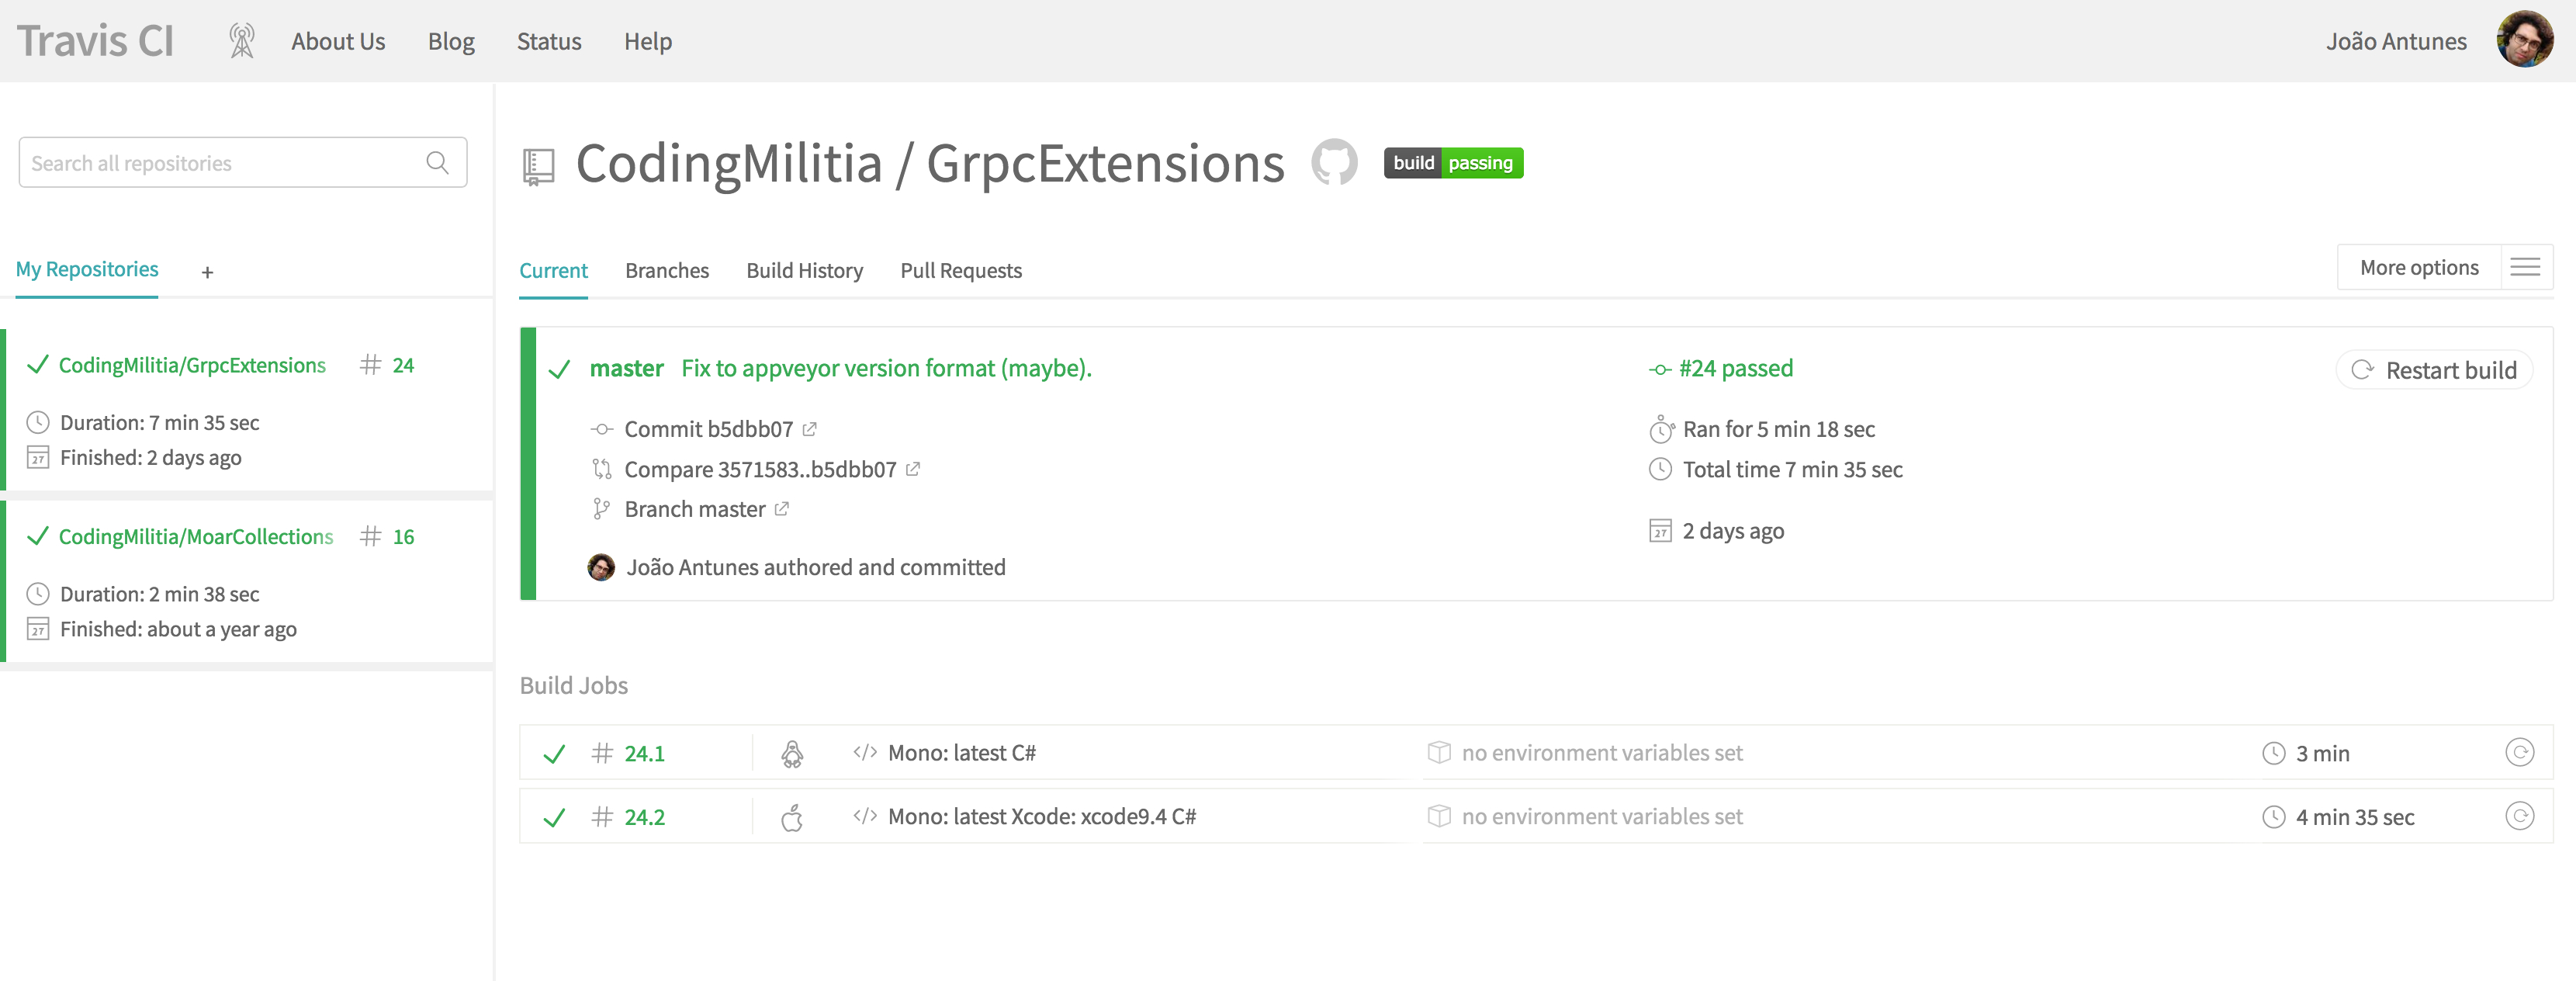
With all this in place, the next push will trigger a build, or in this case two builds - one in Ubuntu and another on MacOS.
Like in AppVeyor, we can go to the project page and see the build logs.
Outro
With all this in place we have a functional CI/CD pipeline already, with th build defined and AppVeyor and Travis waiting on GitHub changes to trigger new builds.
On the next post we'll put the finishing touches, namely adding the project to Coveralls so we can visualize the status of our tests code coverage.
- Part 1 - Intro
- Part 2 - Defining the build with Cake and publishing to NuGet
- Part 3 - Building on AppVeyor and Travis CI (this post)
- Part 4 - Code coverage on Coveralls, badges and wrap up
The accompanying code for these posts is here (tagged to be sure the code reflects what's written here in the future).
PS: originally posted here.

Top comments (0)