
Introduction
In our final guide for the series we'll walk through the process of configuring Azure Arc-enabled Windows servers using an Azure VM extension. We'll cover essential steps like installing IIS and blocking the legacy Azure Log Analytics agent. Whether you're a system administrator new to Azure Arc or looking to refine your configuration, this post will provide valuable insights.
Step-by-Step Guide
Installing IIS
- Log into your Windows VM: Establish a Remote Desktop connection to your Windows VM.
-
Open PowerShell ISE: Launch Windows PowerShell Integrated Scripting Environment (ISE) with administrative privileges.

-
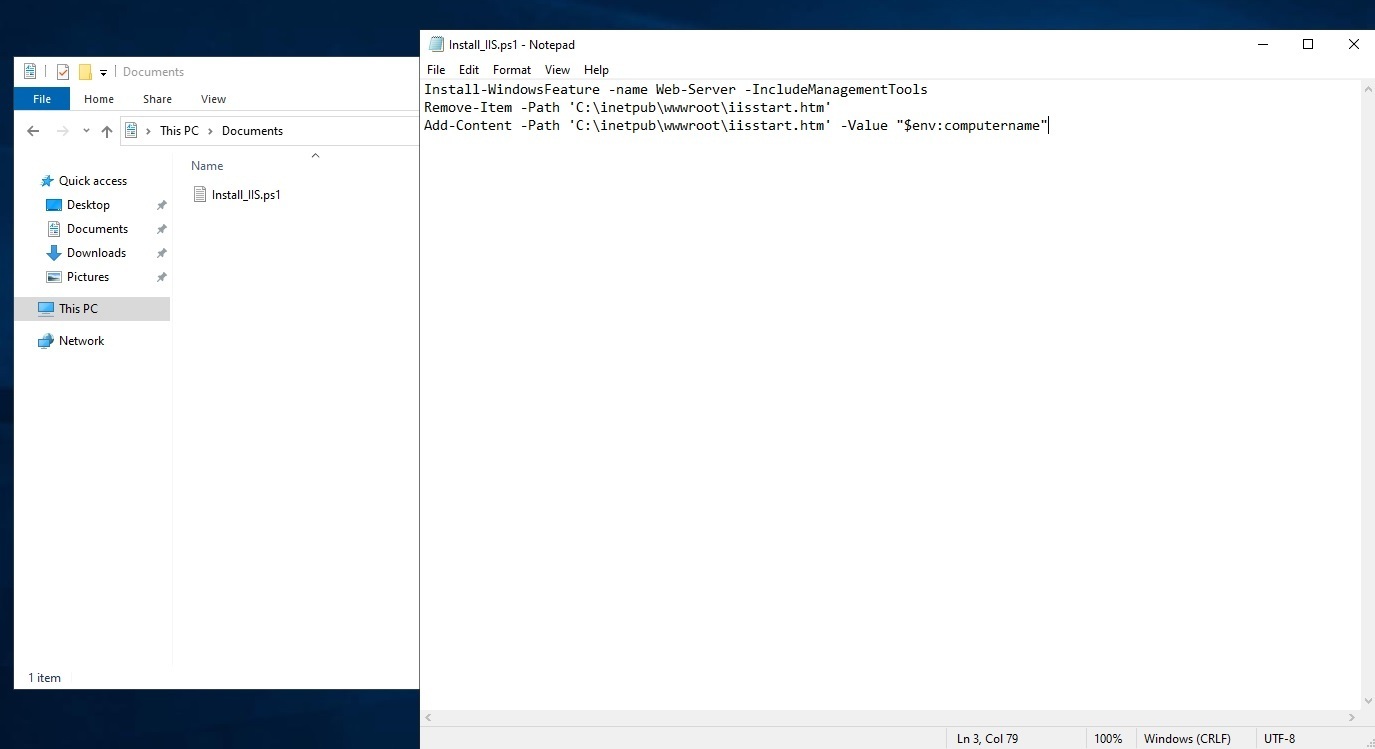
Create the installation script:
- Paste the following script into PowerShell ISE: ```powershell
Install-WindowsFeature -name Web-Server -IncludeManagementTools
Remove-Item -Path 'C:\inetpub\wwwroot\iisstart.htm'
Add-Content -Path 'C:\inetpub\wwwroot\iisstart.htm' -Value "$env:computername"
* Save the script as `Install_IIS.ps1` in your Documents folder.
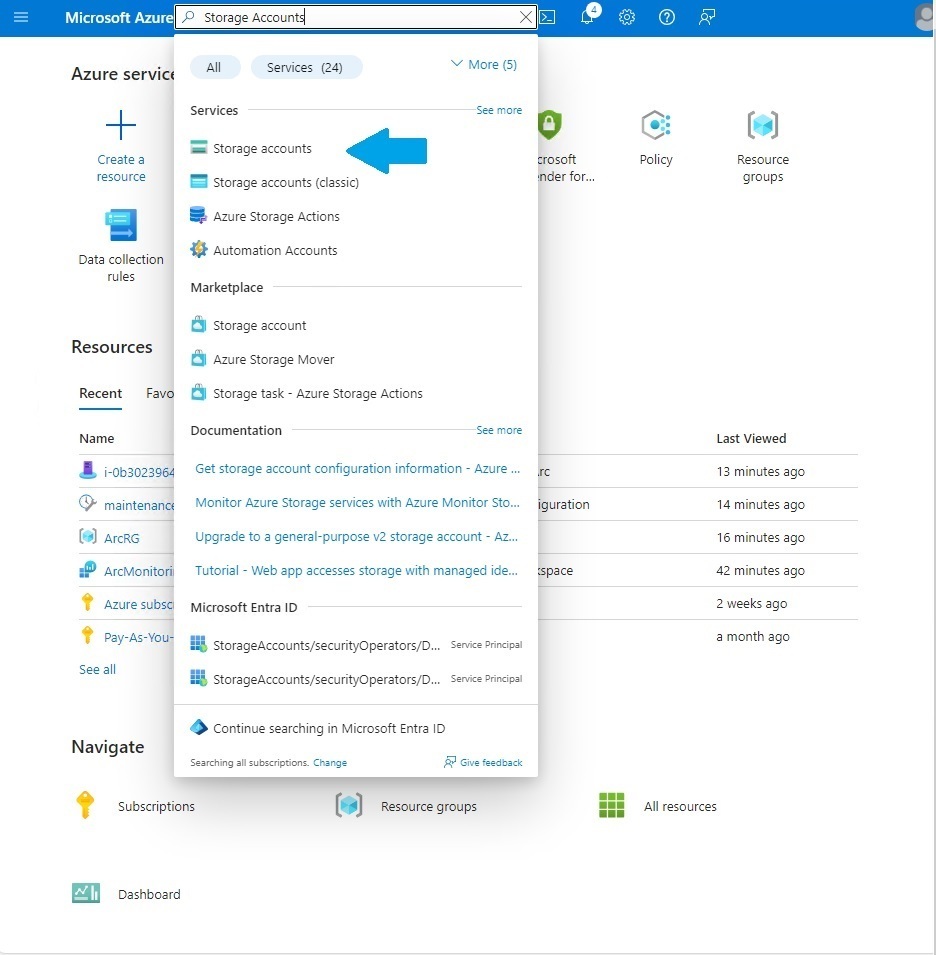
4. **Create an Azure storage account:**
* Navigate to the Azure portal and create a new storage account.
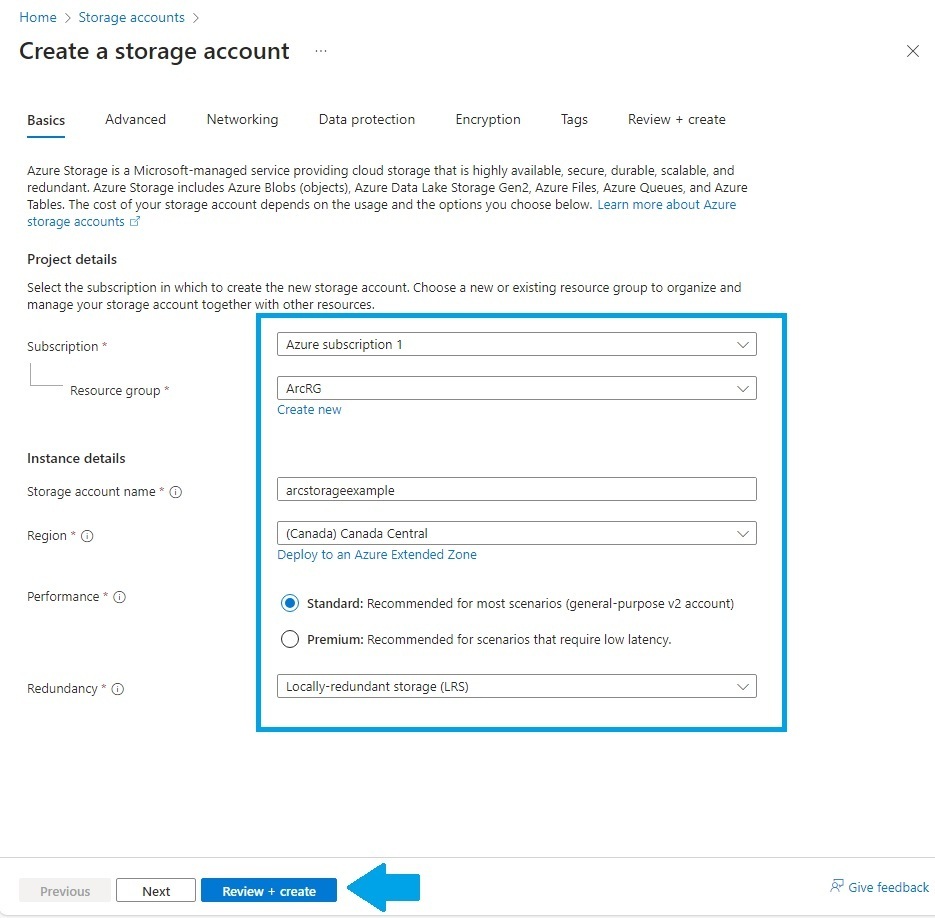
* Configure the storage account with your Subscription, Resource Group, and create a globally unique name.
* Select Locally Redundant Storage (LRS) for redundancy and click "Review + Create".
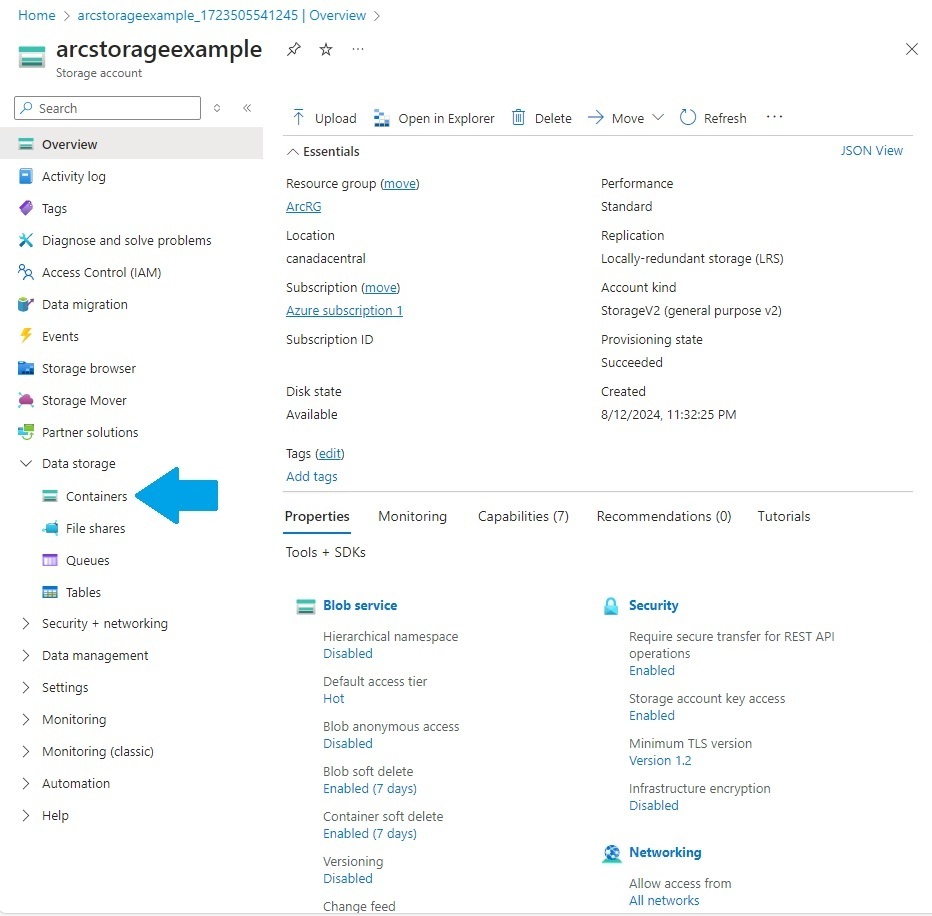
5. **Create a storage container:**
* Within the storage account, click on "Container" to create a folder for the script.
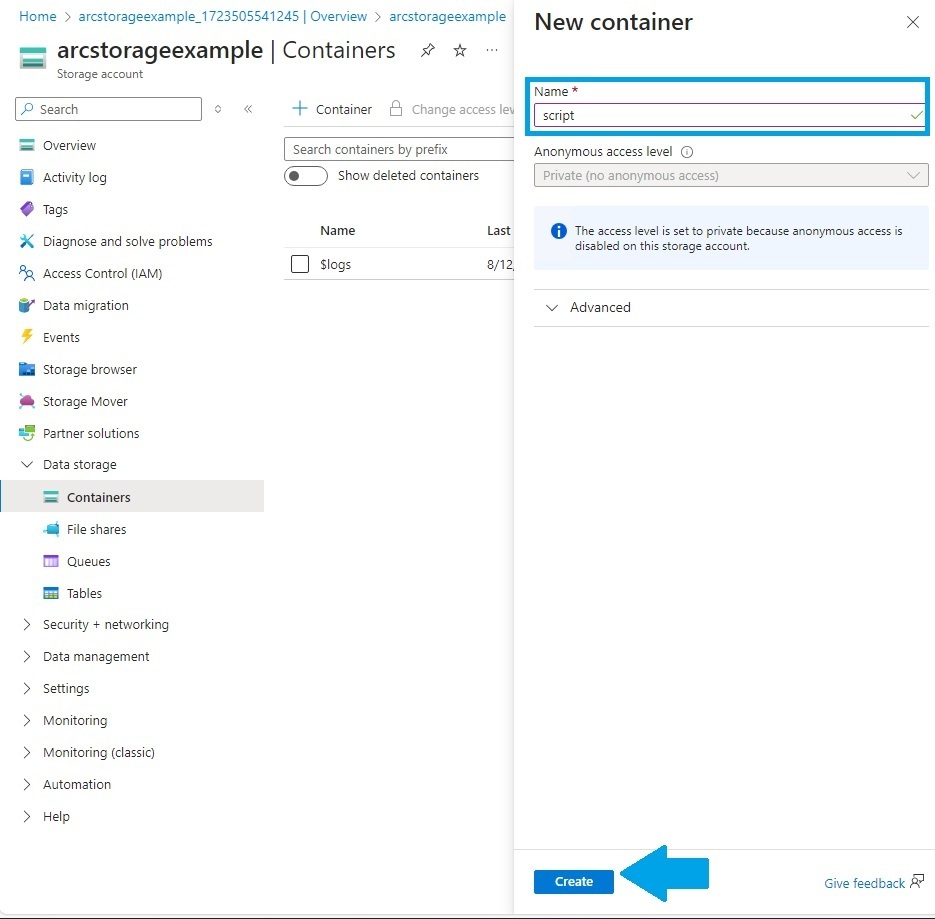
* Click on "+ Container"
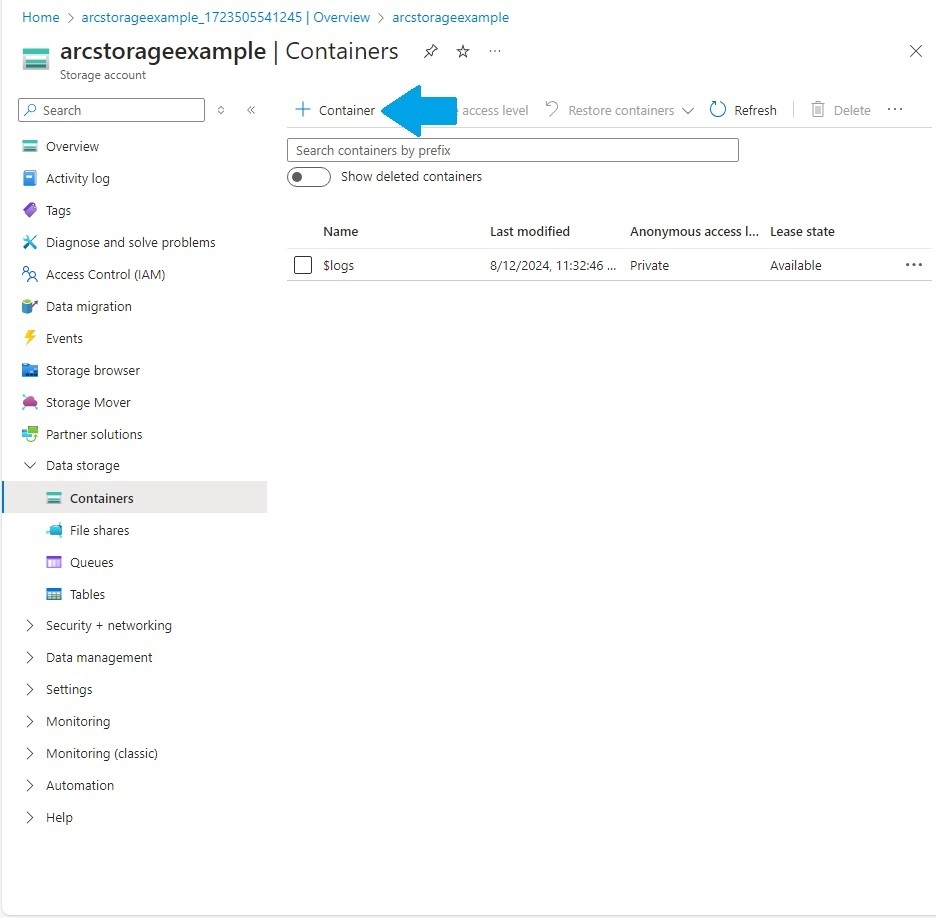
* Create a name for the storage container then click on "Create"
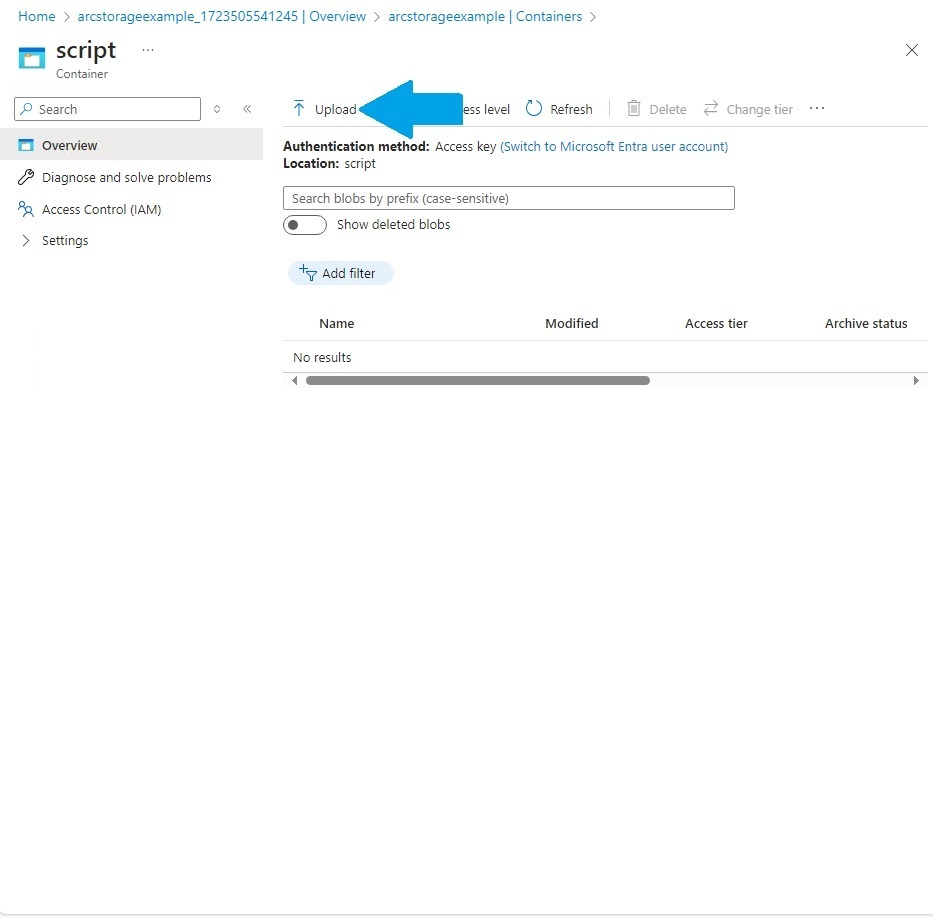
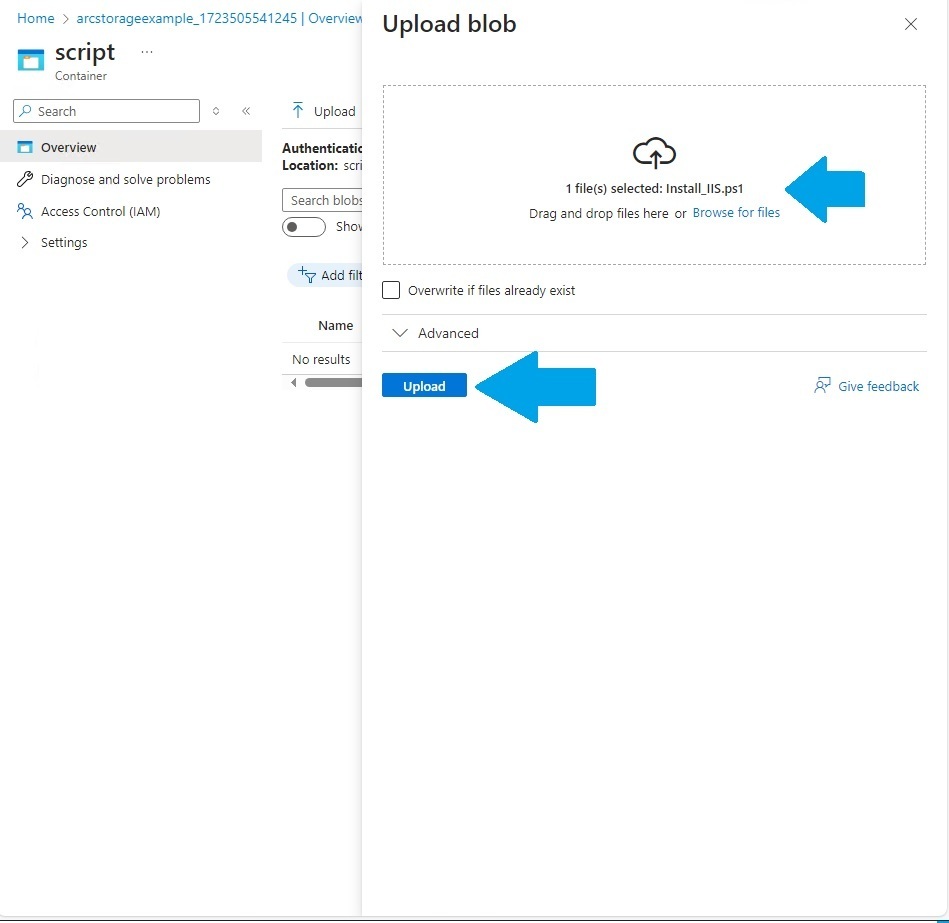
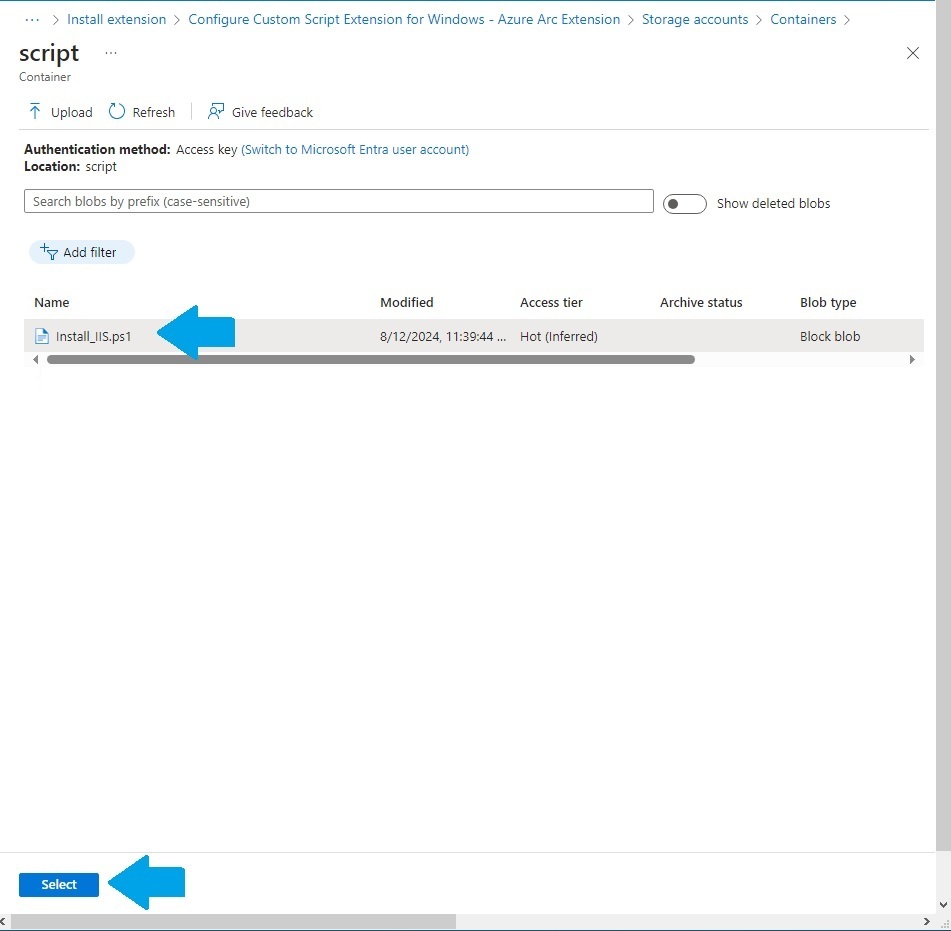
6. **Upload the script:**
* Upload the `Install_IIS.ps1` script to the created storage container.
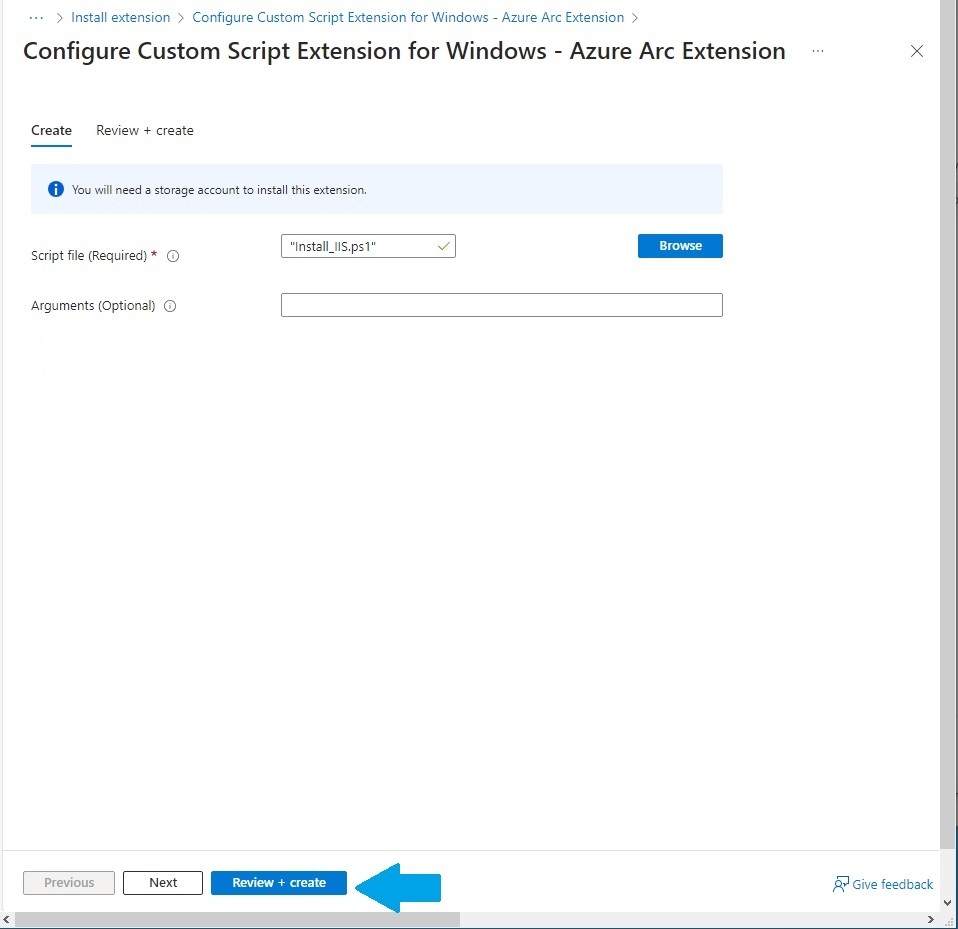
7. **Configure the Azure VM extension:**
* In the Azure portal, navigate to your Azure Arc-enabled machine.
* Underneath "Settings" click on "Extensions"
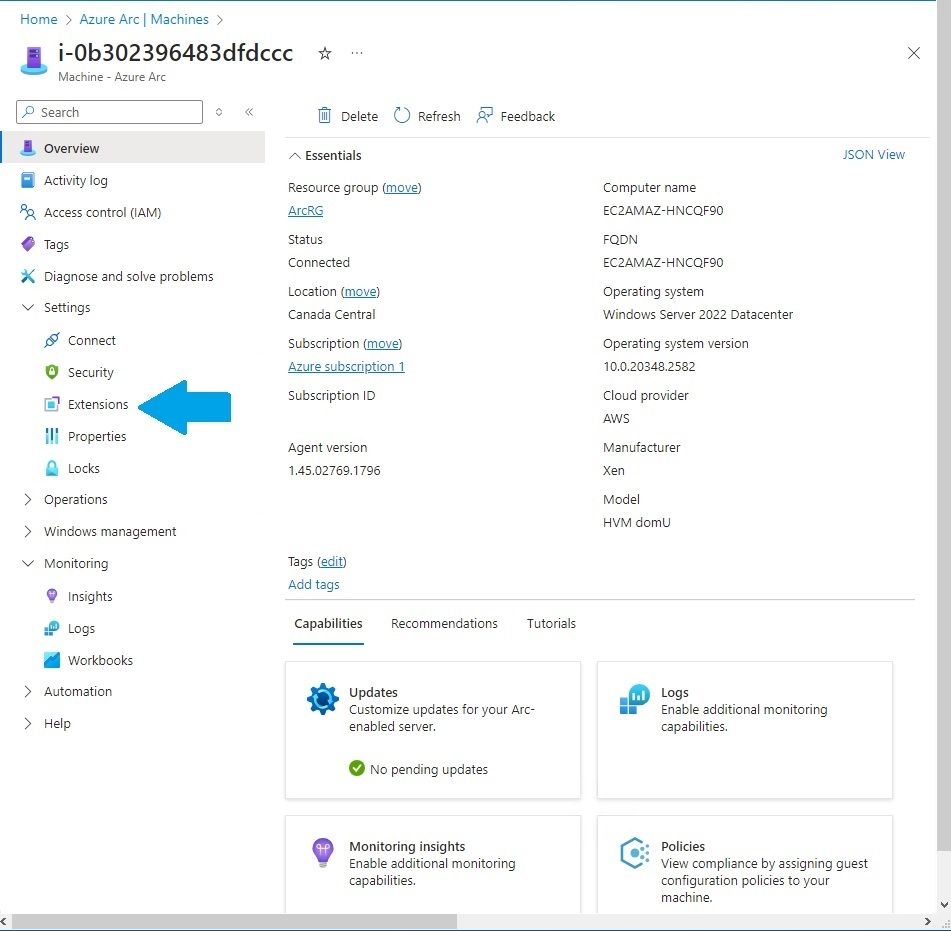
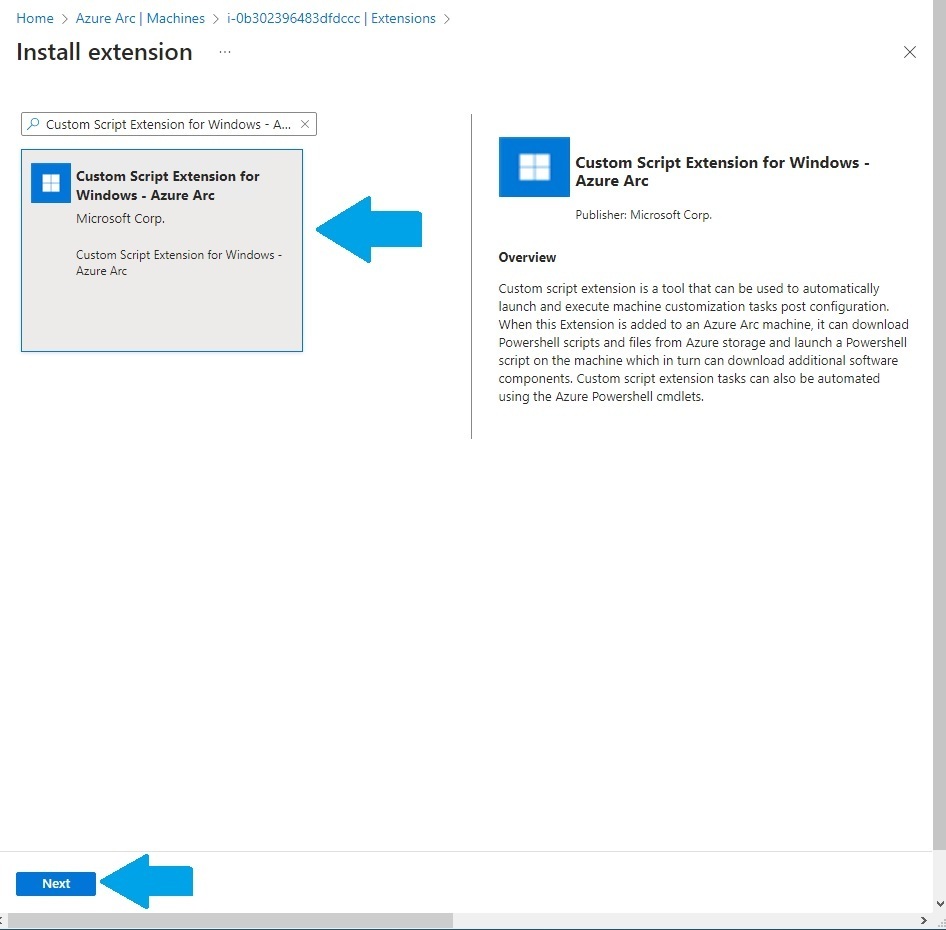
* In the Extensions page, search for and add "Custom Script Extension for Windows - Azure Arc."
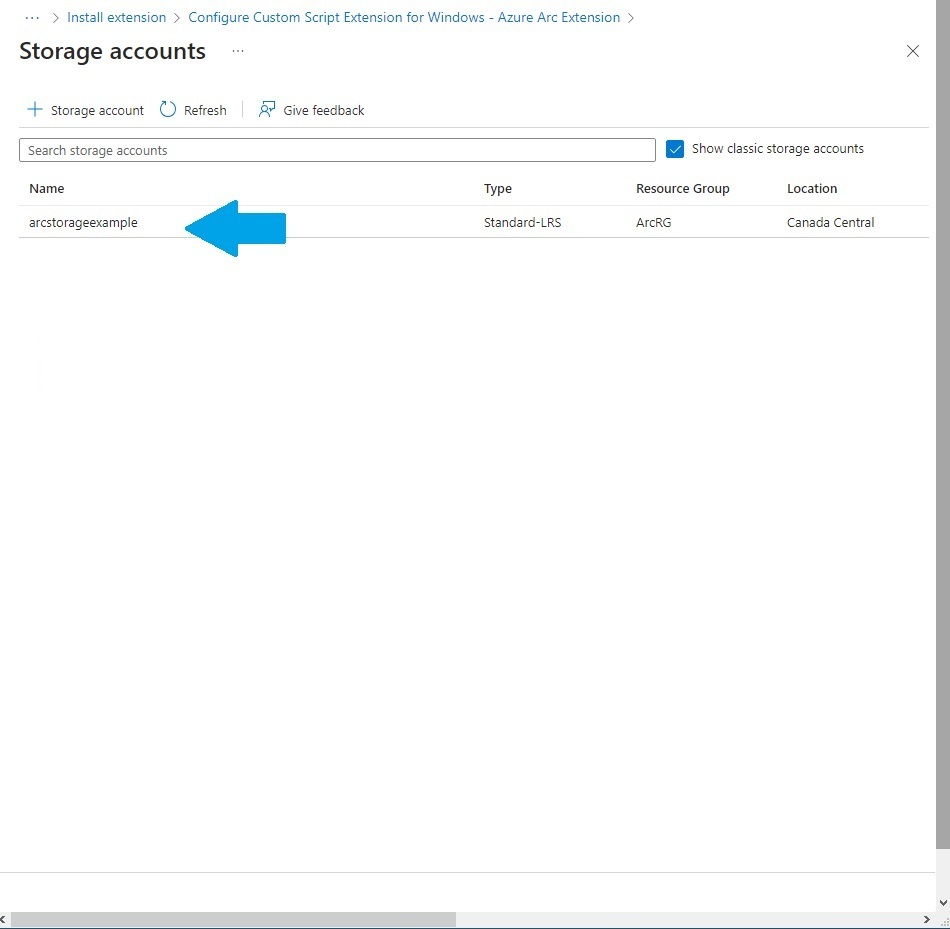
* Configure the extension to use the storage account and container containing the script.
8. **Verify IIS installation:**
* Wait for the deployment to complete.
* Open a web browser and navigate to `https://localhost`. You should see the server's name. Alternatively, check the contents of `C:\inetpub\wwwroot\iisstart.htm`.
#### Blocking the Legacy Azure Log Analytics Agent
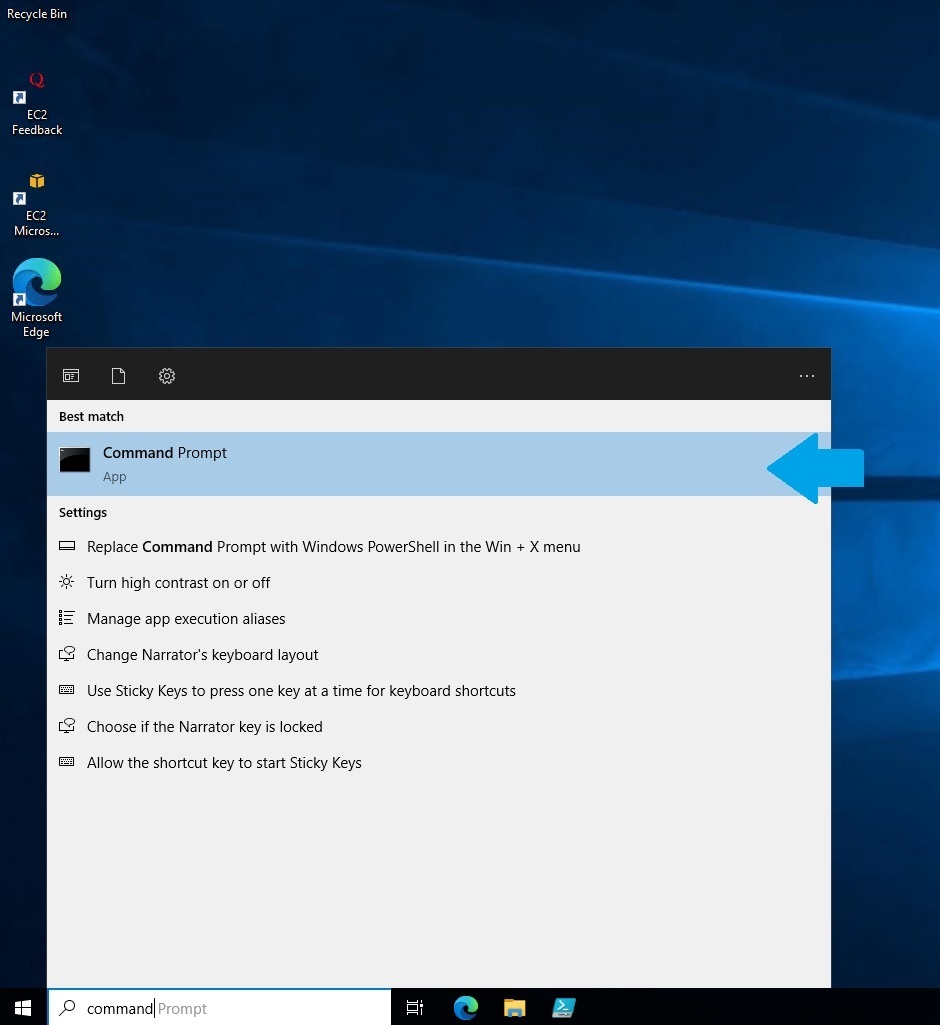
1. **Open Command Prompt:** Launch Command Prompt on the Windows VM.
2. **Check current configuration:**
* Run `azcmagent config list` to view the current configuration.
3. **Block the agent:**
* Execute `azcmagent config set extensions.blocklist "Microsoft.EnterpriseCloud.Monitoring/MicrosoftMonitoringAgent"` to block the agent.
4. **Verify the change:**
* Run `azcmagent config list` again to confirm the blocklist entry.

**Conclusion:**
Congratulations on completing this guide! You've successfully transformed your Windows Server into a managed Azure Arc-enabled machine. By integrating Azure Policy, Microsoft Defender for Cloud, Azure Monitor, and Azure Update Manager, you've established a strong foundation for security, compliance, and management.
To deepen your understanding, explore the Azure portal for detailed insights into your environment. Remember to clean up resources when finished to avoid unnecessary costs.


Top comments (0)