Netlify is a superbly easy way to host statically generated websites. I am currently hosting my "portfolio" on Netlify (in quotes because it is a work in progress that I am not really ecstatic about). Gatsby is very easy to deploy on Netlify. Netlify will pickup the Gatsby site from Github (or Gitlab or Bitbucket) and automatically fill in the build command and publishing directory. Netlify will operate the same way with any static site generator, but does not necessarily automatically recognize them.
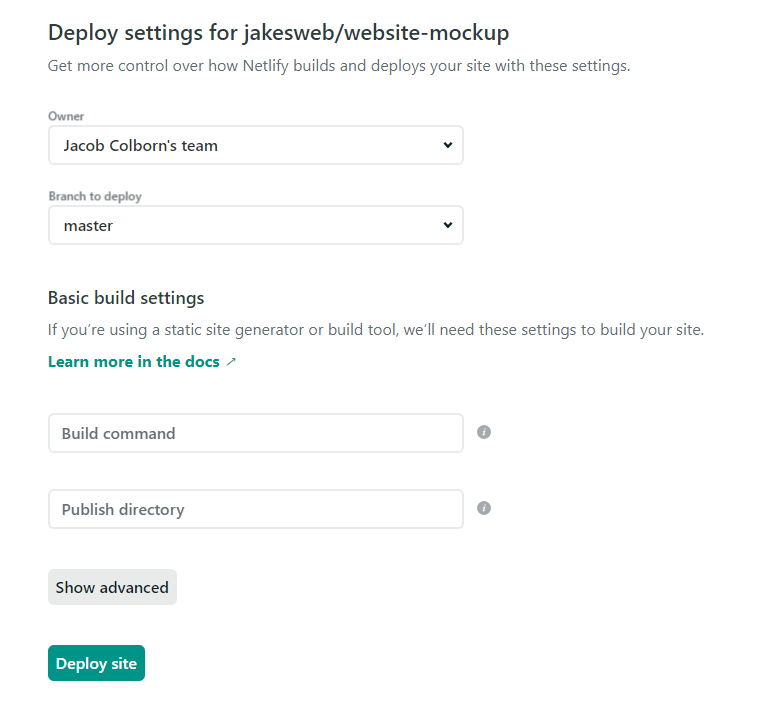
When you create a new site in Netflify, you are first asked to point it to your repository. For me, my repository was hosted on Github. Since I have my Netlify already authorized to read my Github, I just selected my project's repository from the list. I do have security enabled and only allow Netlify to read repositories I approved, so I did have to first allow it to read that repo from my Github authorized application settings. After that, you need to tell Netlify how to build and what to display. In order to build the Gridsome site, the build command is gridsome build and the directory that is produced to publish is dist.
This is a very simple article, but I found myself not knowing quite how to deploy Gridsome since I just dove right in and did not read all of the documentation. Gatsby is a little simpler since Netlify will automatically populate the build command and published directory, but does not do this with Gridsome in my experience. I do recommend Netlify since it is so easy to get up and running. They also offer excellent add-ons for your sites like the ability gather form data and host "serverless" functions right from the Netlify deployment.

Top comments (0)