- Introduction to JAMstack
- Advantages of JAMstack
- Disadvantages of JAMstack
- A simple workflow using Gatsby and JAMstack
- Challenges with Static Markdown Data
- Using ButterCMS to Solve Static Markdown Data
- Removing Markdown Support
- Integrating ButterCMS with Gatsby
- Fetching Data from ButterCMS
- Deploying to Netlify
In this tutorial, we will create a lightning fast, static blog application hosted with Netlify using Gatsby on the front-end and ButterCMS to serve up the content. As a result, we leave you with a low cost blog that your content marketing team can update without your help.
The original blog post can be found on ButterCMS

Introduction to JAMstack
JAMstack is a way to create fast and secure sites and dynamic apps with JavaScript, APIs, and Markup served without a web server.
All requests are handled by JavaScript running on the client side. We can use any JavaScript framework or library as a part of JAMstack.
All server-side operations are abstracted into re-usable APIs. These are accessed over HTTPS and can be handled by a 3rd party or a custom built one.
The whole website is just a static HTML which is generated generally during build time from files like Markdown. It can also be generated with the help of a static site generator.
Advantages of JAMstack
The advantages of JAMstack are manifold. They are fast and secure by default. They are hosted over a CDN and accessed over HTTPS. They are inexpensive as there are many hosting providers (Netlify, Now) which provides free hosting for static sites.
Apart from these advantages, JAMstack can also have atomic deploys with automated builds. They also have a much better developer experience. Moreover, everything is in version control which allows tracking issues and rolling back versions easier to handle.
We also don’t necessarily need to write any code to save data on a database. As a result, there is much less dev-ops overhead.
Disadvantages of JAMstack
Compared to the advantages that JAMstack has, the number of disadvantages is quite less.
Although we can create a site very easily with JAMstack, we do need to have JavaScript knowledge. If we don’t know JavaScript well, working with JAMstack might not be a breeze.
If we are not using a 3rd party CMS provider for our APIs, updating content on our site will still require a developer. It isn’t a good experience for someone who isn’t a developer without a CMS.
A simple workflow using Gatsby and JAMstack
In this section, we will be creating a static blog app which will use Gatsby on the front end and the back end will be powered by ButterCMS API.
In case you don’t have a ButterCMS account, head over to ButterCMS to create a free trial account.
We will need to install the Gatsby CLI globally to create a new Gatsby site. We can install Gatsby CLI globally by using the following command:
npm install -g gatsby-cli
Once that is complete, we can create a new Gatsby site using the following command:
gatsby new gatsby-buttercms-app https://github.com/ghoshnirmalya/gatsby-tailwind-minimal-starter
This will clone the https://github.com/ghoshnirmalya/gatsby-tailwind-minimal-starter Gatsby starter boilerplate and generate a new app for us:
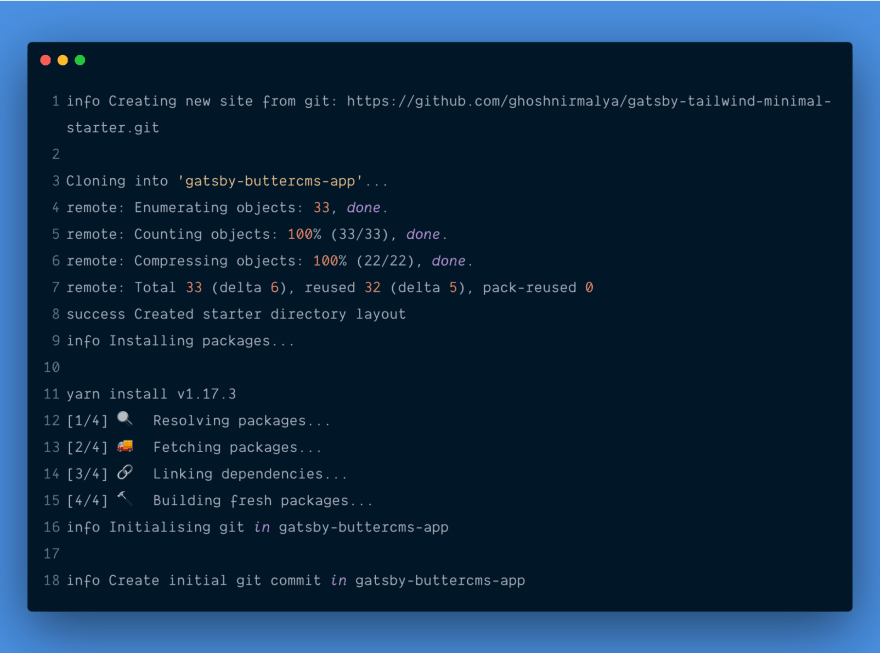
It will also create the first commit in the new app. Let’s go inside the directory and start our app:
cd gatsby-buttercms-app && yarn dev
It will generate a bunch of configs which are required by Gatsby. At the end, we should be able to see a screen like the following:
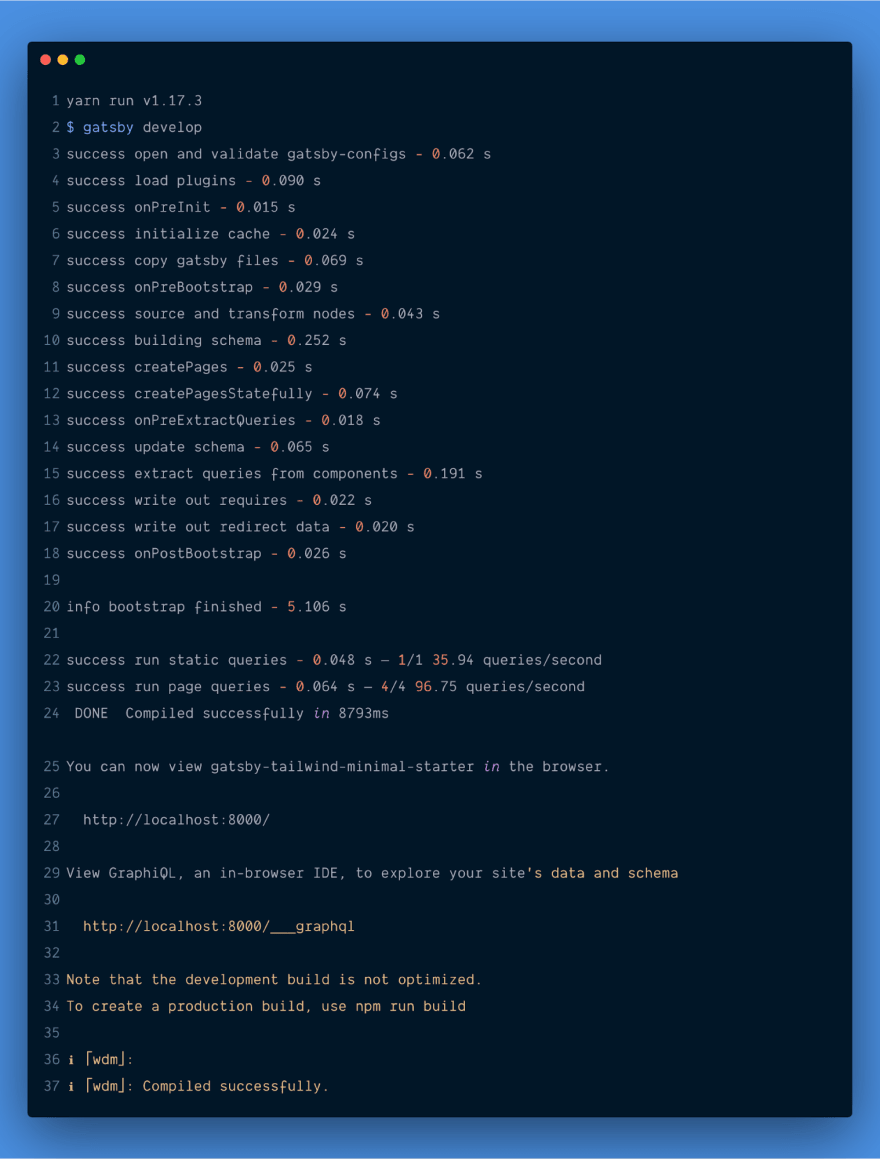
We can now visit our app live at http://localhost:8000/ and the GraphQL endpoint can be accessed at http://localhost:8000/___graphql. If we visit our app at http://localhost:8000/, we can now see the following screen:

You can check out the commit for the changes.
Our app consists of only static data at the moment. Let’s add Markdown support to our app so that we can write blogs in Markdown and those blogs will be shown on our app. First, we need to stop our server which is running and then add the following Gatsby plugins to our app:
yarn add gatsby-source-filesystem gatsby-transformer-remark
The above command will install gatsby-source-filesystem and gatsby-transformer-remark packages to our app. gatsby-source-filesystem is a source plugin for sourcing data into our Gatsby application from our local filesystem and gatsby-transformer-remark parses Markdown files using Remark.
We will also have to update our **gatsby-config.js** file to include these packages in the Gatsby plugin system of our app:
{
  resolve: `gatsby-source-filesystem`,
  options: {
    name: `markdown-pages`,
    path: `${__dirname}/content`
  }
},
'gatsby-transformer-remark'
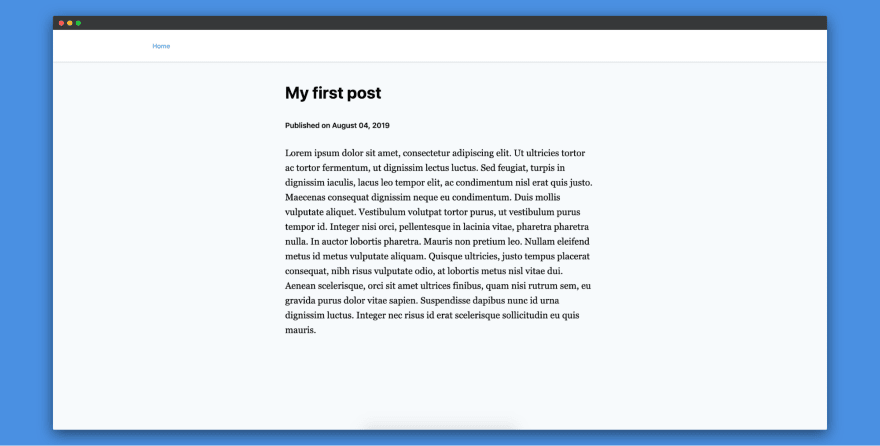
Here, we are letting Gatsby know that all our Markdown content will be present in the content directory. So, let’s create a content directory inside the root directory of our app and add a sample Markdown file **post-1.md**. It will contain the following:
--------
path: '/blogs/post-1'
date: '2019-08-04'
title: 'My first post'
--------


Lorem ipsum dolor sit amet.
The permalink of the above blog post will be /blogs/post-1.
We will need to create a new file called gatsby-node.js inside our root directory with the following content:
const path = require('path')

exports.createPages = ({ actions, graphql }) => {
  const { createPage } = actions
  const template = path.resolve('src/templates/blog-post.tsx')

  return graphql(`
    {
      allMarkdownRemark(
        sort: { order: DESC, fields: [frontmatter___date] }
        limit: 1000
      ) {
        edges {
          node {
            frontmatter {
              path
            }
          }
        }
      }
    }
  `).then(result => {
    if (result.errors) {
      return Promise.reject(result.errors)
    }

    return result.data.allMarkdownRemark.edges.forEach(({ node }) => {
      createPage({
        path: node.frontmatter.path,
        component: template,
        context: {
          slug: node.slug,
        },
      })
    })
  })
}
This file is responsible for creating separate pages for each of our blog posts. The permalink of each post is defined in the Markdown file itself.
We just need to create one more file for the blog post template. We can create a new file called blog-post.tsx inside src/templates with the following content:
import * as React from 'react'
import { graphql } from 'gatsby'

import Layout from '../components/layout'

interface BlogPostProps {
  data: {
    markdownRemark: {
      html: string
      frontmatter: {
        title: string
        date: string
      }
    }
  }
}

export default function Template({ data }: BlogPostProps) {
  const { markdownRemark } = data
  const { frontmatter, html } = markdownRemark

  return (
    <Layout>
      <div className="max-w-2xl mx-auto">
        <h1 className="font-bold mb-8 text-4xl">{frontmatter.title}</h1>
        <h2 className="font-semibold mb-8 text-base">Published on {frontmatter.date}</h2>
        <div className="text-xl font-serif leading-relaxed" dangerouslySetInnerHTML={{ __html: html }} />
      </div>
    </Layout>
  )
}

export const pageQuery = graphql`
  query($path: String!) {
    markdownRemark(frontmatter: { path: { eq: $path } }) {
      html
      frontmatter {
        date(formatString: "MMMM DD, YYYY")
        path
        title
      }
    }
  }
`
This file is responsible for creating the layout of the individual blog post pages.
If we restart our server, we can see the new blog post at http://localhost:8000/blogs/post-1:
You can check out the commit for the changes.
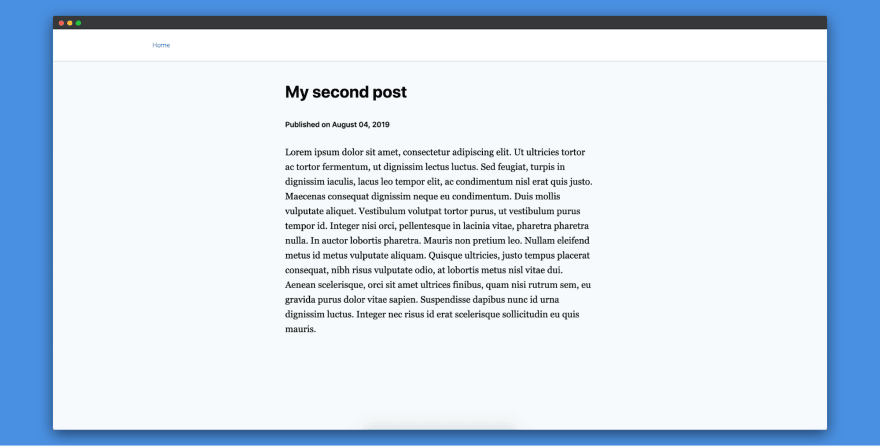
At this moment, in our app, we have support for Markdown. Every time we add a new Markdown file inside our content directory, Gatsby will create a new url for us. We can add a new file called **post-2.md** inside our content directory with the following content:
--------
path: '/blogs/post-2'
date: '2019-08-04'
title: 'My second post'
--------

Lorem ipsum dolor sit amet.
If we now visit http://localhost:8000/blogs/post-2, we can view the new blog post.
You can check out the commit for the changes.
Challenges with Static Markdown Data
Writing blogs with Markdown is pretty easy and it takes very little time to get those changes deployed to our live site. However, someone who isn’t adept in Markdown will need to use a tool to convert his or her document to Markdown.
Apart from that, any change needs to be in version control for automated builds to work. These automated builds are triggered by a change in versioning. Developers are generally quite adept in maintaining versions. However, non-developers will need to use some tool to handle this.
Make sure you receive the latest JAMstack articles straight to your inbox.
Using ButterCMS to Solve Static Markdown Data Challenges
The problems with Markdown can be solved if our JAMstack sites are powered by some headless CMS like ButterCMS.
We can just write our data in a WYSIWYG editor and publish those changes live on our website. We don’t have to wait for automated deploys since the data from our site is fetched using ButterCMS APIs. As a result, it becomes very easy and less time-consuming to post updates to our site.
Removing Markdown Support
In this section, we will remove Markdown support in our app because you don’t need this when using ButterCMS.
Let’s start with removing the packages we don’t need. We can remove gatsby-source-filesystem and gatsby-transformer-remark from our **package.json** file. We also need to remove the plugins from our **gatsby-config.js** file. We will need to remove the following lines from **gatsby-config.js** file:
{
  resolve: 'gatsby-source-filesystem',
  options: {
    name: 'content',
    path: `${__dirname}/content`,
  },
},
'gatsby-transformer-remark',
We can also remove our **gatsby-node.js** and **src/templates/blog-post.tsx** files as it’s not necessary anymore. Now, only http://localhost:8000/ url will be available. The pages http://localhost:8000/blogs/post-1 and http://localhost:8000/blogs/post-2 won’t be available anymore since we removed them.
Integrating ButterCMS with Gatsby
In this section, we will integrate the ButterCMS API with our Gatsby app.
We will need to install the gatsby-source-buttercms package in our app:
yarn add gatsby-source-buttercms
We will also have to update our **gatsby-config.js** file to include this package in the Gatsby plugin system of our app:
{
  resolve: 'gatsby-source-buttercms',
  options: {
    authToken: process.env.GATSBY_BUTTER_CMS_API_KEY,
  },
},
We will need to create a new **.env.development** file in our root directory with the following content:
GATSBY_BUTTER_CMS_API_KEY=your_buttercms_api_key
You can get your ButterCMS API key from your dashboard.
We will also need to add the following to our **gatsby-config.js** file to add support for environment variables:
require('dotenv').config({
  path: `.env.${process.env.NODE_ENV}`
})
It’s always a good idea not to leak credentials in your code base. Hence, we are using environment variables.
Let’s add a new **gatsby-node.js** file again with the following content:
const path = require('path')

exports.createPages = ({ actions, graphql }) => {
  const { createPage } = actions

  const template = path.resolve(`src/templates/blog-post.tsx`)

  return graphql(`
    {
      allButterPost {
        edges {
          node {
            slug
          }
        }
      }
    }
  `).then(result => {
    if (result.errors) {
      return Promise.reject(result.errors)
    }

    result.data.allButterPost.edges.forEach(({ node }) => {
      createPage({
        path: `/blogs/${node.slug}`,
        component: template,
        context: {
          slug: node.slug,
        },
      })
    })
  })
}
We will also need a new template for our blog posts. Let’s create a new file **blog-post.tsx** at **src/templates/blog-post.tsx** with the following content:
import React from 'react'
import { graphql } from 'gatsby'

import Layout from '../components/layout'

interface BlogPostProps {
  data: {
    butterPost: {
      date: string
      body: string
      title: string
    }
  }
}

export default function Template({ data }: BlogPostProps) {
  const { title, date, body } = data.butterPost

  return (
    <Layout>
      <div className="max-w-2xl mx-auto">
        <h1 className="font-bold mb-8 text-4xl">{title}</h1>
        <h2 className="font-semibold mb-8 text-base">Published on {date}</h2>
        <div className="text-xl font-serif leading-relaxed" dangerouslySetInnerHTML={{ __html: body }} />
      </div>
    </Layout>
  )
}

export const pageQuery = graphql`
  query($slug: String!) {
    butterPost(slug: { eq: $slug }) {
      title
      body
      date
      meta_description
      status
      tags {
        name
      }
    }
  }
`
You can check out the commit for the changes.
Fetching data from ButterCMS
In this section, we will create a new blog post in ButterCMS.
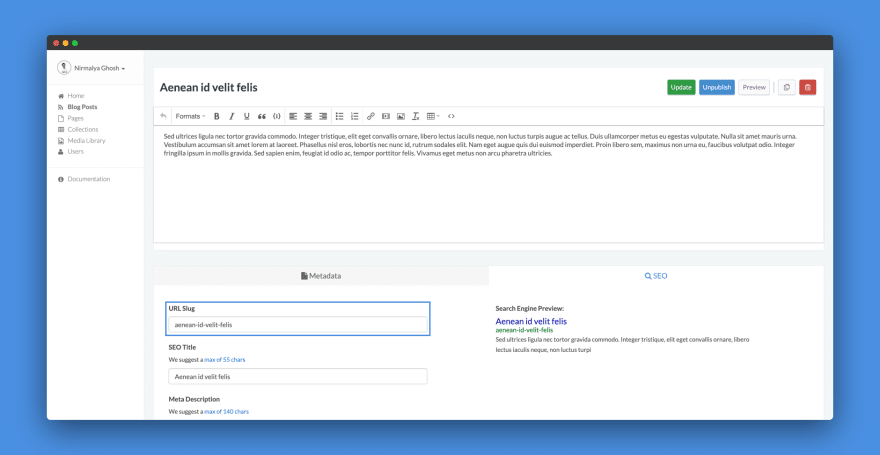
We can create one blog post through our dashboard. Once we write a post, we can publish that by clicking on the Publish button:
If we hadn’t modified the URL slug of our page manually, ButterCMS will generate one for us and we can view the slug from the SEO tab:
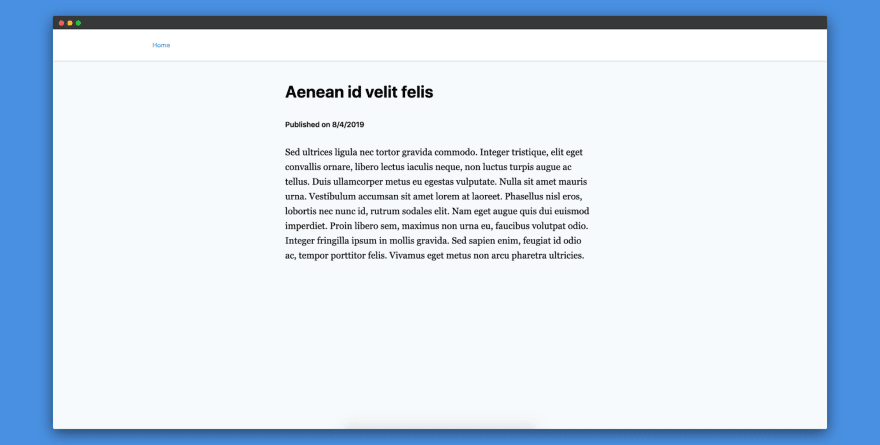
Now, if we restart the server of our app, we can view the new blog post at http://localhost:8000/blogs/aenean-id-velit-felis:
Deploying to Netlify
In this section, we will deploy our app to Netlify.
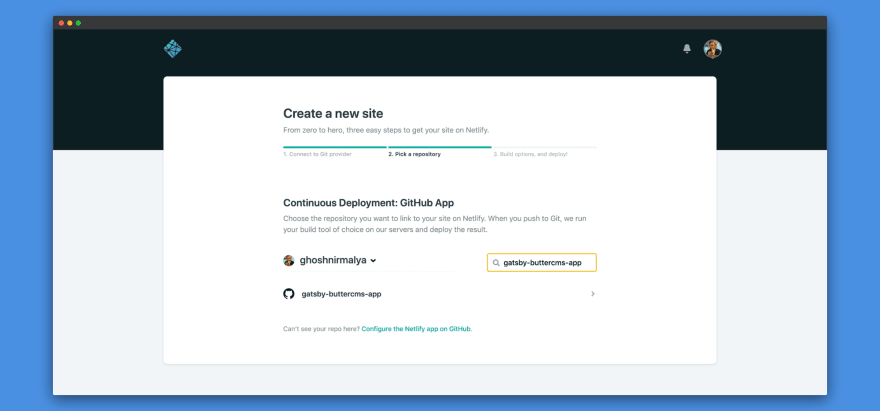
Once we have an account at Netlify, we can create a new site from here.

We can search for your repository which you want to deploy:
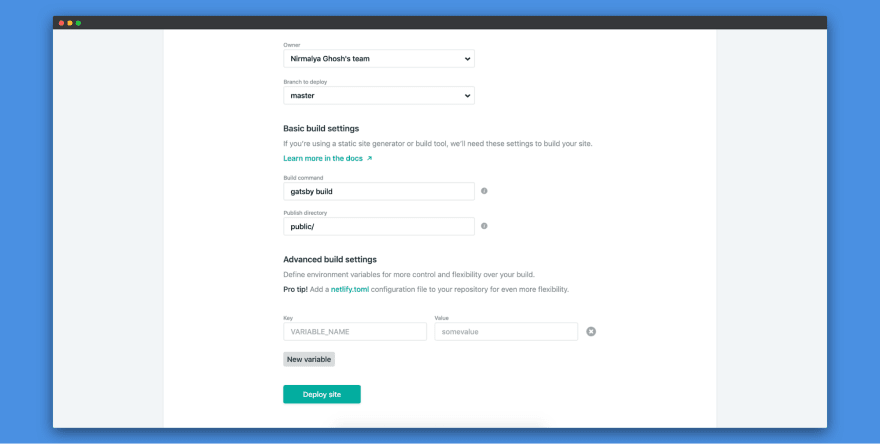
In the next step, we will need to add the GATSBY_BUTTER_CMS_API_KEY environment variable inside Advanced build settings:
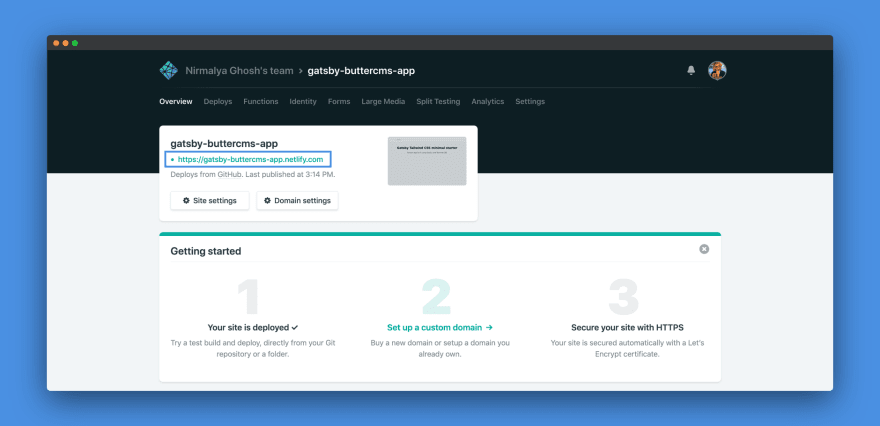
Once the site is deployed, we can view it live at https://gatsby-buttercms-app.netlify.com/. In your case, the url will be different. We can view the url of our site from our project’s overview section:
We can also view the other blog posts on the live site.
Now, every time we push to the master branch of our Github repository, the changes will be deployed automatically.
Let’s also make all the blog posts appear on our landing page so that we can view all of them from one place.
We just need to replace the contents of **src/pages/index.tsx** with the following:
import * as React from 'react'
import { graphql, Link } from 'gatsby'

import Layout from '../components/layout'

interface BlogsProps {
  data: {
    allButterPost: {
      edges: [
        {
          node: {
            id: string
            slug: string
            title: string
            meta_description: string
          }
        }
      ]
    }
  }
}

const BlogsPage = ({ data }: BlogsProps) => {
  const posts = data.allButterPost.edges

  return (
    <Layout>
      <div className="flex flex-wrap -mx-4">
        {posts.map(({ node }) => {
          return (
            <div key={node.id} className="w-full sm:w-1/2 md:w-1/3 lg:w-1/4 mb-8 px-4">
              <Link key={node.id} to={`/blogs/${node.slug}`}>
                <div className="max-w-sm rounded overflow-hidden shadow-lg bg-white">
                  <div className="p-8">
                    <div className="font-bold text-xl mb-4">{node.title}</div>
                    <p className="text-gray-700 text-sm">{node.meta_description}</p>
                  </div>
                </div>
              </Link>
            </div>
          )
        })}
      </div>
    </Layout>
  )
}

export default BlogsPage

export const pageQuery = graphql`
  query {
    allButterPost {
      edges {
        node {
          id
          slug
          title
          status
          meta_description
        }
      }
    }
  }
`
This will show all our blog posts on our landing page:
You can check out the commit for the changes.
Once we push the changes to Github, we can view it live at https://gatsby-buttercms-app.netlify.com/.
Conclusion
As you can now see that we have made a pretty JAMstack site powered by ButterCMS APIs.
I hope this tutorial helps you in your future projects. Furthermore, if you’d like to take advantage of Gatsby's Incremental Builds and implement them on your JAMstack site check out this other tutorial on the ButterCMS blog. Please feel free to share your feedback in the comments section below.


Top comments (0)