A Share Sheet is a really powerful feature that's available on pretty much any phone today. If you are an application developer and you want your users to be talking about your product, a compelling experience with a well set up Share Sheet can help unlock network-effect growth.
What is a Share Sheet and why should I use it?
Share Sheets are interfaces in both iOS and Android that allows you to share content from your app to another app. For example, in your Photos app, you can select an image and then share it to other apps like Instagram, your mail app, your messaging app and plenty more.
The actual logic behind the Share Sheets is handled by the operating system, all you need to do as an app developer is tell it to open. Share sheets are set up this way so you don't have to update your app code to handle new apps that can share the same content. You send the operating system your content to be shared, and it will tell the user where it can be shared to.
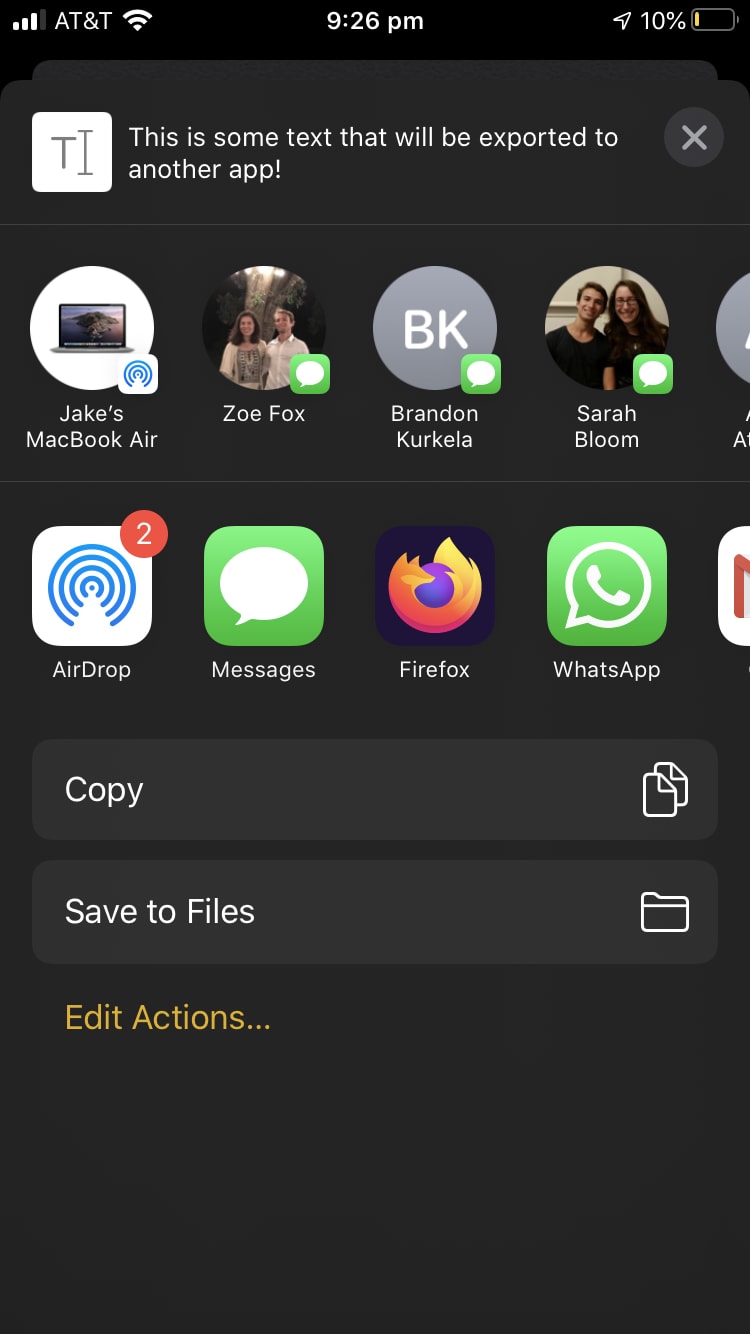
On iOS, the Share Sheet looks like this:

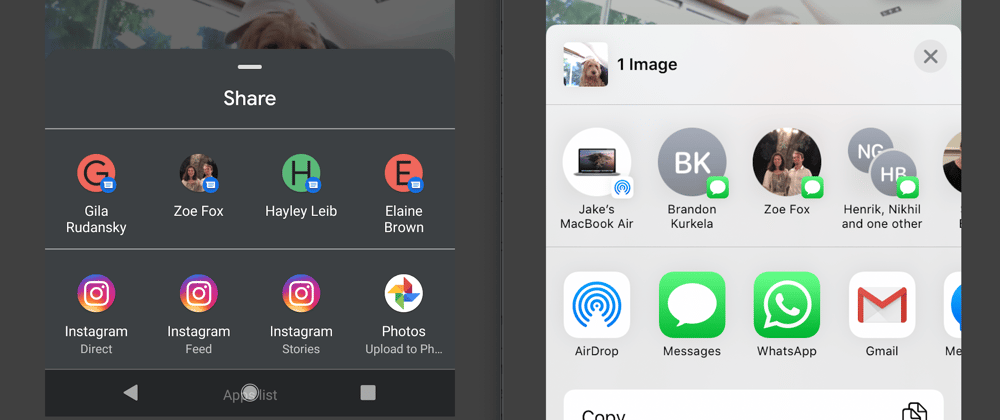
And on Android, it looks like this:

How do I do it?
Lets get into some code!
iOS
On iOS, the Share Sheet comes in the form of a view controller that you need to programmatically create and present to the user. It is called UIActivityViewController, and for simple use cases, it is pretty easy:
let textToSend = "This is some text that will be exported to another app!"
let activityViewController = UIActivityViewController(activityItems: [textToSend], applicationActivities: nil)

currentViewController.present(activityViewController, animated: true, completion: nil)
With that code in place, this is what we see:
And that works great for text, but what if we wanted to share an image?
let image: UIImage = getImage()
let activityViewController = UIActivityViewController(activityItems: [image], applicationActivities: nil)

currentViewController.present(activityViewController, animated: true, completion: nil)
It works great, but looks a little plain. It is possible to customise the Share Sheet with a title, description and thumbnail though, by passing the controller an instance of UIActivityItemProvider instead of just raw data:
class ShareImage: UIActivityItemProvider {
  var image: UIImage

  override var item: Any {
    get {
      return self.image
    }
  }

  override init(placeholderItem: Any) {
    guard let image = placeholderItem as? UIImage else {
      fatalError("Couldn't create image from provided item")
    }

    self.image = image
    super.init(placeholderItem: placeholderItem)
  }

  @available(iOS 13.0, *)
  override func activityViewControllerLinkMetadata(_ activityViewController: UIActivityViewController) -> LPLinkMetadata? {

    let metadata = LPLinkMetadata()
    metadata.title = "1 Image"

    var thumbnail: NSSecureCoding = NSNull()
    if let imageData = self.image.pngData() {
      thumbnail = NSData(data: imageData)
    }

    metadata.imageProvider = NSItemProvider(item: thumbnail, typeIdentifier: "public.png")

    return metadata
  }

}

...

let image: UIImage = getImage()
let item = ShareImage(placeholderItem: image)
let activityViewController = UIActivityViewController(activityItems: [item], applicationActivities: nil)

currentViewController.present(activityViewController, animated: true, completion: nil)

And there you have it! It is also possible to send multiple data objects to the Share Sheet, or specify which apps can access the data using the applicationActivities parameter.
Android
I've found that doing this on Android is more complex than on iOS, mainly due to how Android deals with file permissions. Basically, you have to set the permissions of the file you want to share manually, whereas in iOS it was handled automatically.
In android, you need to designate the class you are going to be calling from as a FileProvider, and specifying which files it is allowed to access. You do this by specifying the class in the AndroidManifest.xml file:
<activity name=".MainActivity">
  <provider
    android:authorities="com.package.ClassName"
    android:exported="false"
    android:grantUriPermissions="true"
    android:name="androidx.core.content.FileProvider">
    <meta-data
        android:name="android.support.FILE_PROVIDER_PATHS"
        android:resource="@xml/file_paths"  />
</provider>
And then creating a new directory called xml and a file in it called file_paths:
<paths xmlns:android="http://schemas.android.com/apk/res/android">
    <files-path name="my_images" path="images/"/>
</paths>
Note that you might need to use a different tag than files-path depending on where your files are stored. If you are using temp files, you might need to use cache-path. For a full list of what you might need, see the android docs here
Now, inside the class that we specified in the provider above:
File file = getFile()
Uri uri = FileProvider.getUriForFile(getContext(), this.getClass().getName(), file);

Intent intent = new Intent();
intent.setAction(Intent.ACTION_SEND);
intent.putExtra(Intent.EXTRA_STREAM, uri);
intent.setType("MIME_TYPE_OF_FILE");

Intent shareIntent = Intent.createChooser(intent, "Share File");
shareIntent.addFlags(Intent.FLAG_ACTIVITY_NEW_TASK | Intent.FLAG_GRANT_READ_URI_PERMISSION);

startActivity(shareIntent);
Executing that will open up the Share Sheet and send your file on it's merry way. I haven't found a consistent way to customise the Share Sheet on Android like we did earlier on iOS, but if I do, I'll update this post.


Top comments (0)