Launching your little website online is not hard at all, instead, it just takes a few clicks to get started! This article uses a free service called PleasantFree.
PleasantFree comes with many features out of the box. When compared to other free hosting providers, in my opinion, it's the best you can get!
Step 1: Signup For An Account
You can signup for an account from app.pleasantfree.com. You need to fill in only the minimum personal information which is required by their policy.

Step 2: Verify Email
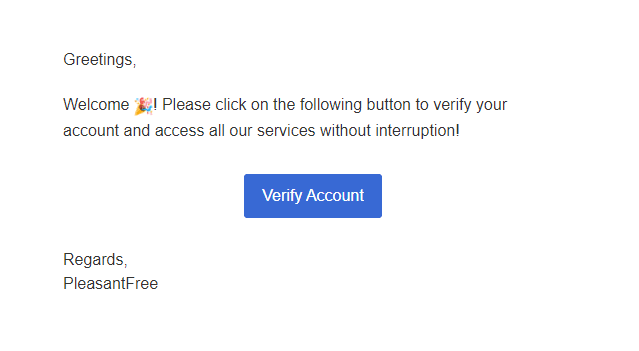
You should get an email from noreply@pleasantfree.com. You will get a button to verify your account access. It should be something like this:
Step 3: Create Hosting Account

Here you can now create an account with the name of the website you want to host and not your details and you do so by clicking on the Create Account button.
Use A Free Subdomain
If you don't have a domain, you can use the free domains provided by PleasantFree! Simply enter your desired subdomain name and click on the search button to check if it's available.
Use Custom Domain
Here if you have your custom domain, you can enter it and change your nameservers at your domain registrar to point to PleasantFree servers. Refer to this article if you're having a difficult time doing this.
After you have created your account, it will take some to set up the account on the server-side. It usually takes ~ 5 minutes. A wait for service as this is worth the time!
Once your account is active, you can do various functions and play with the account for as much time as you want! To make sure your account is set up successfully, open your website address in a new tab. If active, it should show something like this:

Else, it will take time to propagate due to an internet mechanism called DNS Propagation, which slows the process sometimes.
You can log in to the control panel, access file manager, edit account information and literally much more!
Make Website
Open your file manager from the button at app.pleasantfree.com. Go to the htdocs directory and delete all files inside it. Then, create a new file named index.html and put the following code inside it and save the file.
<h1>And yes, It works like a charm!</h1>
With that, your little website is now live on the internet running on free resources! You can install CMS such as WordPress, Joomla and ~ 450 more!
You can also upload custom PHP code and leverage the free SQL databases! Enjoy your free website!


Top comments (1)
Exactly which this article covers, enjoy!