Nextflow enables scalable and reproducible scientific workflows using software containers. It allows the adaptation of pipelines written in the most common scripting languages.
In this post I’ll explore how to create a "work environment" where run Nextflow pipelines using Kubernetes.
The user will be able to create and edit the pipeline, configuration and assets into their computer and run the pipelines in the cluster in a fluent way.
The idea is to provide to the user the most complete environment in their computer so, once tested and validated, it will run in a real cluster.
Problem
When you’re deploying Nextflow’s pipelines in kubernetes you need to find a way to share the workdir. Options are basically use volumes or use fusion
Fusion is very easy to use (basically enable=true in the nextflow.config) but you create an external dependency.
Volumes are more "native" solution, but you need to fight with the infrastructure, providers, etc.
Another challenge working with pipelines in kubernetes is to retrieve outputs once the pipeline is completed. Probably you need to run some kubectl cp commands
In this post I’ll create a cluster (with only 1 node) from scratch and run some pipelines on it. We’ll see how pods are created and how we can edit the pipeline and/or configuration using our preferred IDE (notepad, vi, VSCode,…)
Requirements
- a computer (and internet connection of course)
We need to have installed following command line tools:
kubectl (if you work in kubernetes you’ve it)
skaffold https://skaffold.dev/docs/install/
k9s. Is not required but very useful
Create a cluster
k3d cluster create nextflow --port 9999:80@loadbalancer
We’re creating a new cluster called nextflow (can be whatever). We’ll use 9999 port to access to our results
kubectl cluster-info
Kubernetes control plane is running at https://0.0.0.0:40145
CoreDNS is running at https://0.0.0.0:40145/api/v1/namespaces/kube-system/services/kube-dns:dns/proxy
Metrics-server is running at https://0.0.0.0:40145/api/v1/namespaces/kube-system/services/https:metrics-server:https/proxy
Preparing our environment
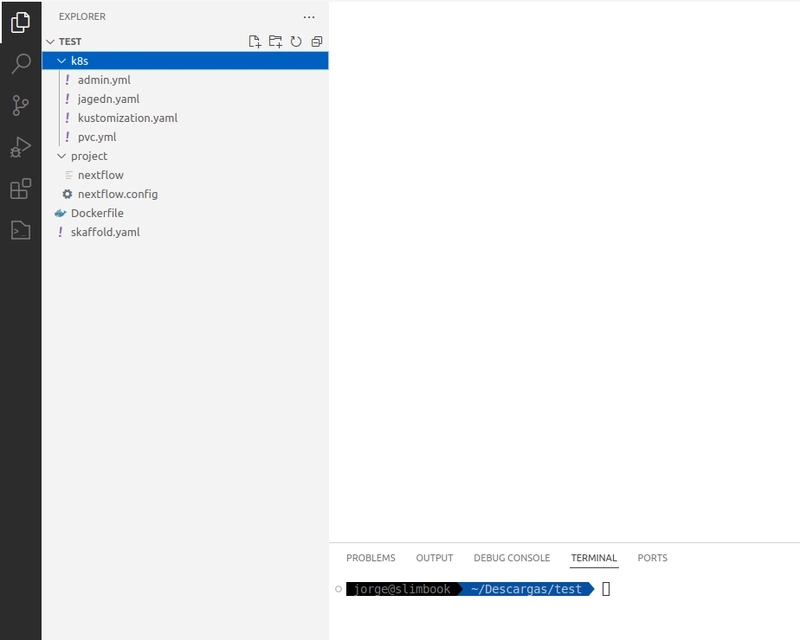
Create a folder test
Nextflow area
Create a subfolder project (will be our nextflow working area)
Create a nextflow.config in this subfolder
k8s {
   context = 'k3d-nextflow' (1)

   namespace = 'default' (2)

   runAsUser = 0
   serviceAccount = 'nextflow-sa'
   storageClaimName = 'nextflow'
   storageMountPath = '/mnt/workdir'
}

process {
   executor = 'k8s'
   container = "quay.io/nextflow/rnaseq-nf:v1.2.1"
}
| 1 | k3d-nextflow was created by k3d. If you chose another name you need to change it |
| 2 | I’ll use the default namespace |
K8s area
Create a subfolder k8s and create following files into it:
pvc.yml
apiVersion: v1
kind: PersistentVolumeClaim
metadata:
  name: nextflow
  namespace: default
spec:
  accessModes:
    - ReadWriteOnce
  storageClassName: local-path
  resources:
    requests:
      storage: 2Gi
admin.yml
---
apiVersion: v1
kind: ServiceAccount
metadata:
  name: nextflow-sa
---
apiVersion: rbac.authorization.k8s.io/v1
kind: Role
metadata:
  name: nextflow-role
rules:
  - apiGroups: [""]
    resources: ["pods", "pods/status", "pods/log", "pods/exec"]
    verbs: ["get", "list", "watch", "create", "delete"]
---
apiVersion: rbac.authorization.k8s.io/v1
kind: RoleBinding
metadata:
  name: nextflow-rolebind
roleRef:
  apiGroup: rbac.authorization.k8s.io
  kind: Role
  name: nextflow-role
subjects:
  - kind: ServiceAccount
    name: nextflow-sa
jagedn.yml
---
apiVersion: apps/v1
kind: Deployment
metadata:
  name: jagedn (1)
  labels:
    app: jagedn
spec:
  selector:
    matchLabels:
      app: jagedn
  template:
    metadata:
      labels:
        app: jagedn
    spec:
      serviceAccountName: nextflow-sa
      terminationGracePeriodSeconds: 5
      securityContext:
        fsGroup: 0
        runAsGroup: 0
        runAsNonRoot: false
        runAsUser: 0
      containers:
      - name: nextflow
        image: jagedn
        volumeMounts:
        - mountPath: /mnt/workdir
          name: volume
      - name: nginx-container
        image: nginx:latest
        ports:
        - containerPort: 80
        volumeMounts:
          - name: volume
            mountPath: /usr/share/nginx/html
      volumes:
      - name: volume
        persistentVolumeClaim:
          claimName: nextflow
| 1 | jagedn is my nick, you can use whatever but pay attention to replace in all places |
kustomization.yaml
apiVersion: kustomize.config.k8s.io/v1beta1
kind: Kustomization
resources:
 - pvc.yml
 - admin.yml
 - jagedn.yaml
Basically we’re creating:
service account and their roles
a persistent volume claim to share across pods
a pod
Skaffold
In the "parent" folder create following files:
Dockerfile
FROM nextflow/nextflow:24.03.0-edge
RUN yum install -y tar (1)

ADD project /home/project (2)

ENTRYPOINT ["tail", "-f", "/dev/null"]
| 1 | Required by skaffold to sync files |
| 2 | Required by skaffold to sync files |
skaffold.yaml
apiVersion: skaffold/v4beta10
kind: Config
metadata:
    name: nextflow

build:
    artifacts:
        - image: jagedn
          context: .
          docker:
            dockerfile: Dockerfile
          sync:
            manual:
                - src: 'project/**'
                  dest: /home

manifests:
    kustomize:
        paths:
            - k8s

deploy:
    kubectl: {}
Watching
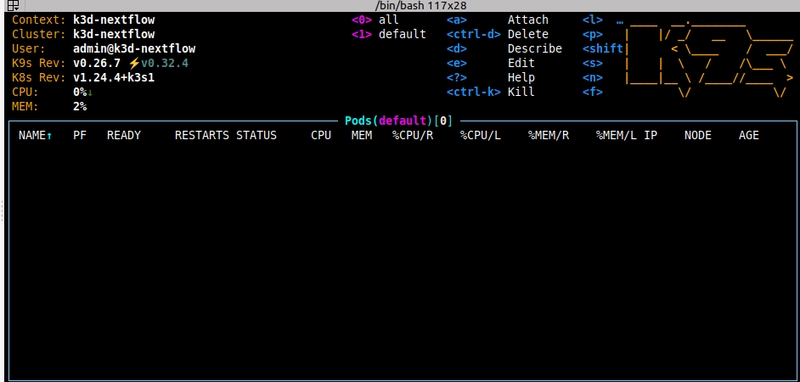
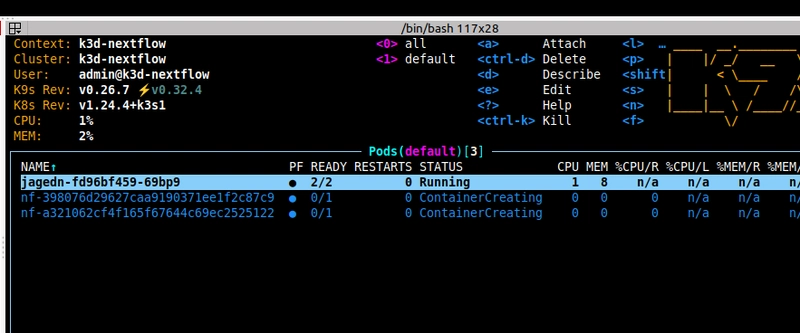
Only for the purpose to watch how pods are created and destroyed we’ll run in a terminal console k9s
Go
Open the project with VSCode (for example)
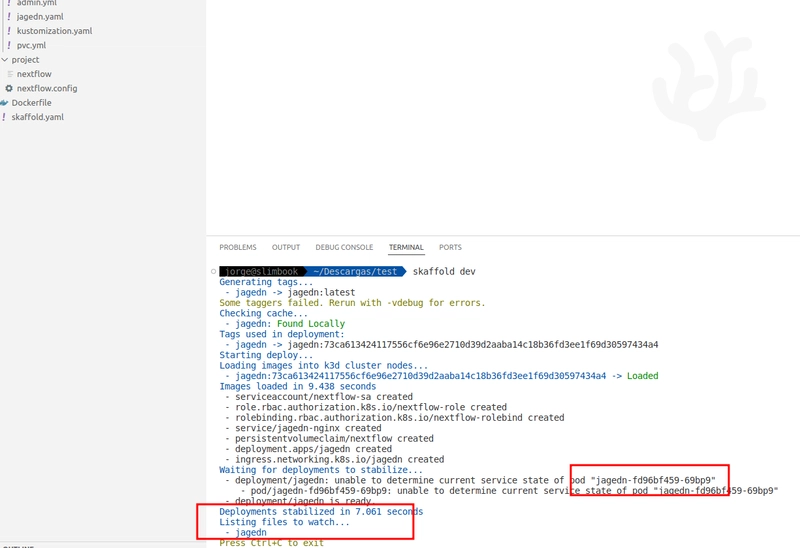
Open a terminal tab and execute:
skaffold dev
let the terminal running
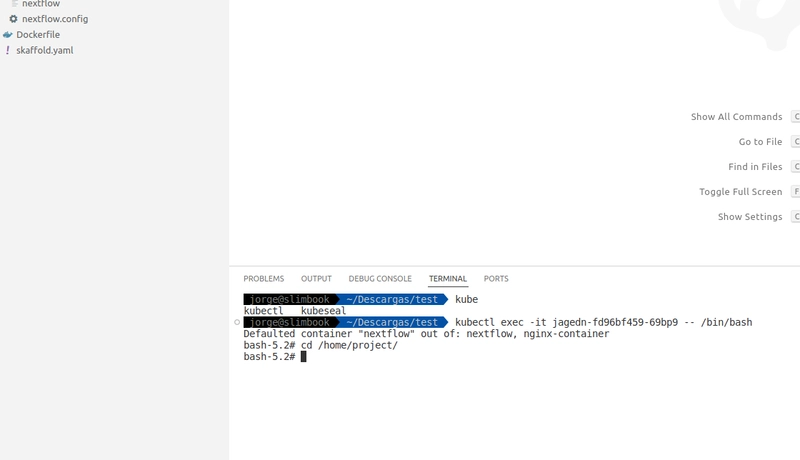
In another terminal console execute:
kubectl exec -it jagedn-56b9fb64dc-2xw8f — /bin/bash
- WARNING
-
You’ll need to use the pod id skaffold has created
and cd to /home/project
- INFO
-
Using you VCode editor open
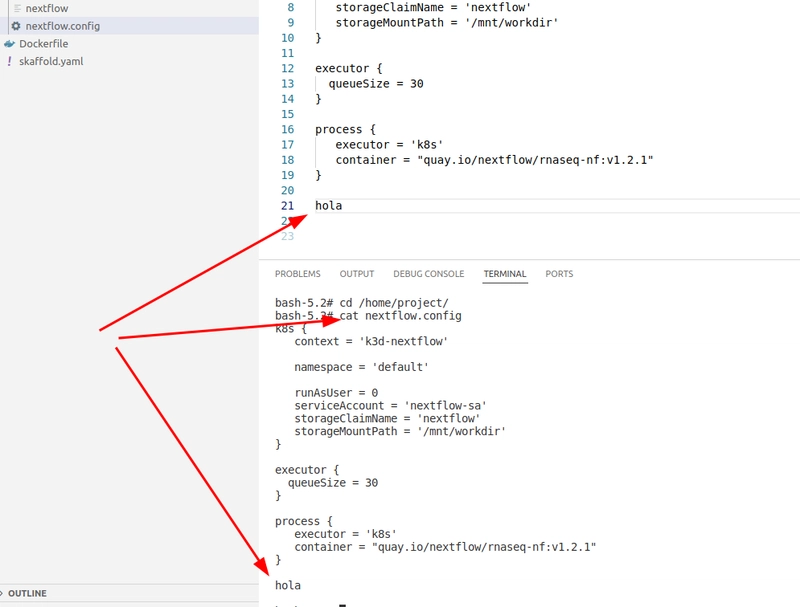
nextflow.configand change something (a comment for example). Save the change and in the terminal run acatcommand to verify skaffold has been synced the file
Run
In the terminal execute
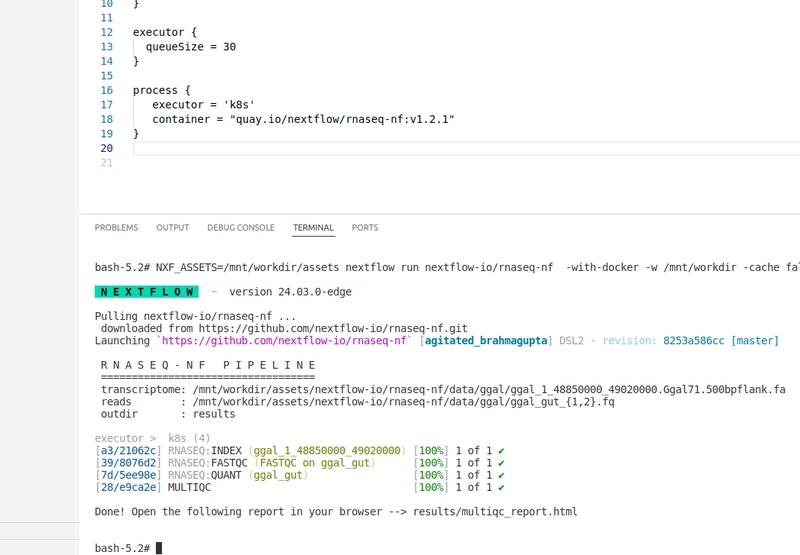
NXF_ASSETS=/mnt/workdir/assets nextflow run nextflow-io/rnaseq-nf -with-docker -w /mnt/workdir -cache false
If you change to the k9s console, you’ll see how pods are created
After a while the pipeline is completed !!!!
Extra ball
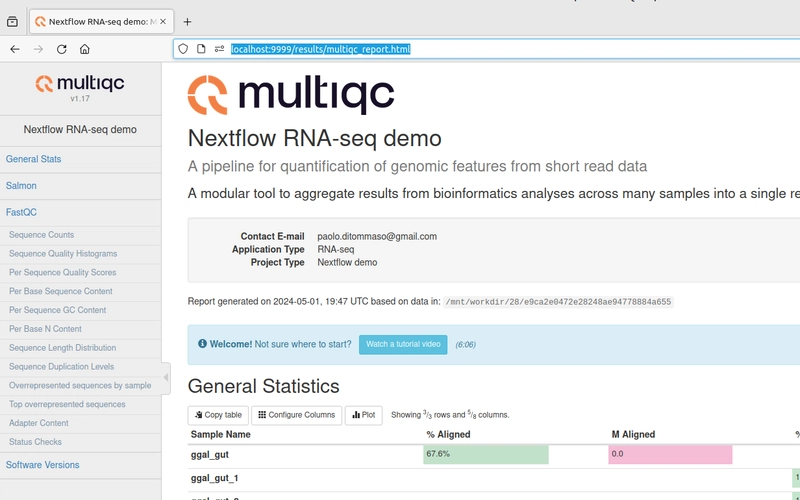
If you inspect the folder /home/project/results you’ll find the outputs of the pipeline, so … how we can inspect them?
Execute cp -R results/ /mnt/workdir/ in the kubectl terminal and open a browser to http://localhost:9999/results/multiqc_report.html
- INFO
-
A better approach is to create another volume for the result so nginx sidecar pod can read directly
Clean up
Once you want to end with your cluster only finish (ctrl+c) the skaffold session and it will remove all resources
To delete the cluster you can run k3d cluster delete nextflow
Conclusion
Don’t know if this approach is the best or maybe a little complicate but I think can be a good approach to have a very productive kubernetes environment without the need to have a full cluster


Top comments (0)